Introduction
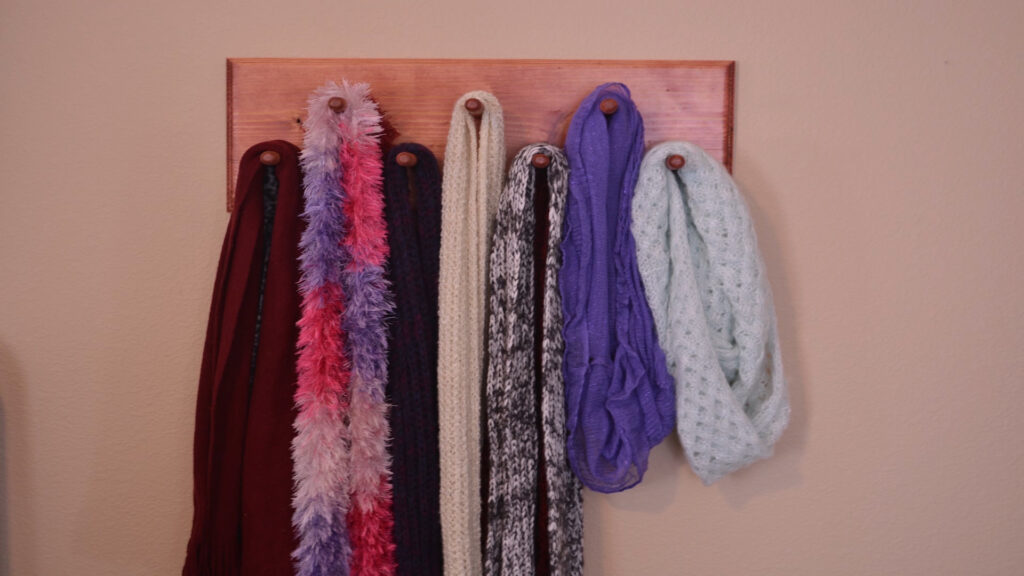
My wife has a lot of scarfs and she wanted a way to take them out of the drawer she was keeping them in and hang them up for easy access. This is an easy project to accomplish and doubles as a great gift idea. It doesn’t have to be a scarf hanger… it can pretty much be used to hang anything. The entire scarf hanger is made from 2×4 dimensional lumber.
How to Build It
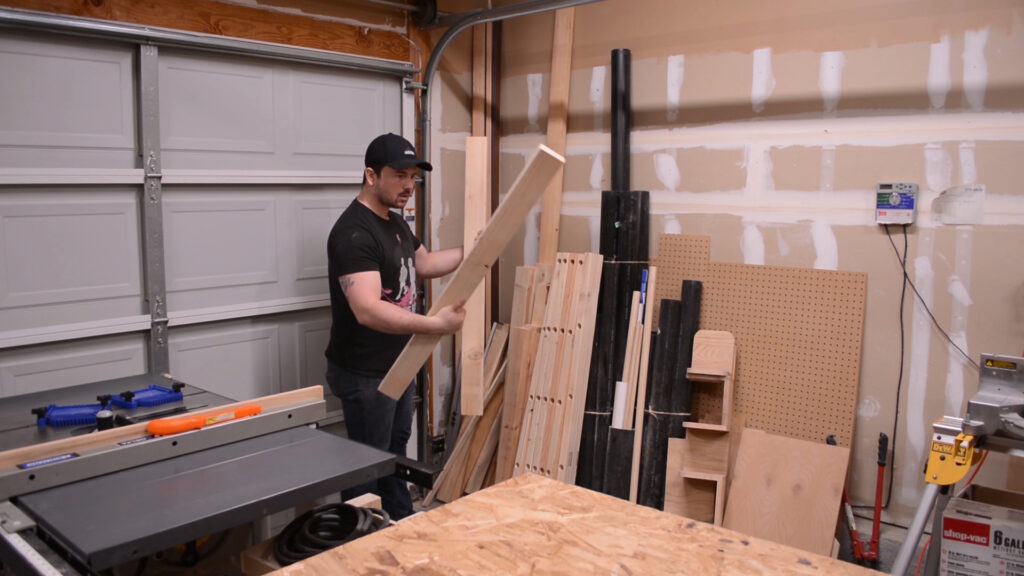
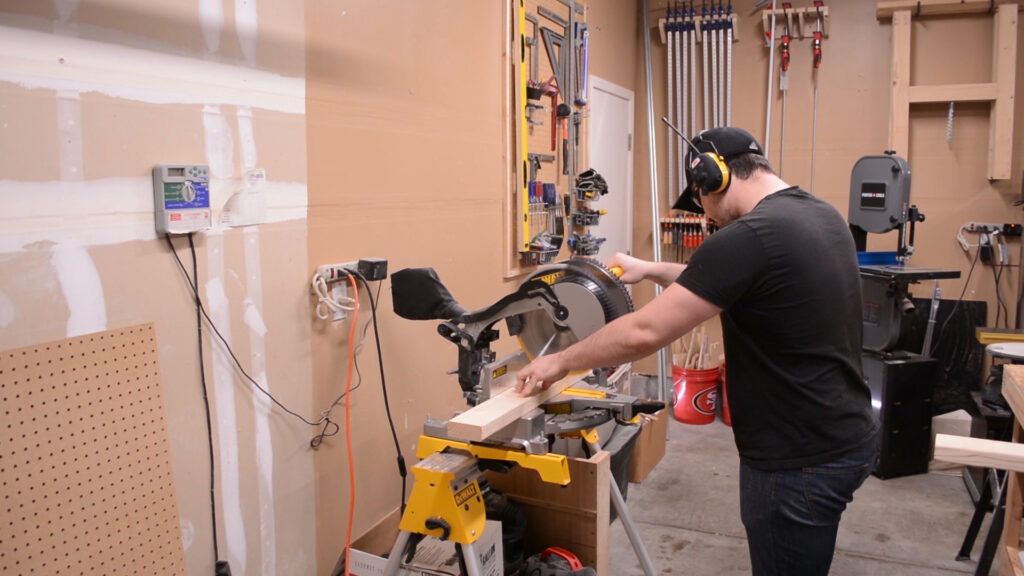
To prepare the lumber for this project is a multi-step process. I start at the miter saw cutting all the 2×4’s to slightly longer then the final length.
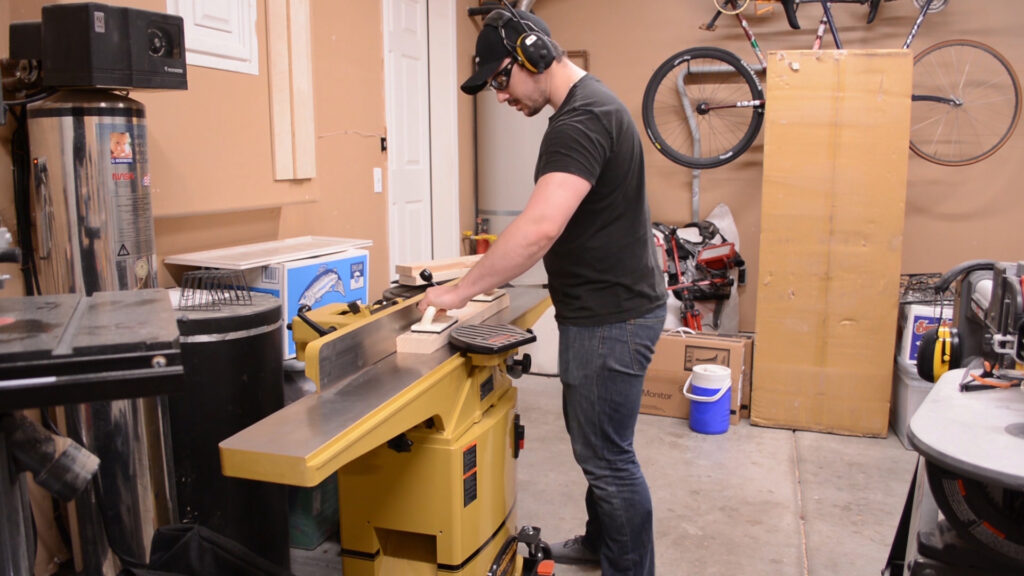
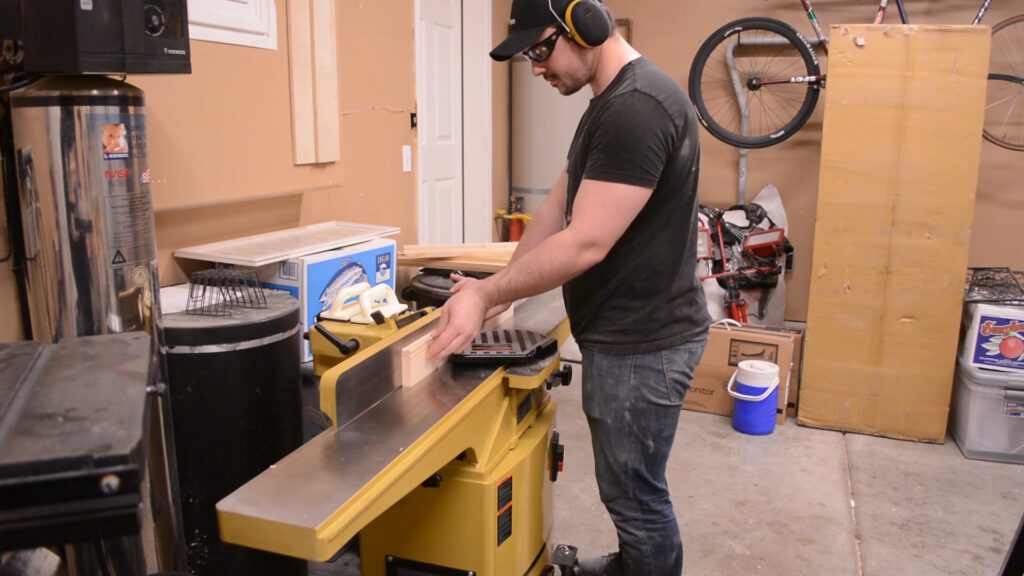
I then move to the jointer to joint one edge and one face of each 2×4.

From there I pass all the pieces jointed face down through the planer and bring them to their final thickness.

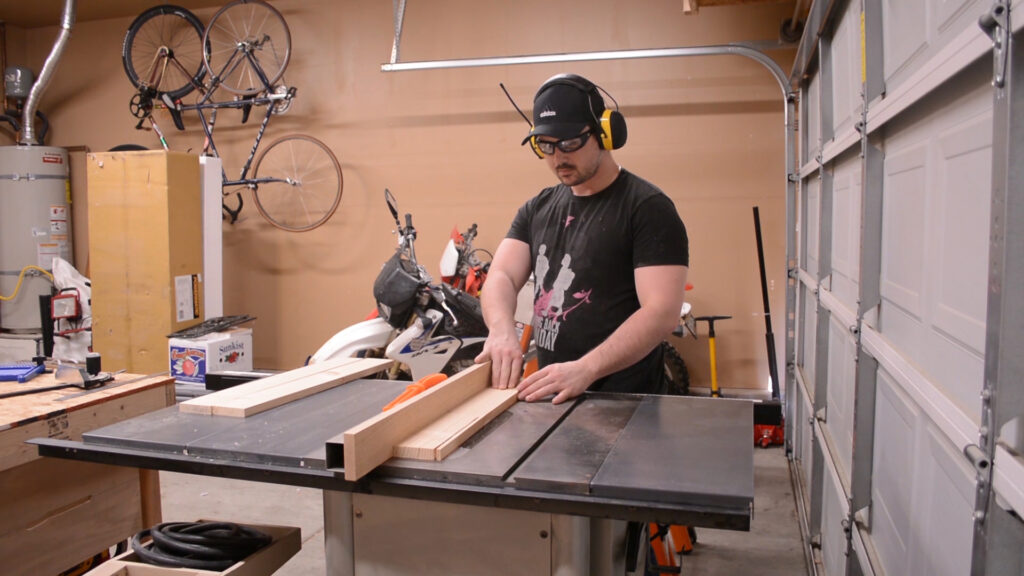
Once the 2×4 planks are thickness planed I move to the table saw and rip them down to slightly wider then their final dimension.
The final step is to bring each plank to their final thickness with jointer. Be sure to pass the edge trimmed at the table saw over the jointer. This should bring all the planks into square.
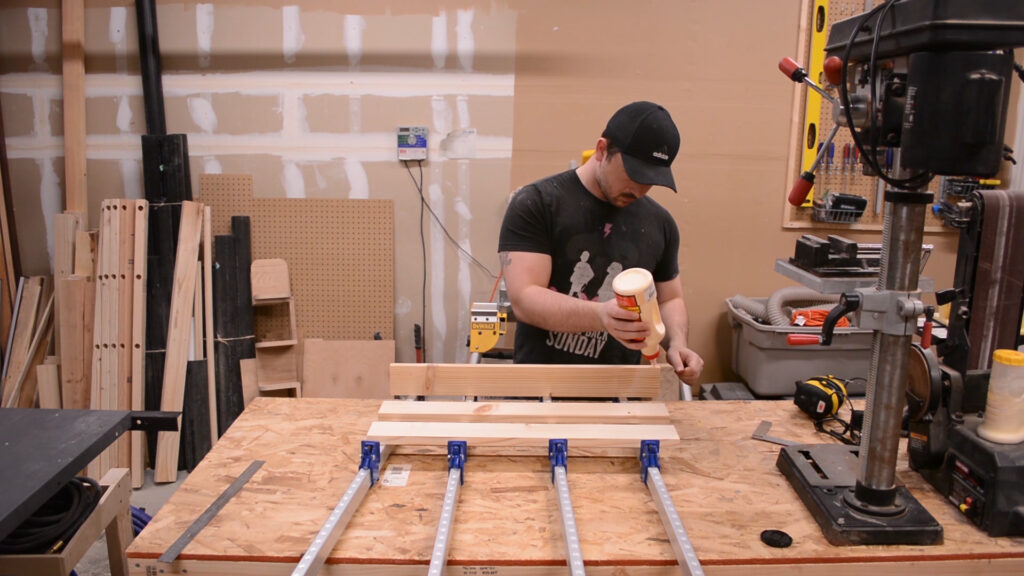
All of the 2×4 planks are glued together with wood glue and clamps into one large panel. No fasteners are used here.

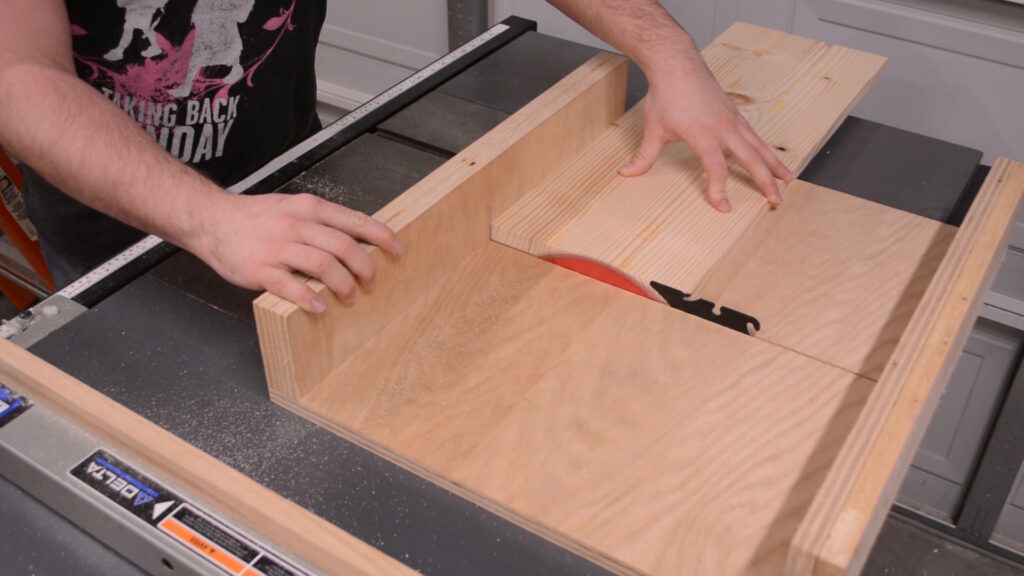
After removing the panel from the clamps I utilize my crosscut sled to square one edge and cut the panel to length.

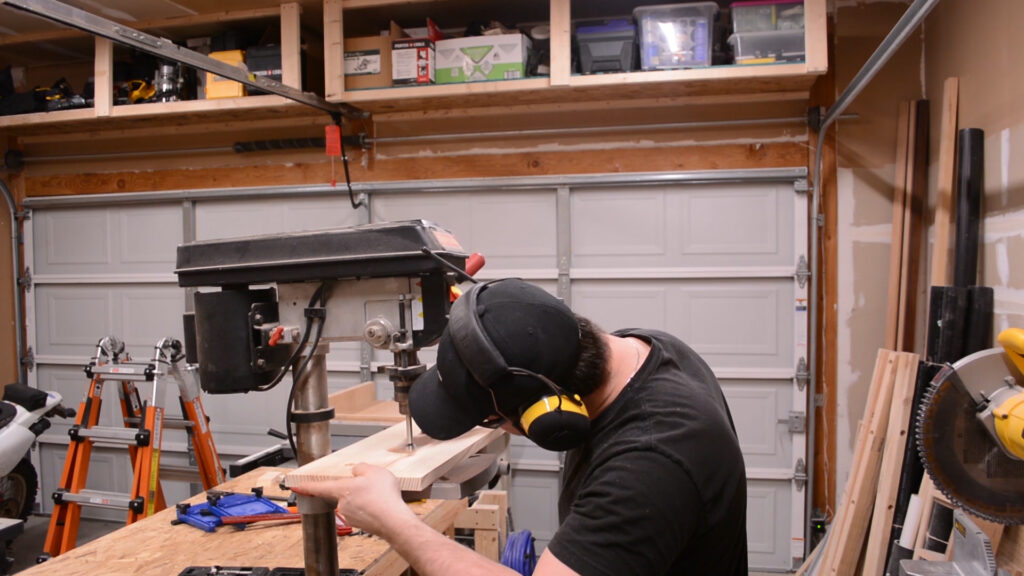
The dowels that make up the actual hangers need some way of attaching the the panel. To make this happen I drill holes with a forstner bit with my drill press.
An edge profile is added to the panel at my router table using an ogee bit.
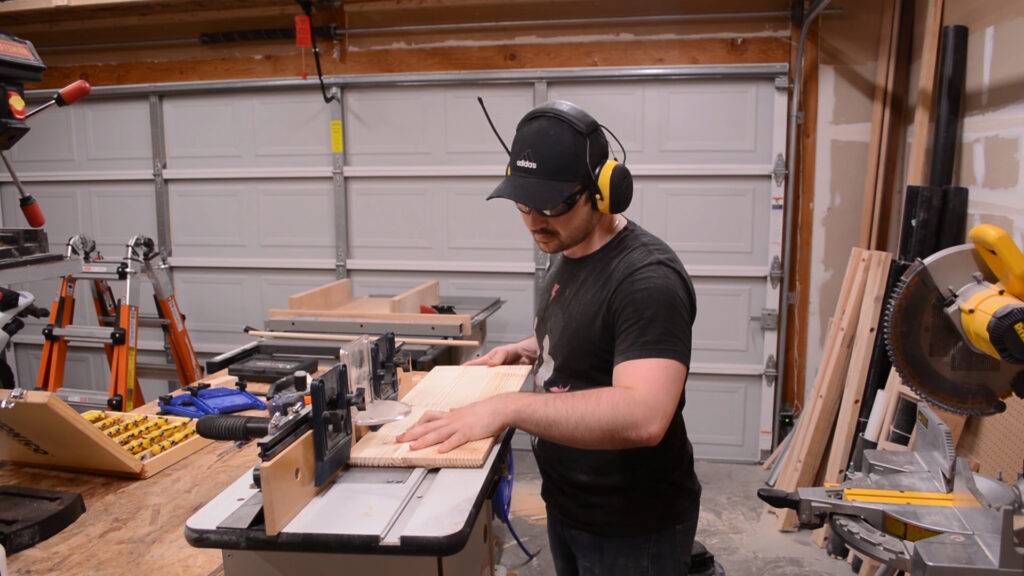
As mentioned earlier, I used dowels for the hangers. These are cut to length on the miter saw and the ends are rounded over at the router table.


Before gluing the pegs into place I route the slots for the hanging hardware. I used my router with a fence attached.
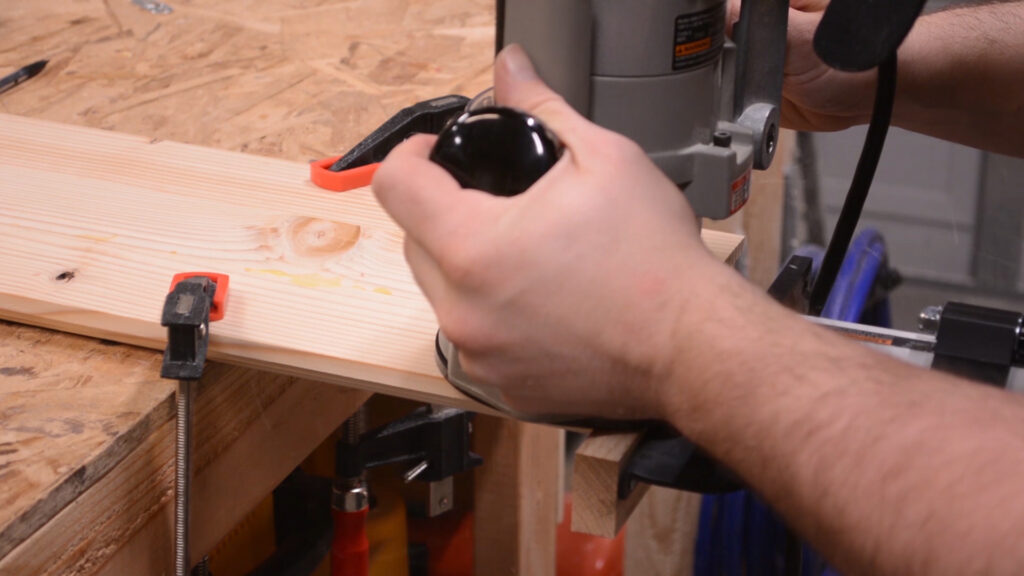
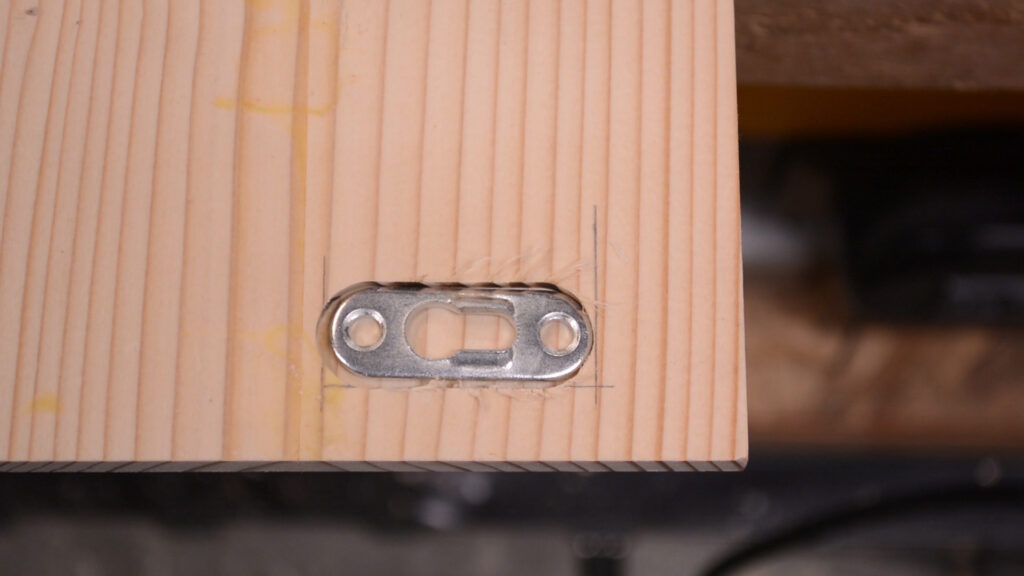
To prepare for finish I gave the entire panel a once over with my random orbit sander.

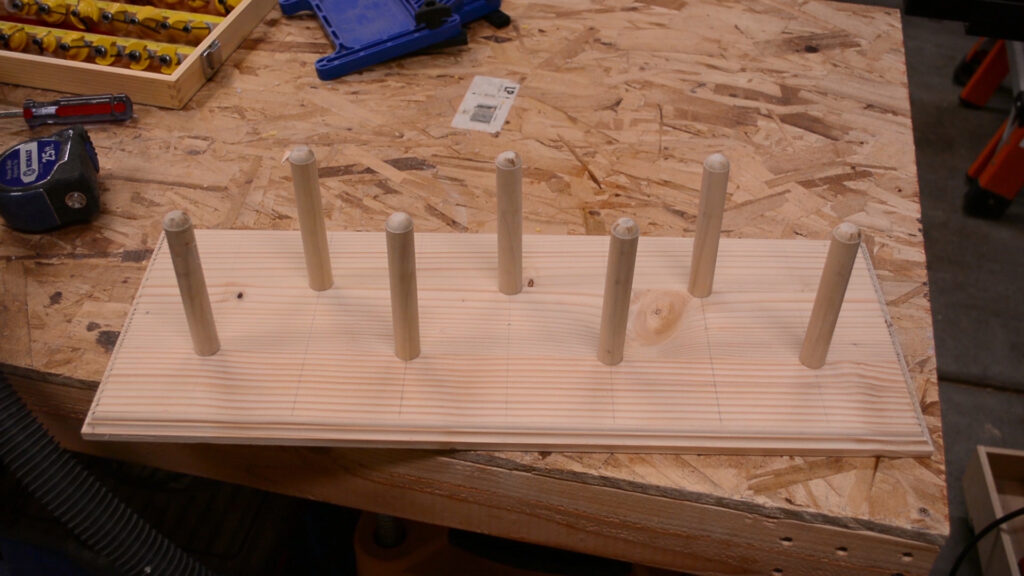
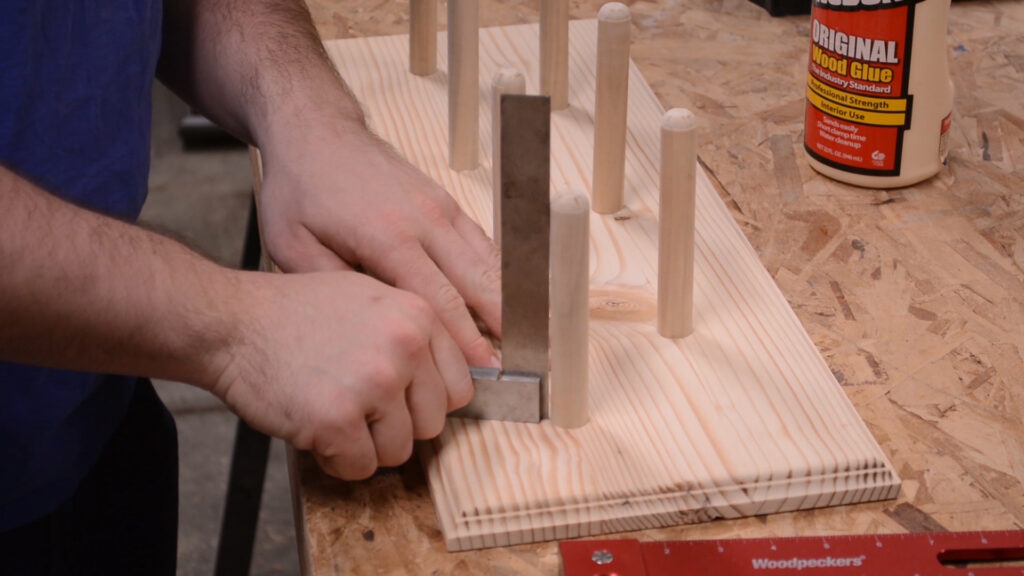
The dowels are attached with wood glue. I add a little to each dowel hole then make sure they are square with my machinist square.
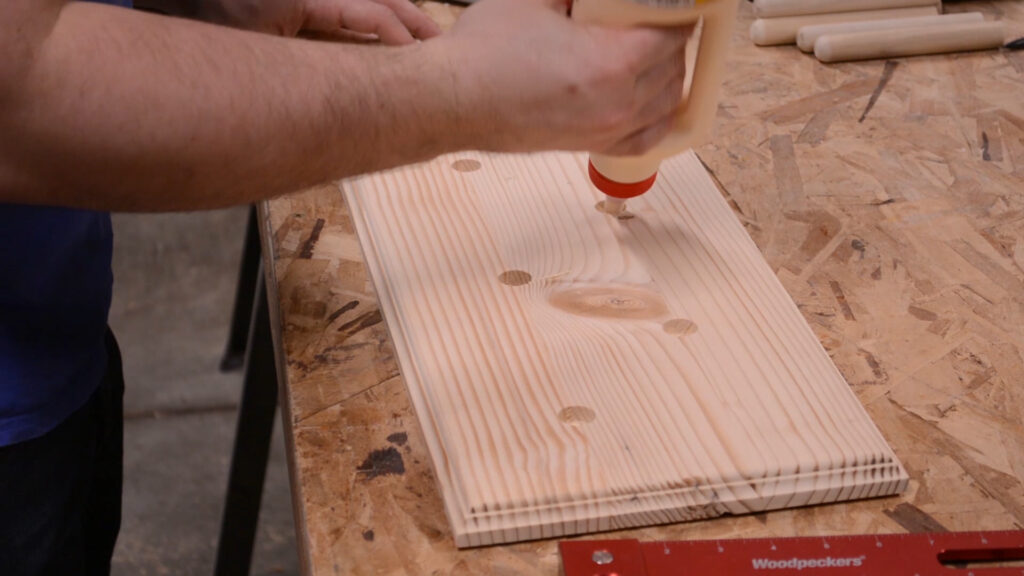
To finish this project I add a few coats of stain and then protect it with spar urethane.


Conclusion
Thanks for reading! Below you can find affiliate links to the tools and products I used in this project. If you are interested in supporting my efforts, clicking my affiliate links goes a long way and I greatly appreciate any support that I receive. Also, you can find a downloadable plan for this project if your looking to build one of these for yourself.


