
Introduction
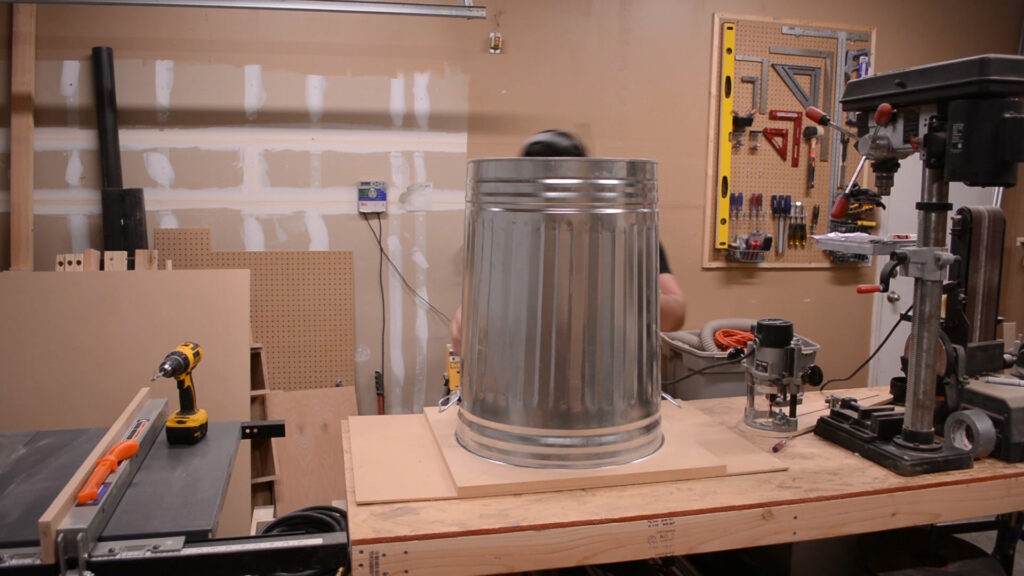
The Harbor Freight Dust Collector is a great budget 1.5 Horsepower dust collect for a hobbyist woodshop. That being said it does, in my opinion, fall short in a handful of ways. This video will address the chip separator portion of my modification. I’m essentially turning this single stage collector into a two stage. This part of the separator will take the large dust chips and collect them in the trash bin below it. The fine dust will be addressed in part three of this series.
How to Build It
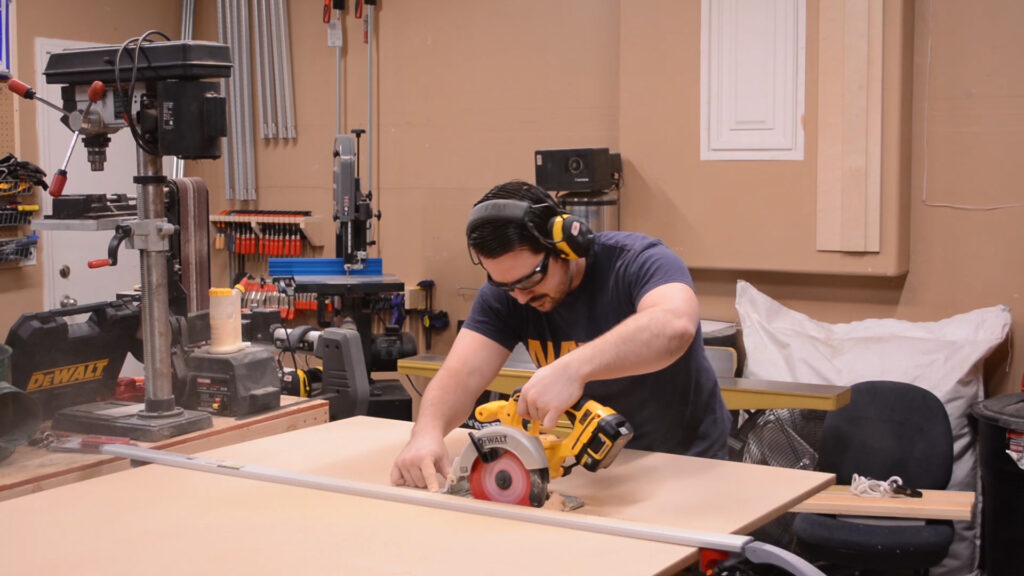
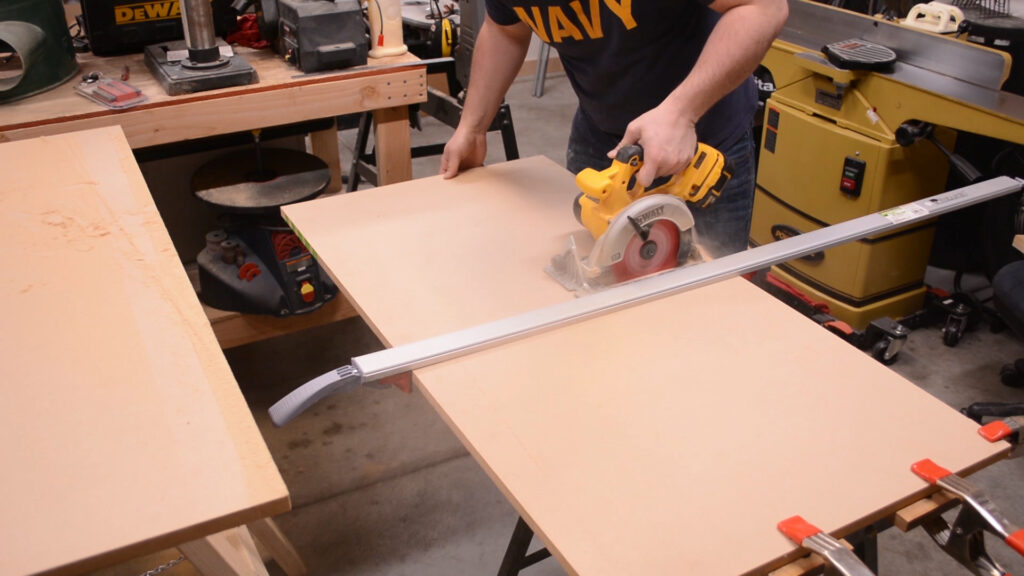
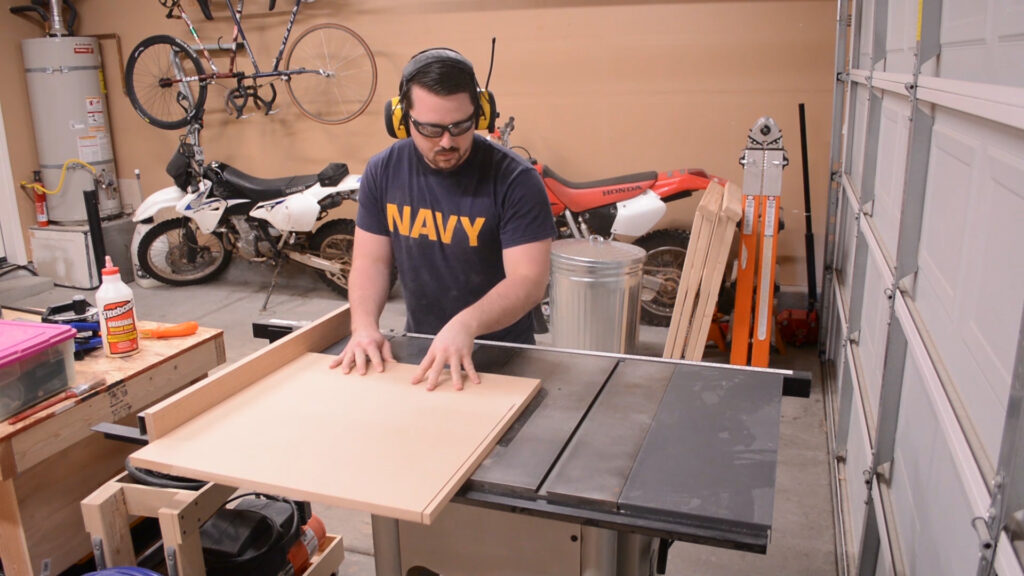
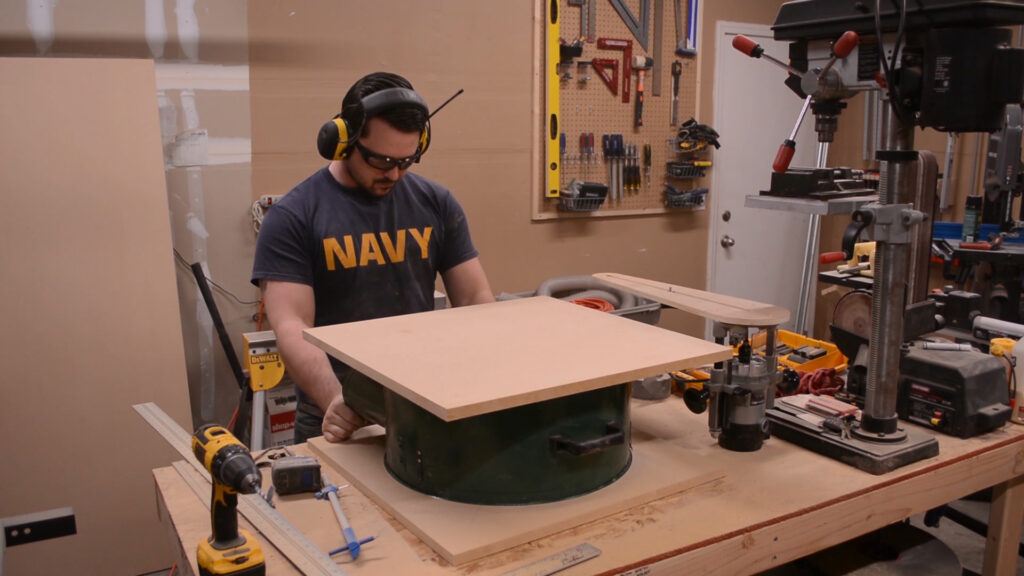
I start this project cutting 3/4″ MDF down into three square panels. I use my circular saw with an edge guide to rough out the panels then size them to their final dimensions at the table saw.
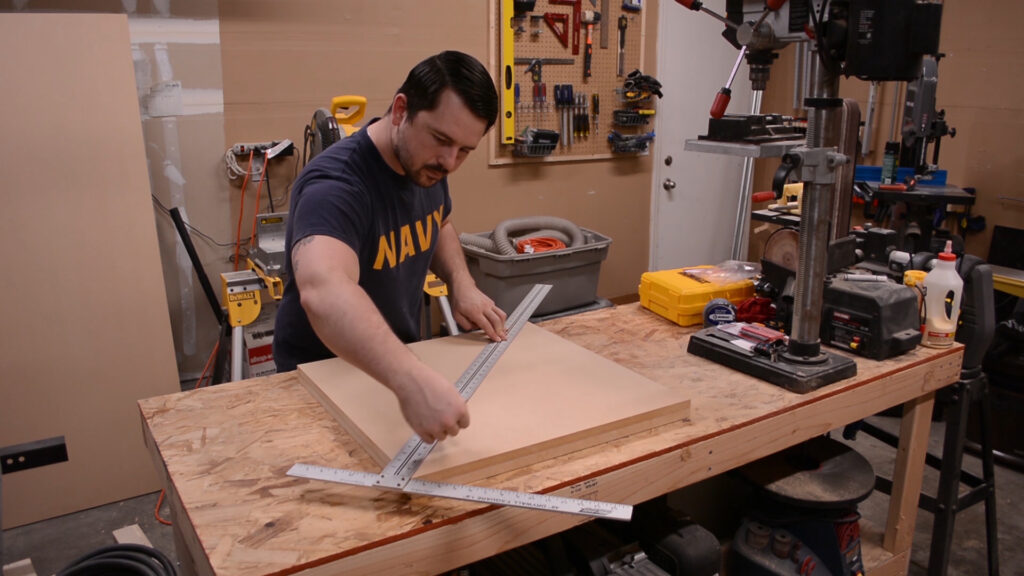
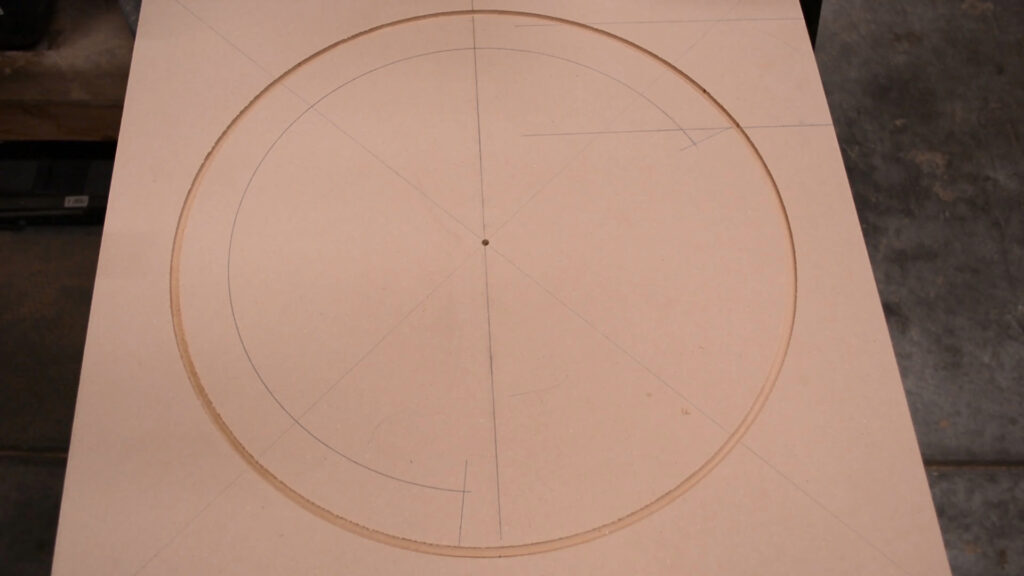
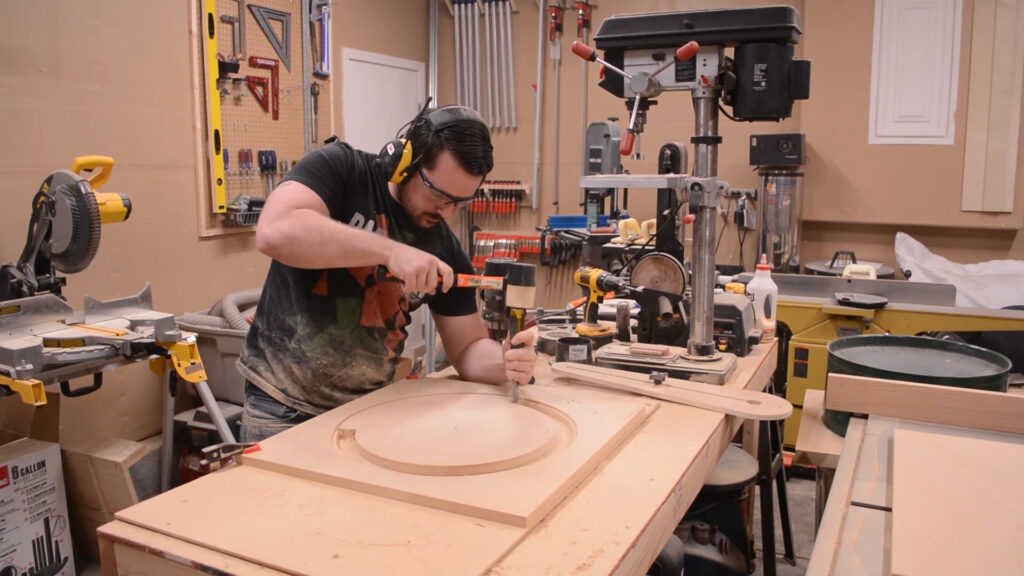
I use the my router to route a number of slots into these panels. To accomplish these slots I need to know the center point of each panel. I use a drywall square to make two crossing lines corner to corner. Where the lines cross is my center point. I then use an awl to mark the center point to prepare for drilling. This process is performed on all three panels
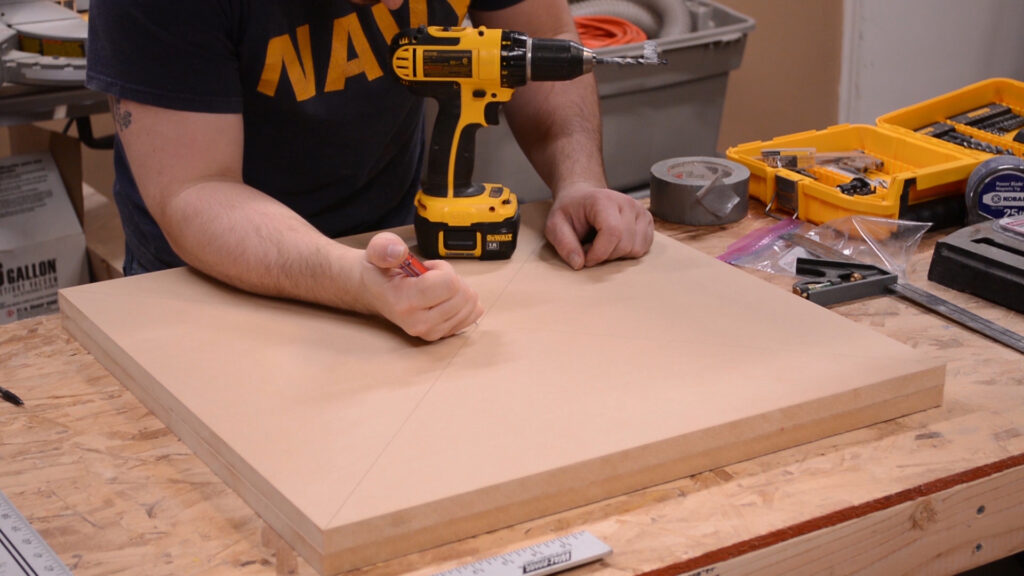
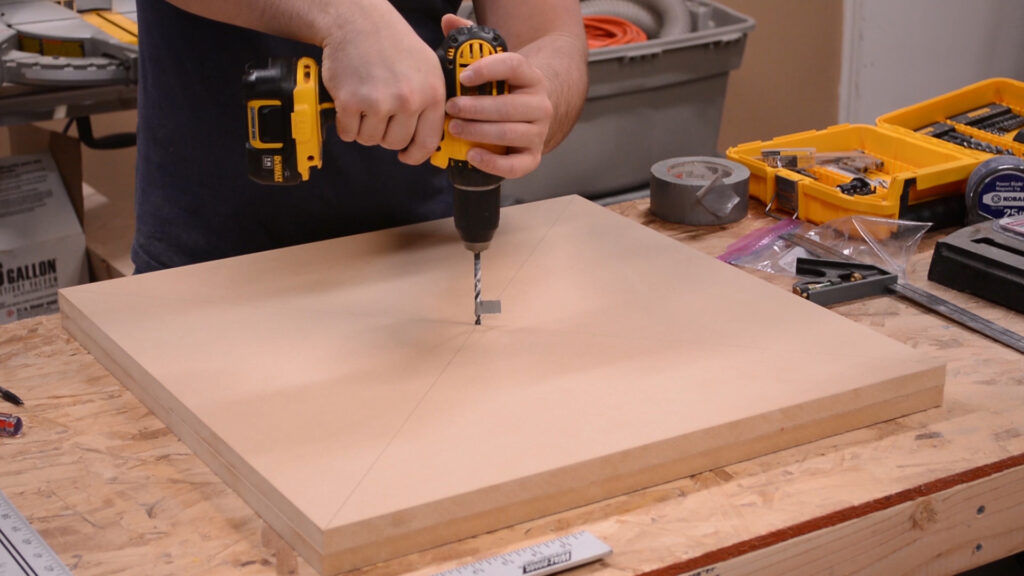
A hole is drilled partly through each panel and will be used as the pivot point for my router circle cutting jig.
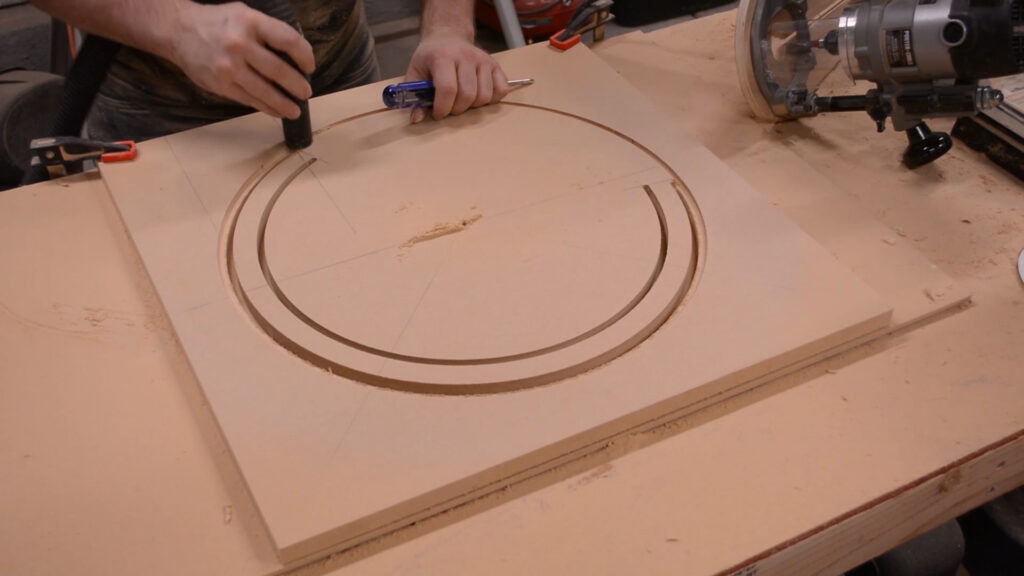
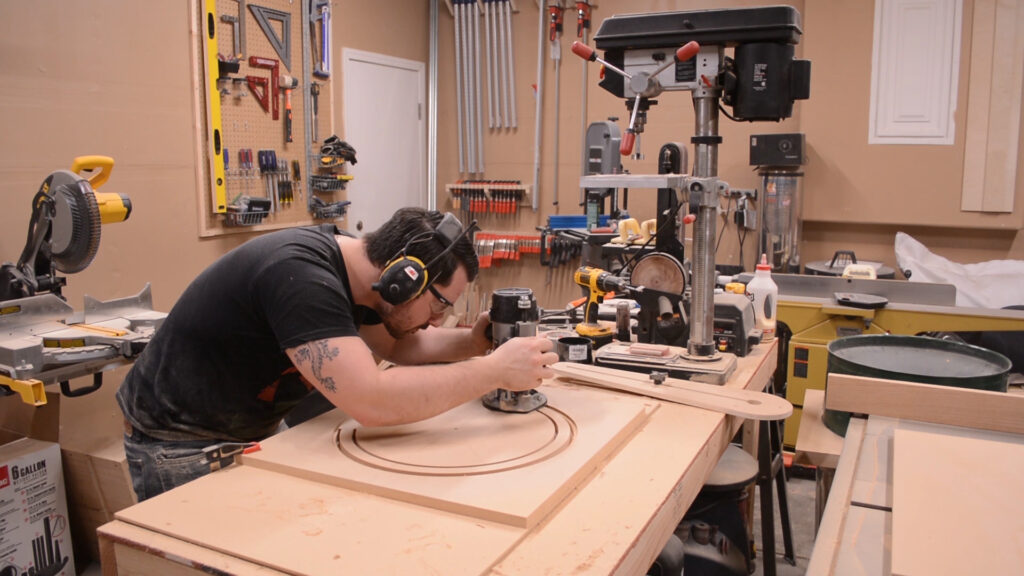
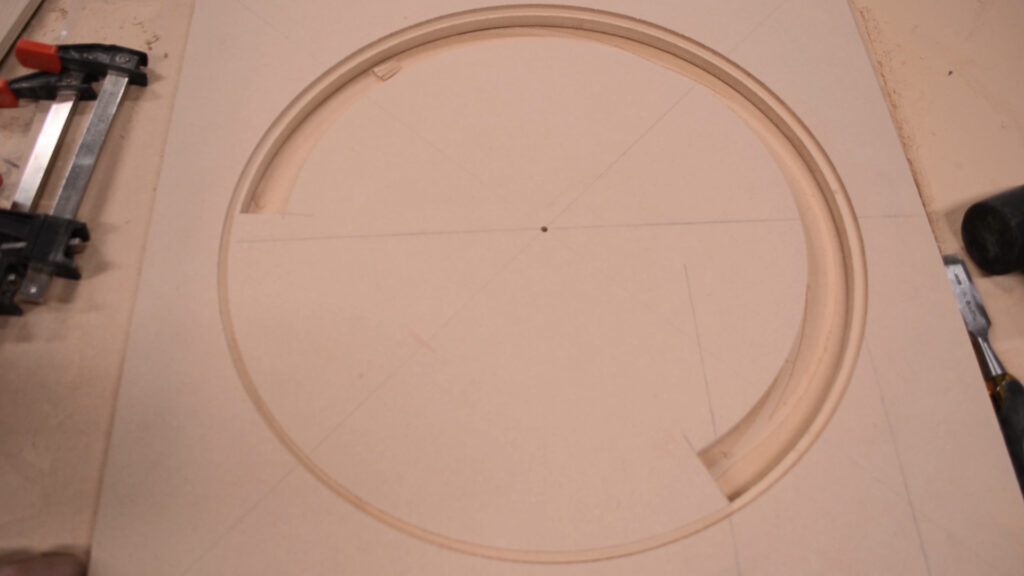
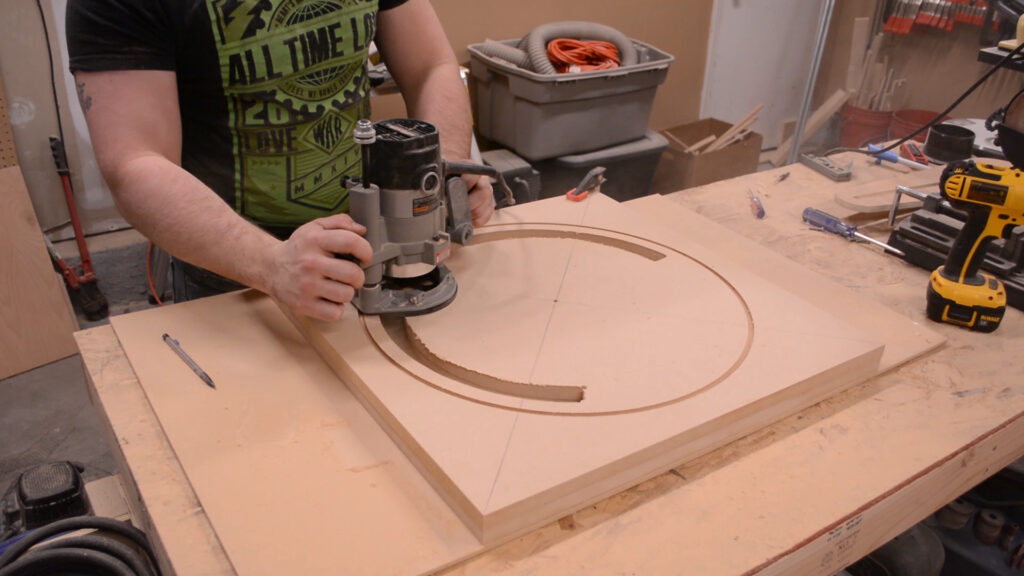
Its time to start routing the slots for the chip separator. This part is hard to explain in text and pictures so I encourage you to watch the video I made that accompanies this post. The chip separator is made up of three pieces as previously stated. Essentially, the inside of the top piece(1st piece) and the top side of the middle piece(2nd piece) have slots routed in them that accept the rim of the thein baffle. The next few pictures attempts to show this.
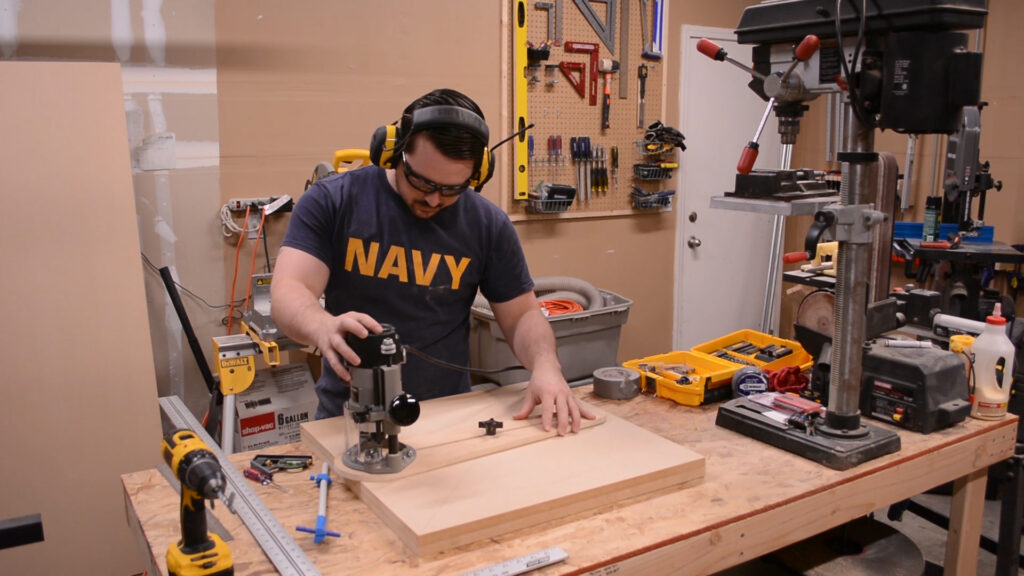
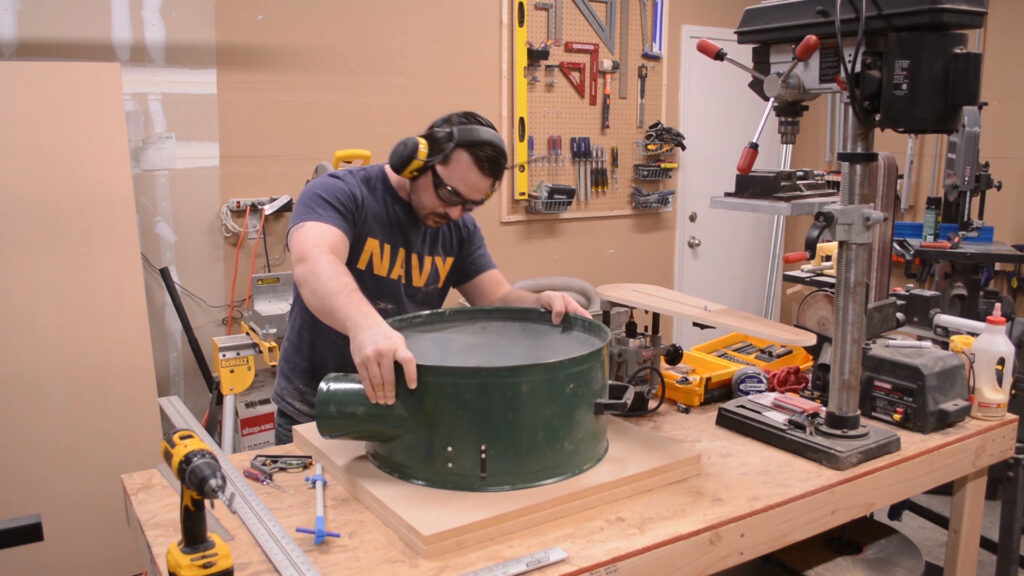
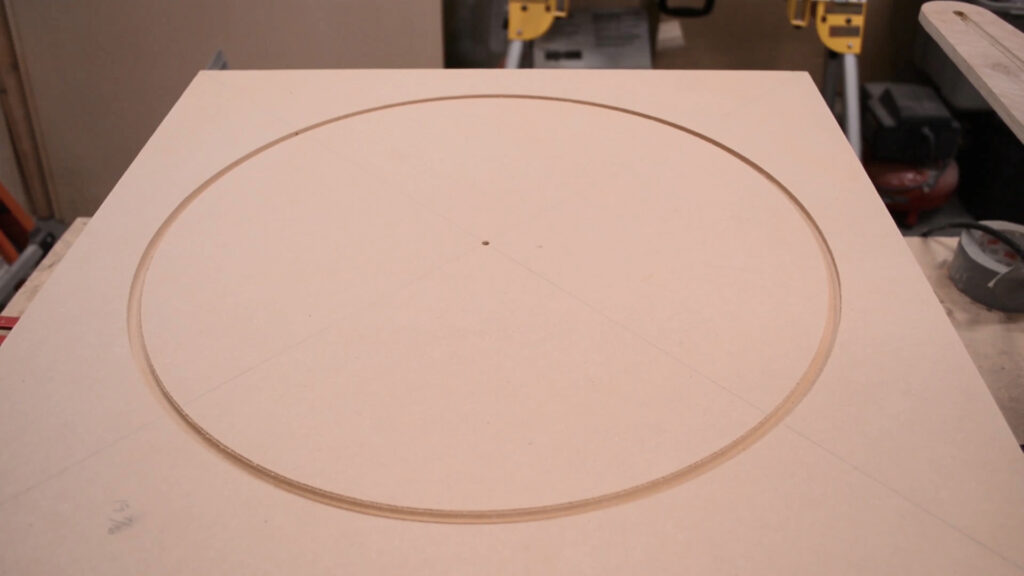
Once those two slots are routed, an additional slot is routed on the underside of the bottom piece(3rd piece) that will accept the rim of the waste bin. The third image below also shows the layout lines for the through slot that is routed into pieces two and three.
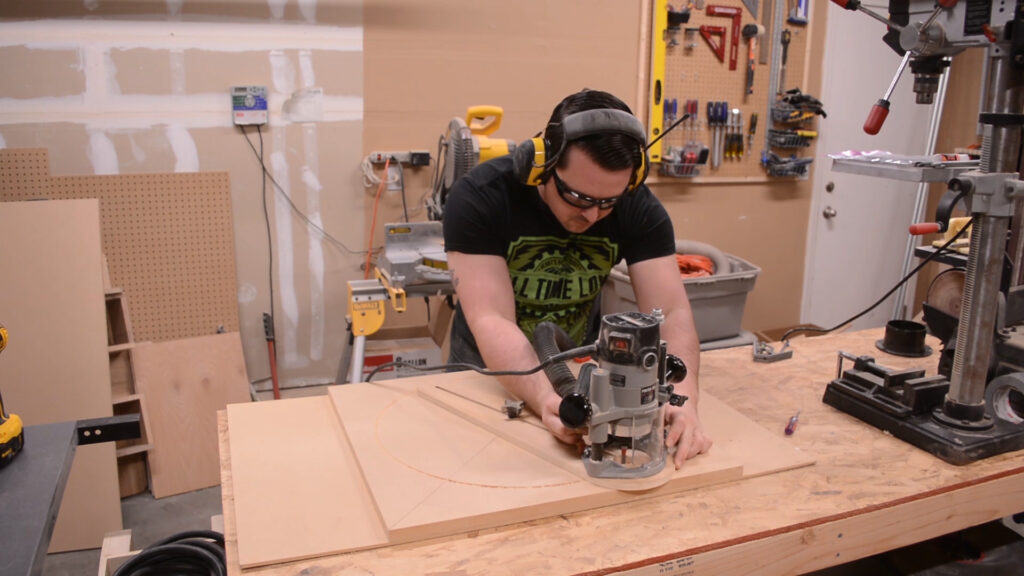
The through slot gets routed next. The slot in the second piece is routed to final dimensions. The through slot on the third piece is slightly undersized. This is done so that the a flush trim bit in my router can bring both slots into perfect alignment in a later step.

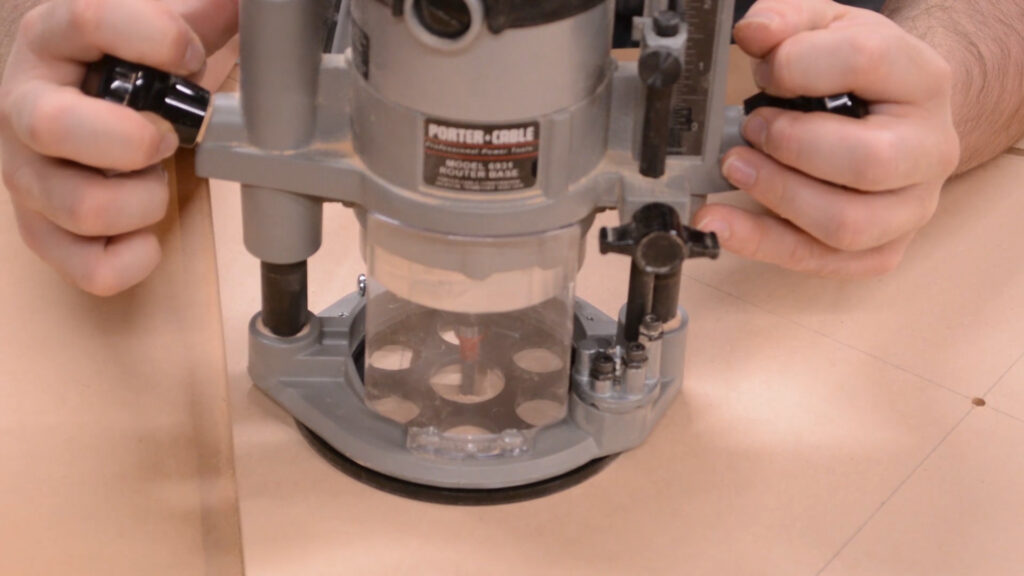
Once the radiused through slots are cut I use my router (freehand) and a chisel to finish the ends of the slot.
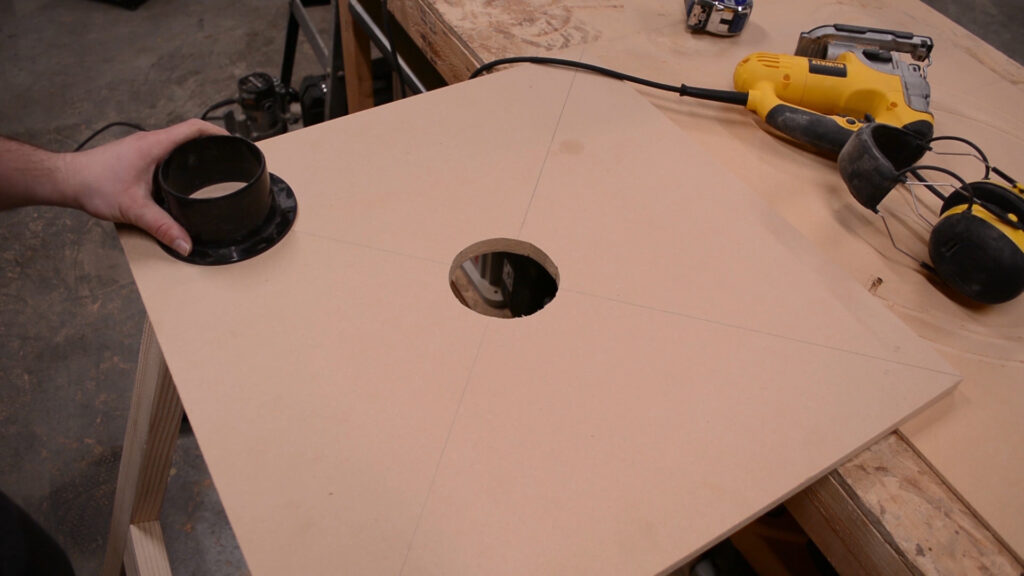
Moving on to the top piece (1st piece) and cutting the dust port. A 4″ inch hole is cut into the center of the top side of this panel. This will allow the fine dust to separate from the larger heavier chips. I did this freehand with a jig saw. It doesn’t have to be perfect.


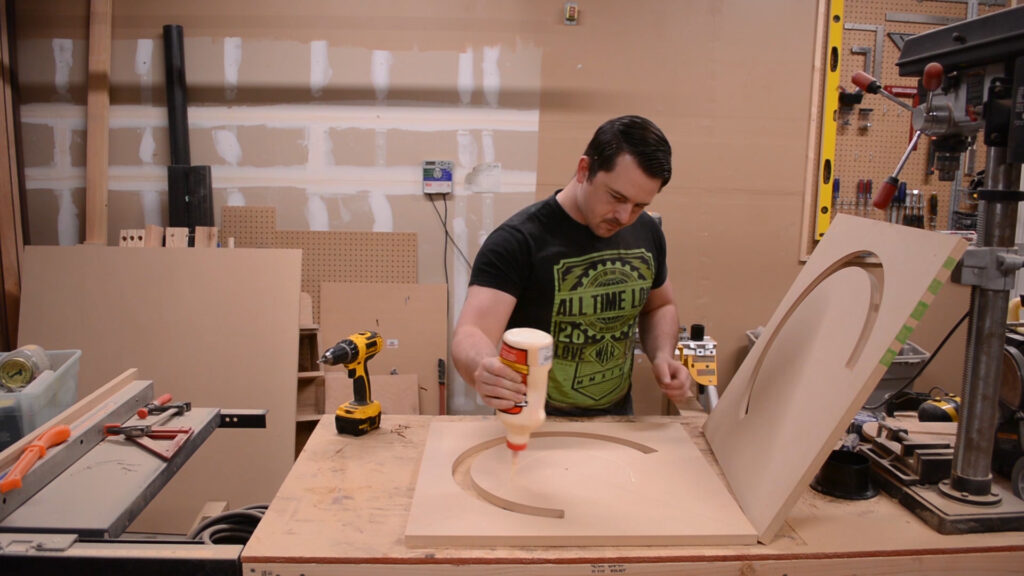
In preparation for the next step, I secure pieces two and three together with screws. I pre-drill and countersink the holes. The bottom side of piece two and the top side of piece three are touching each other.


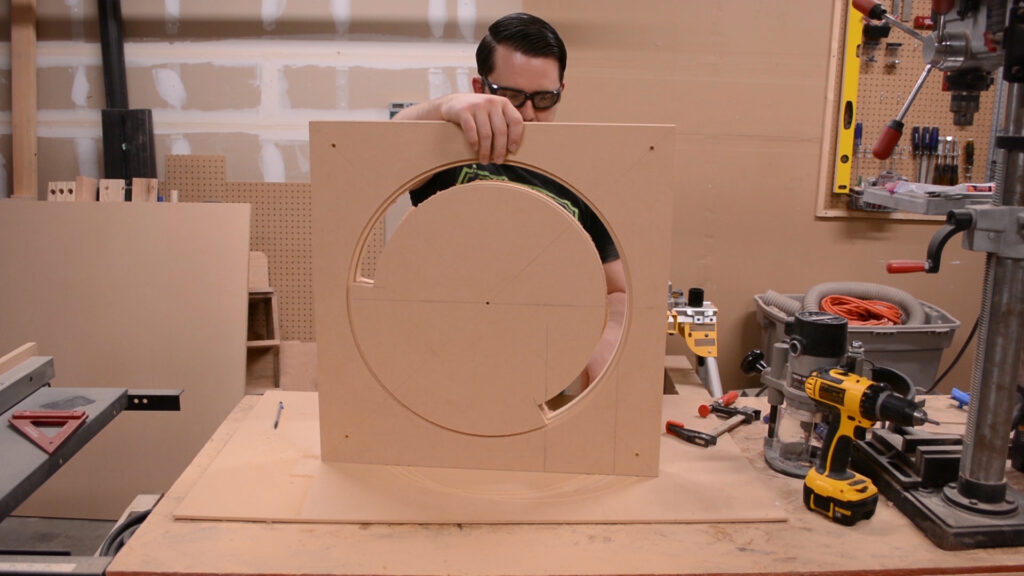
With the panels secured to each other I can now use a flush trim bit to bring the slots into perfect alignment. I then remove the screws and use glue to permanently secure the panels together.


I apologize for not having a better image of the finished product but you can at least see what the finished assembly looks like down below. All dimensions for this assemble can be referenced in the attached plan down below.
Conclusion
Thanks for reading! Below you can find affiliate links to the tools and products I used in this project. If you are interested in supporting my efforts, clicking my affiliate links goes a long way and I greatly appreciate any support that I receive. Also, you can find a downloadable plan for this project if your looking to modify one of these for yourself.
Tools/Products


