
Introduction
Like every workshop, I had a bunch of stuff sitting around piled in corners and under benches and needed somewhere to store it. This type of overhead storage is not my original idea, in fact I first saw it on another YouTuber’s channel, but is an efficient way to utilize the overhead areas in your shop without breaking the bank. Its made from plywood and 2×4’s is remarkably strong for what it is.
Tools/Products


How To Build It
I started by breaking an entire 4′ x 8′ sheet of plywood down using my Kreg Rip-Cut jig and a circular saw.
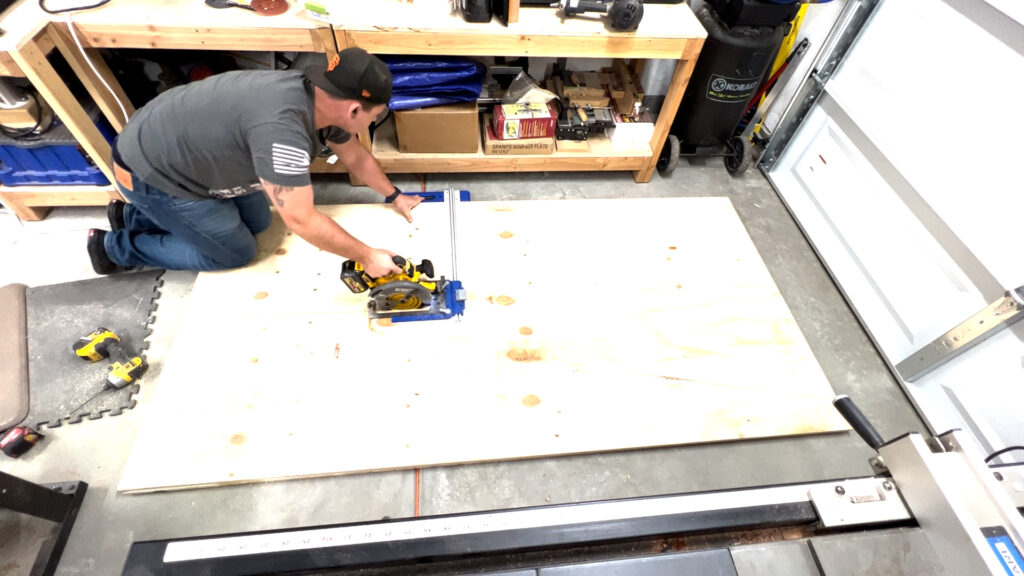
With the plywood at a more manageable size I ripped each half of the sheet down to the final widths that I needed. In my case they are 19″ wide due to limitations I had when attaching the supports to the roof of my shop.
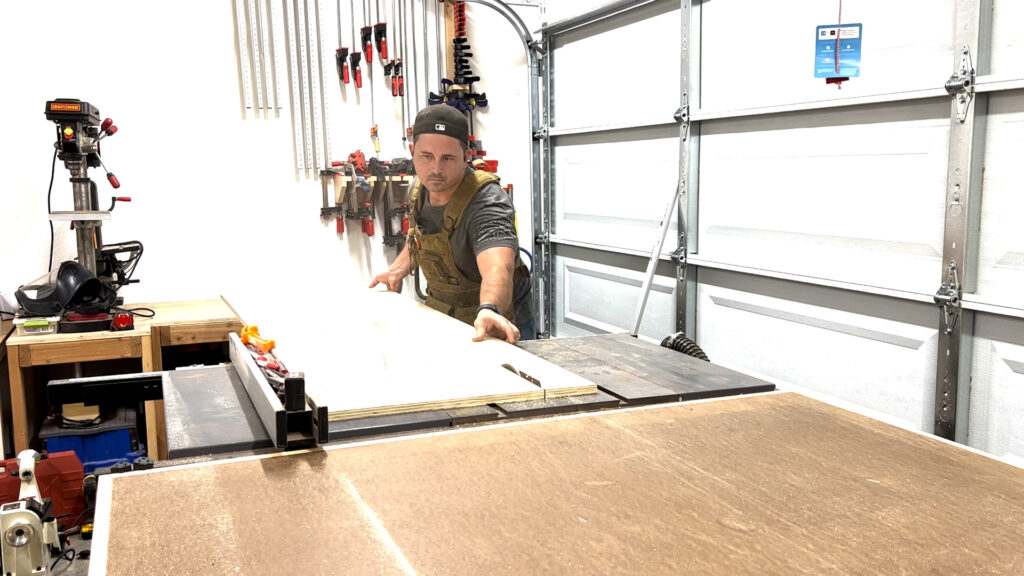
The supports for the shelves are made from 2×4 dimensional lumber ripped down the middle using my table saw. Be careful here If you choose to do it this way. While I was cutting, the 2×4’s began releasing internal stresses and started binding up around the blade. I had to stop the cut and add a spacer to keep the two halves from pinching the blade.

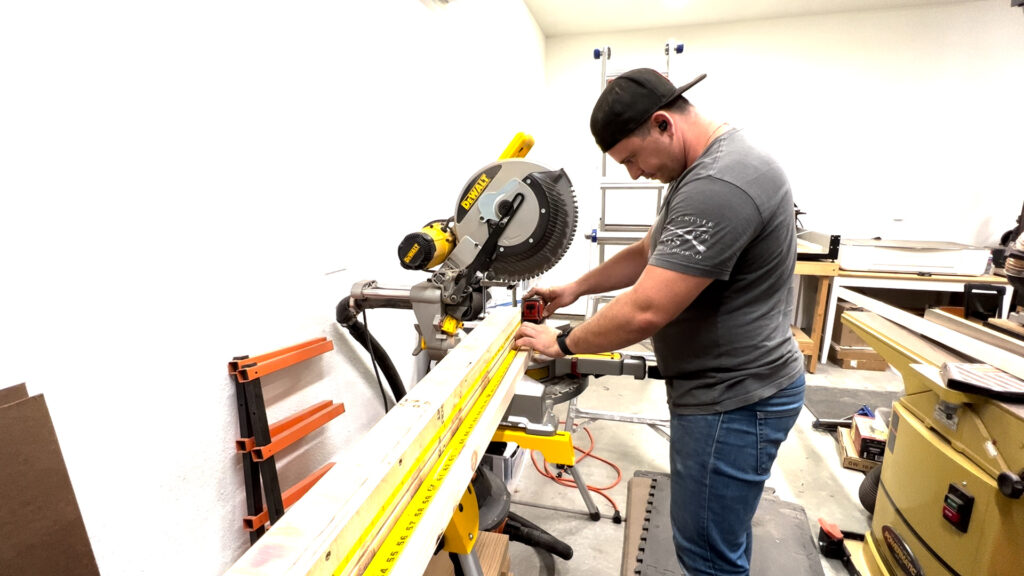
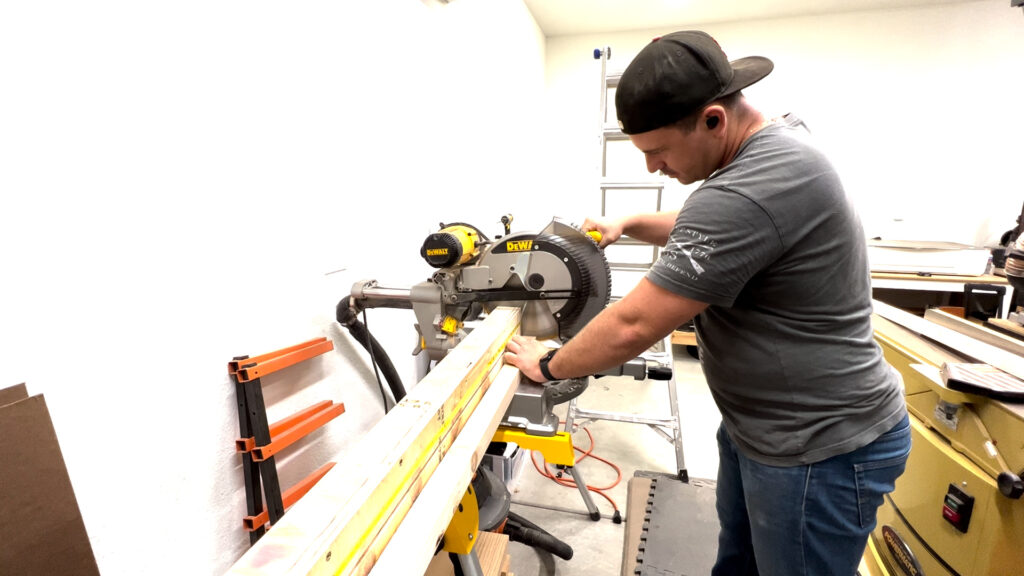
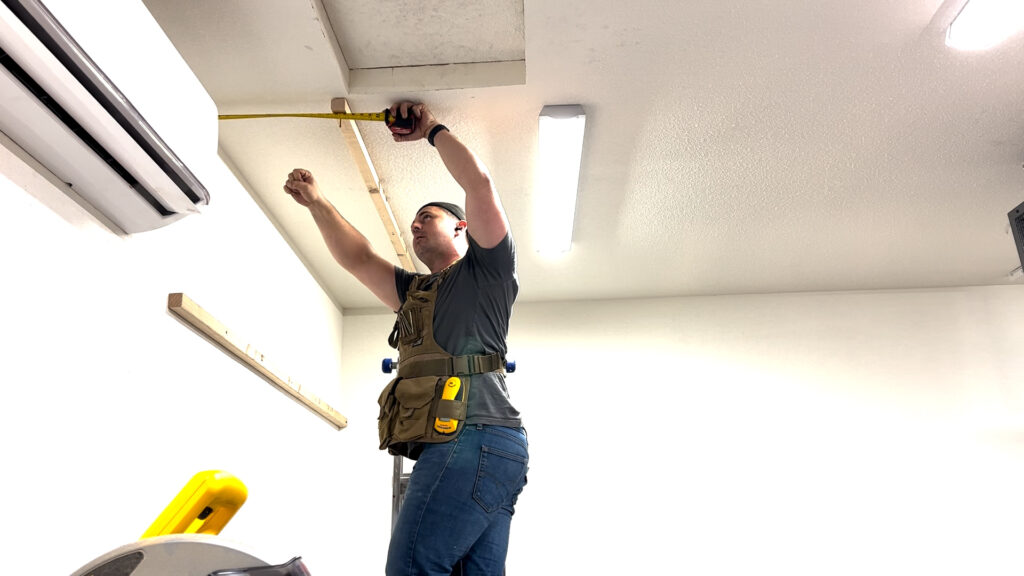
After measuring I cut the supports to the lengths I needed at the miter saw.
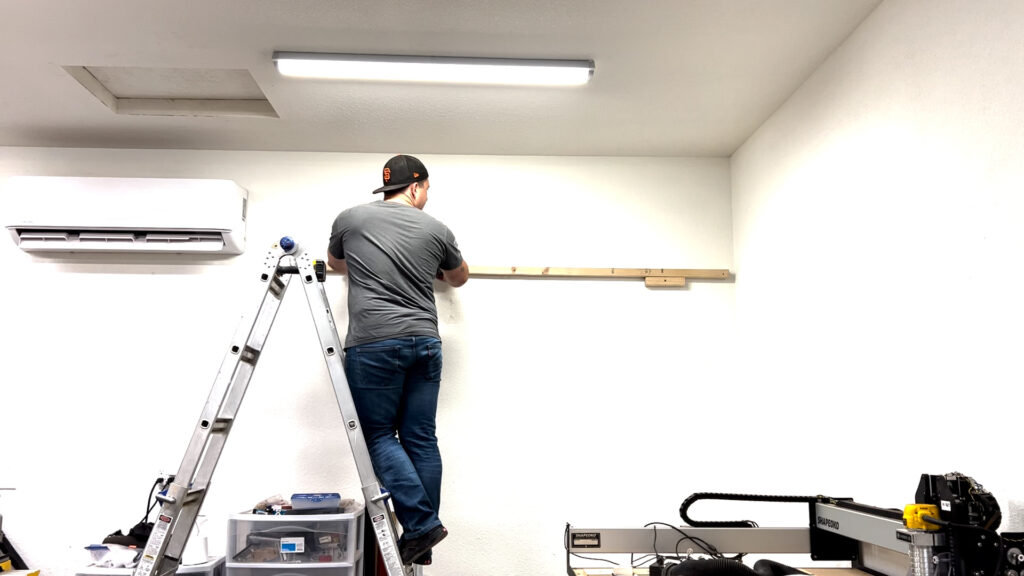
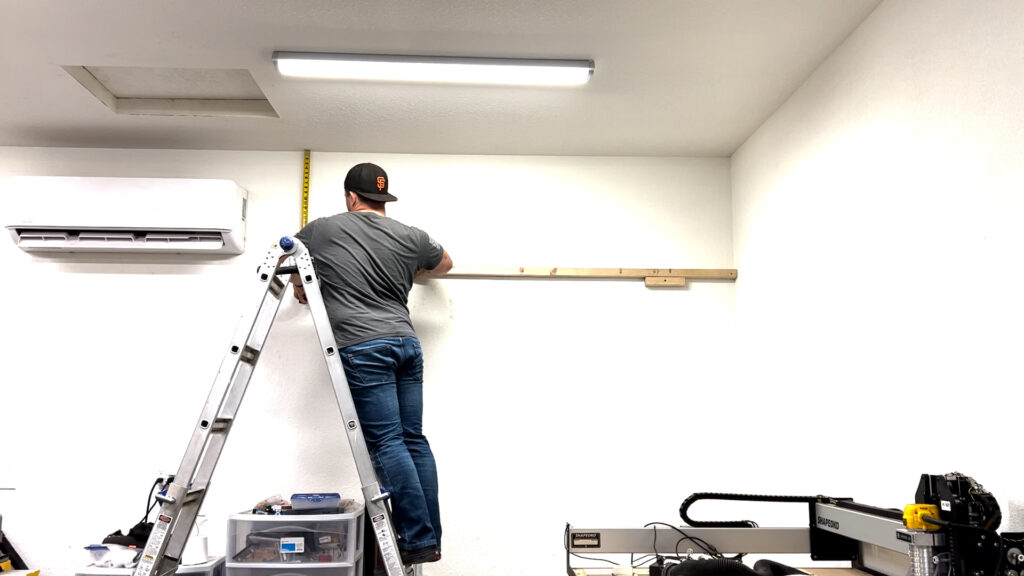
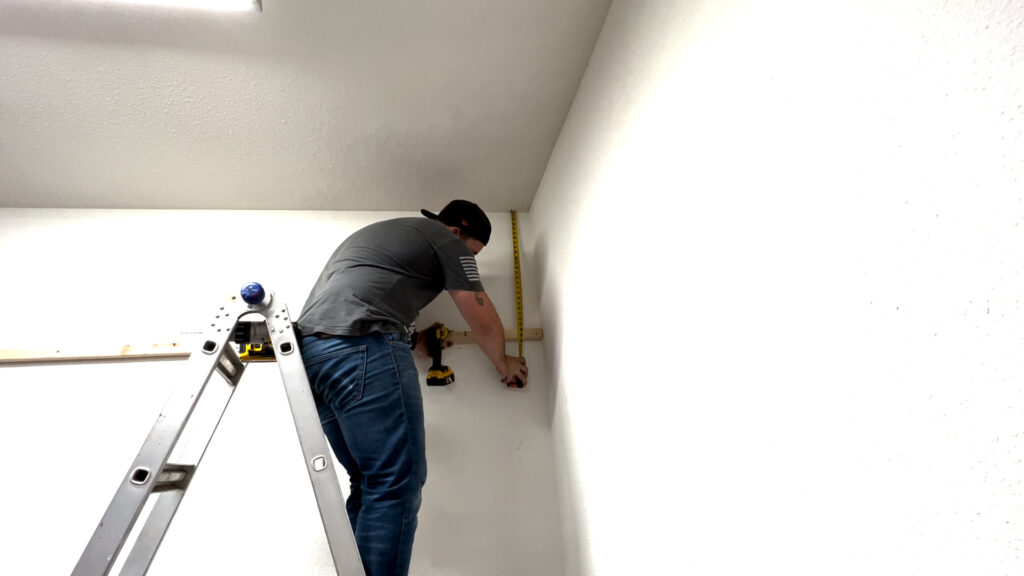
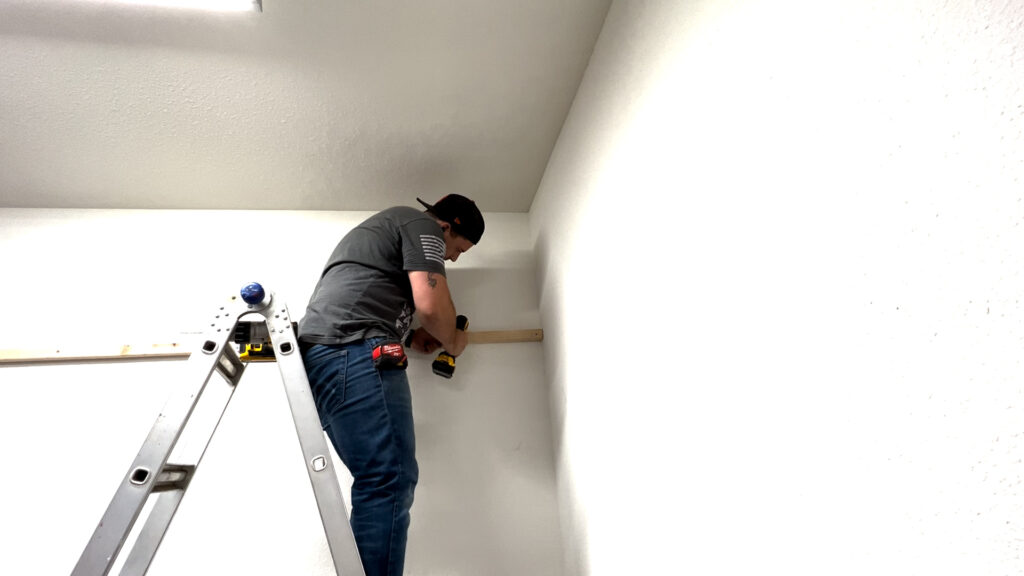
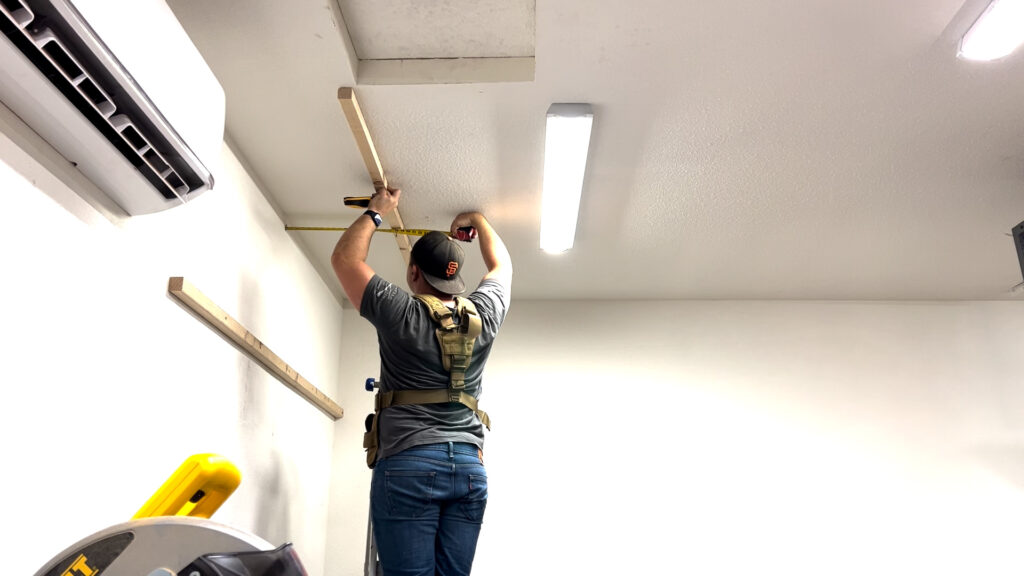
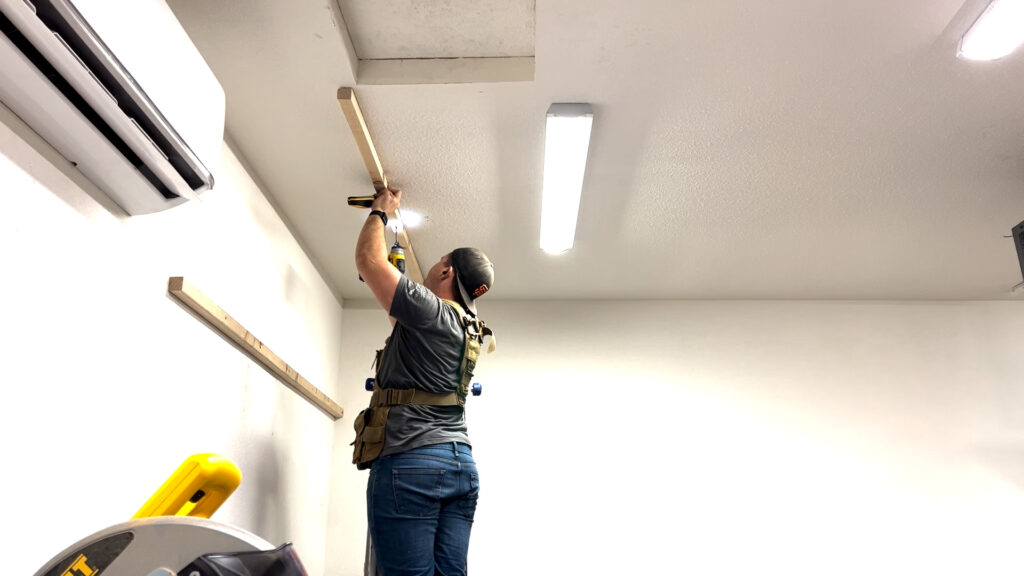
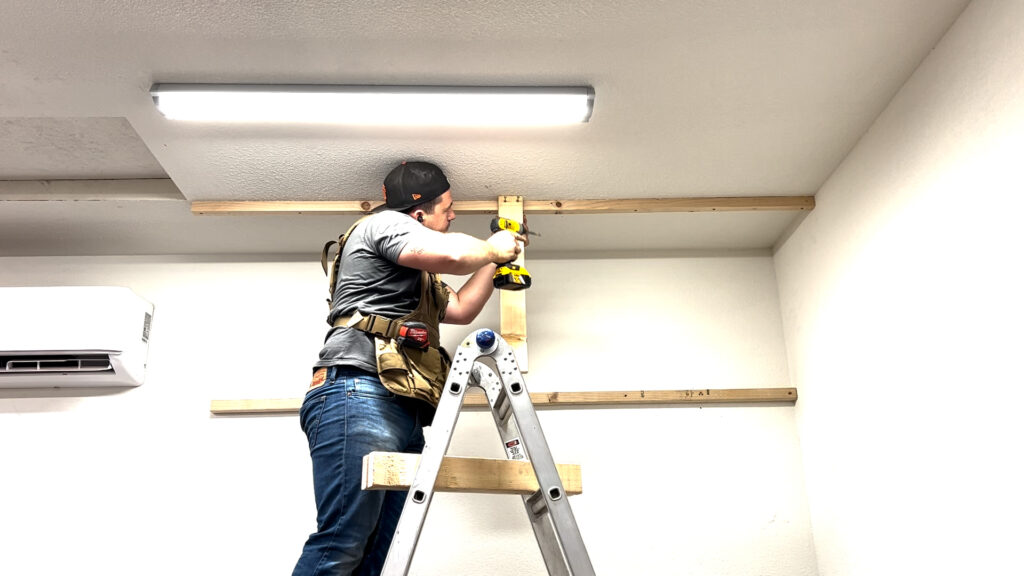
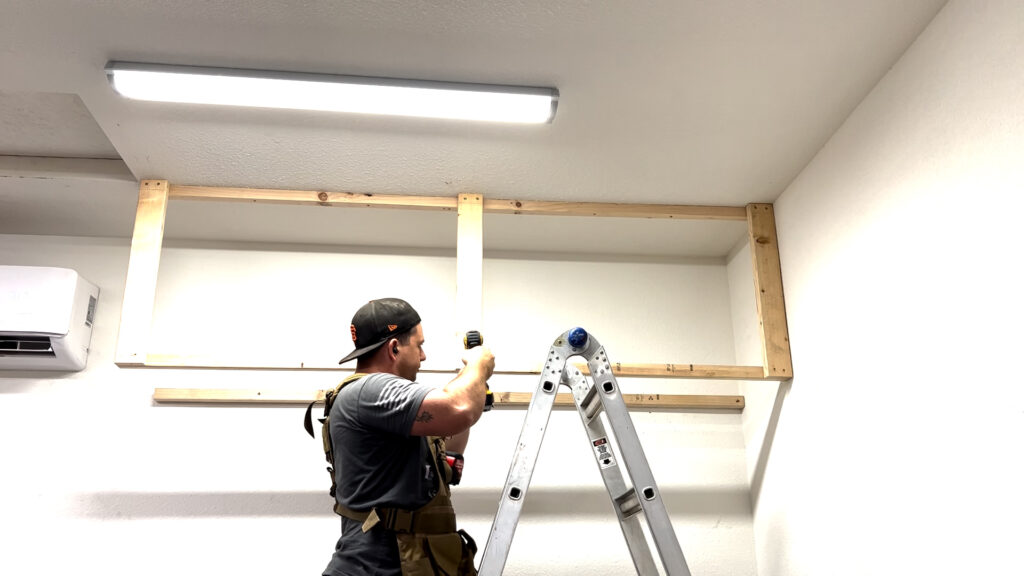
To aid in holding the supports against the wall while fastening them I used a block of wood as a shelf to hold one side of the support. This allowed me to measure for placement, manipulate and secure the other side. The supports are fastened to the wall, into studs where available, with 3″ screws.
A similar process is followed to attach the ceiling supports. In my particular case there is a ceiling joint the runs the length of the ceiling that these supports attach to. Again, 3″ screws are used to secure them.
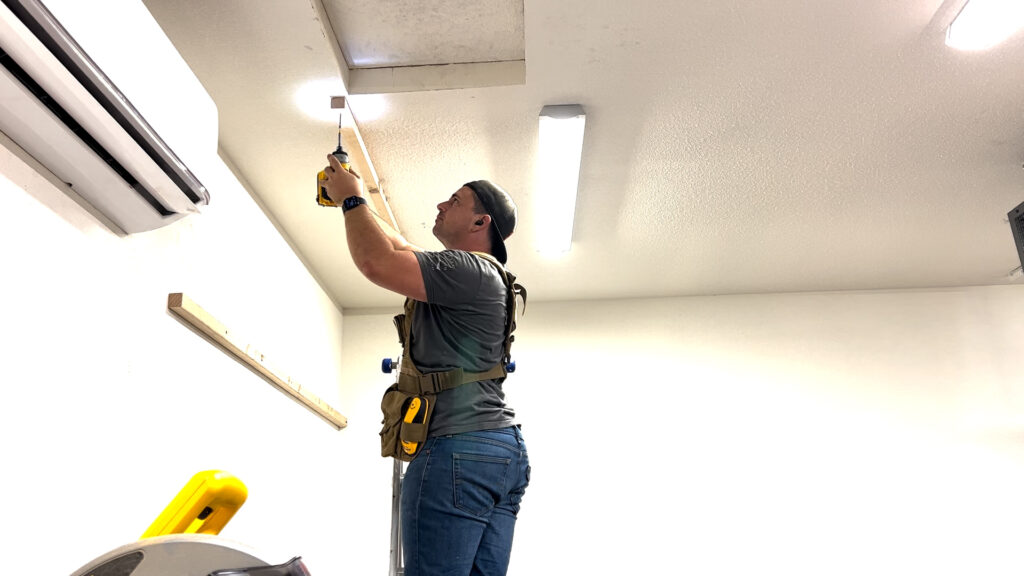
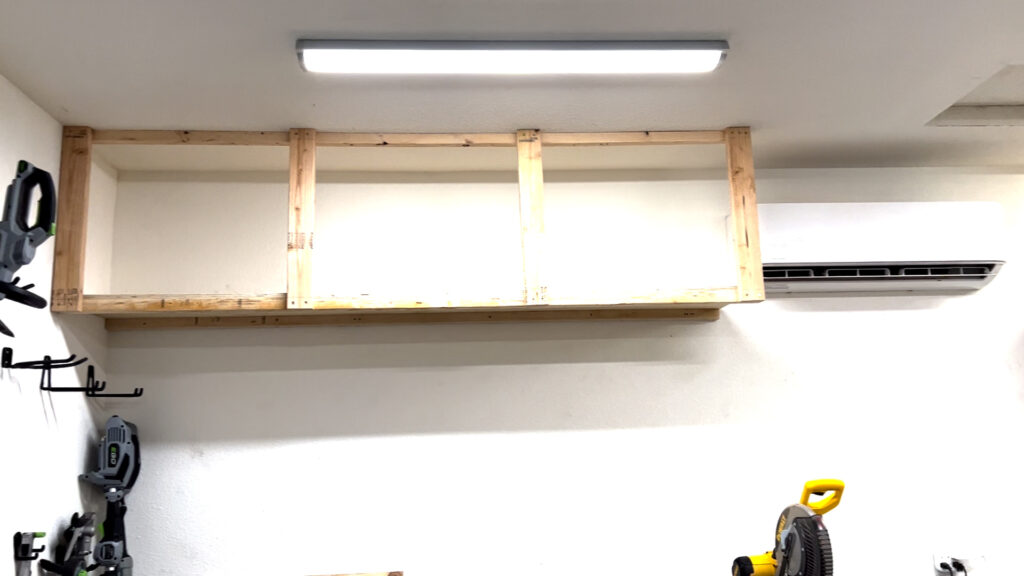
The vertical supports will hold the third horizontal support. Each one is secured to the roof horizontal support with 2.5″ screws.
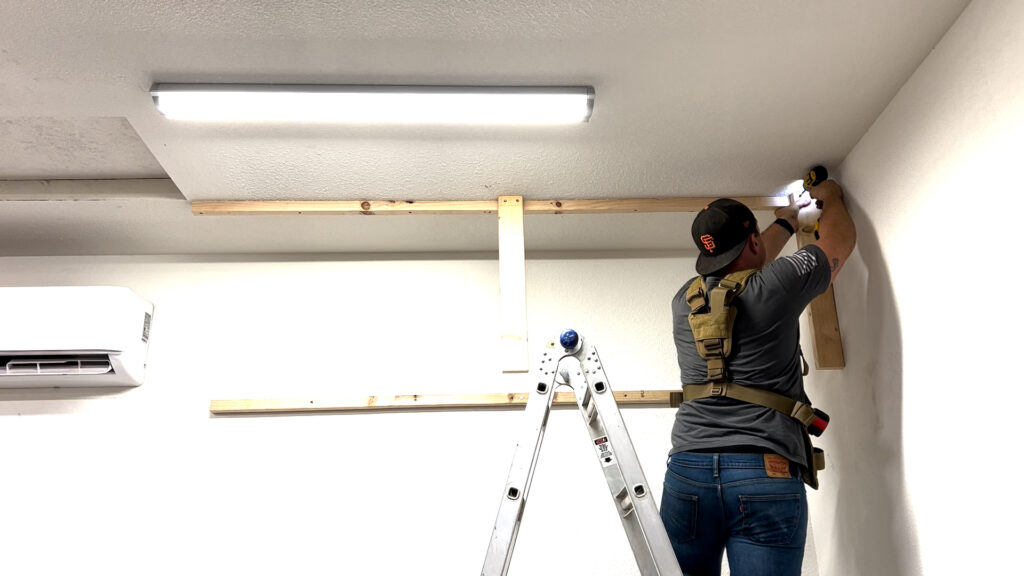
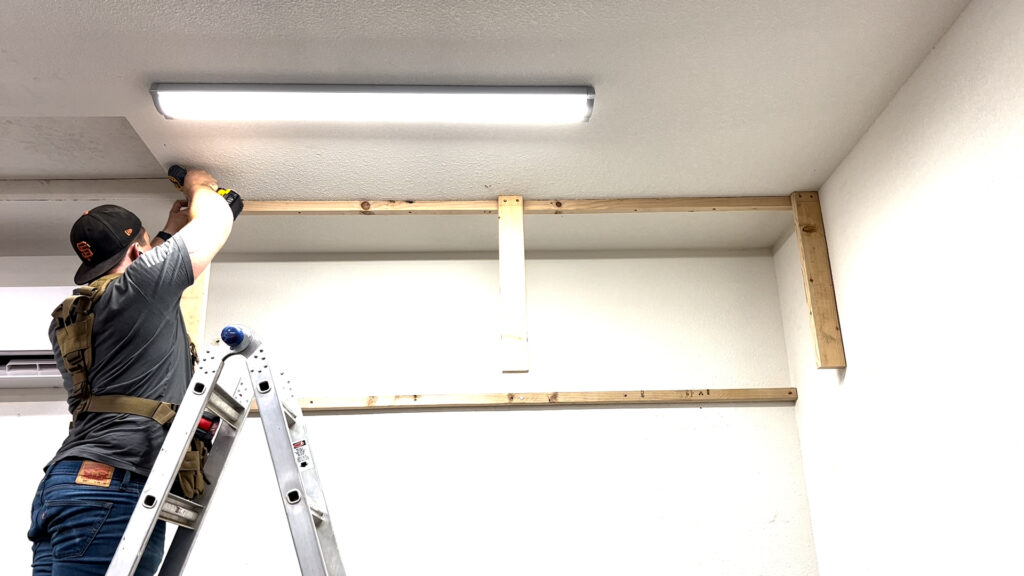
To aid is attaching the third horizontal support I use a similar method outlined earlier. A temporary support block is attached to the far right and left vertical supports and the horizontal support rests on them until they are fastened. The horizontal support is fastened to the middle vertical support last.
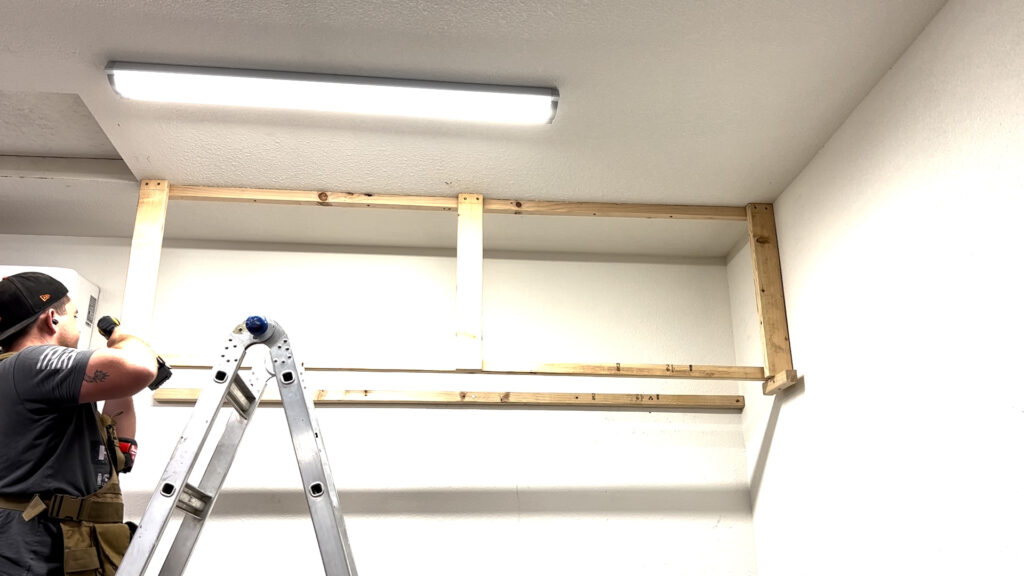
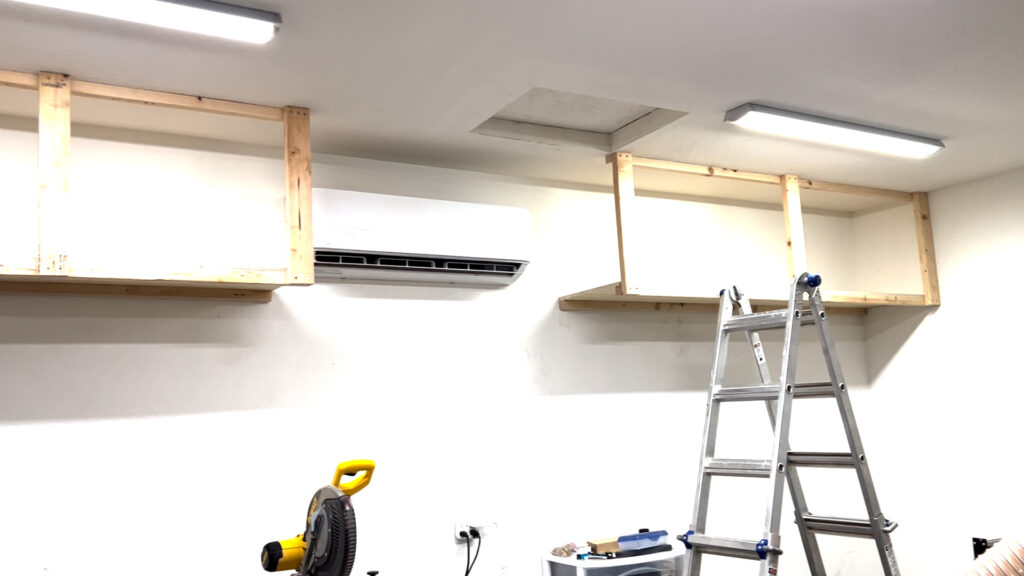
At this point the plywood can be attached to the supports. The supports are likely to not be perfectly spaced away from the wall but the plywood will take care of the potential inconsistencies. Don’t be surprised if everything is not perfectly square to one another. Rooms, walls and dimensional lumber are rarely square right out the gate and there really isn’t much to be done about it.
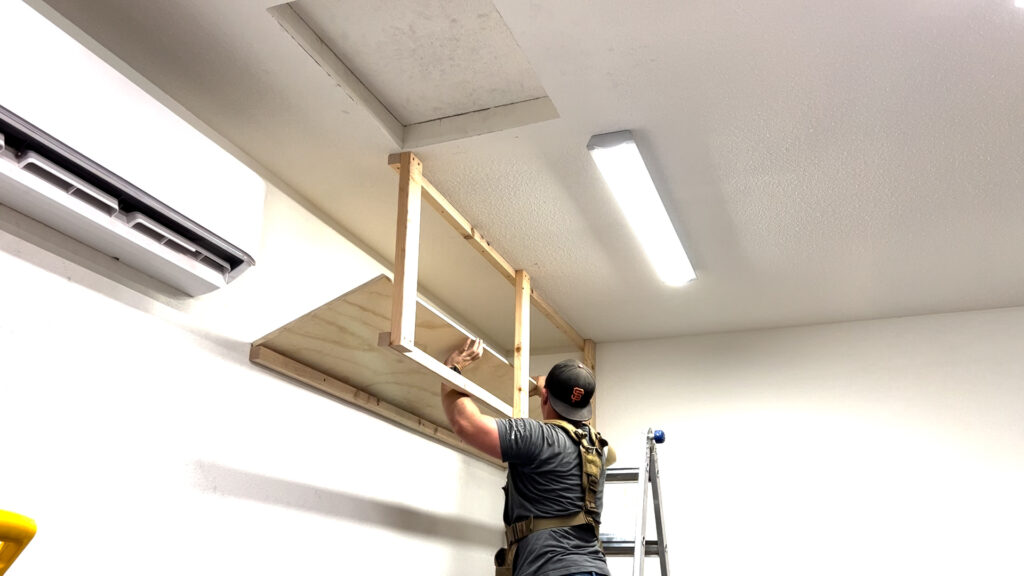
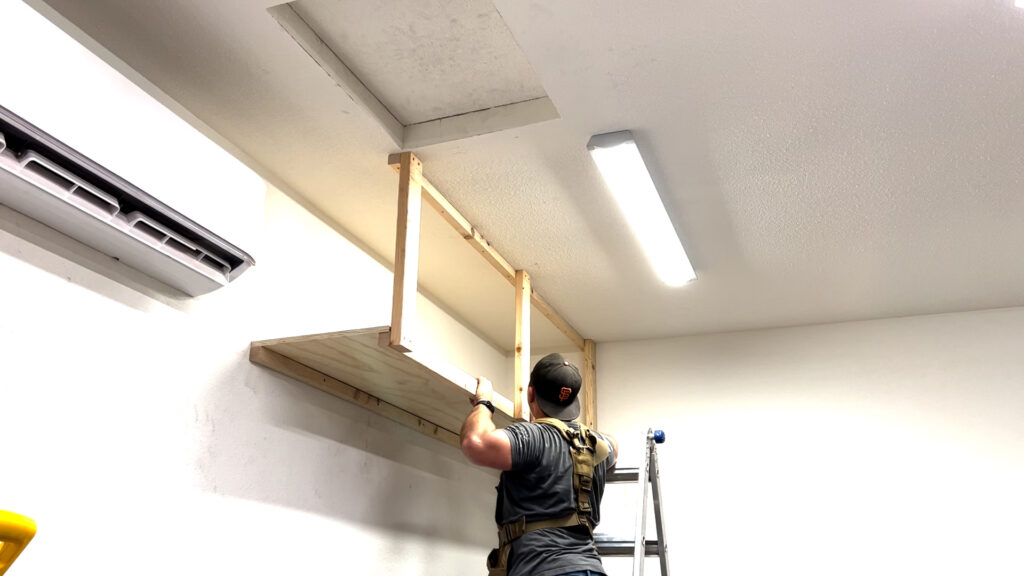
1 1/4″ screws are used to attach the plywood to the supports.
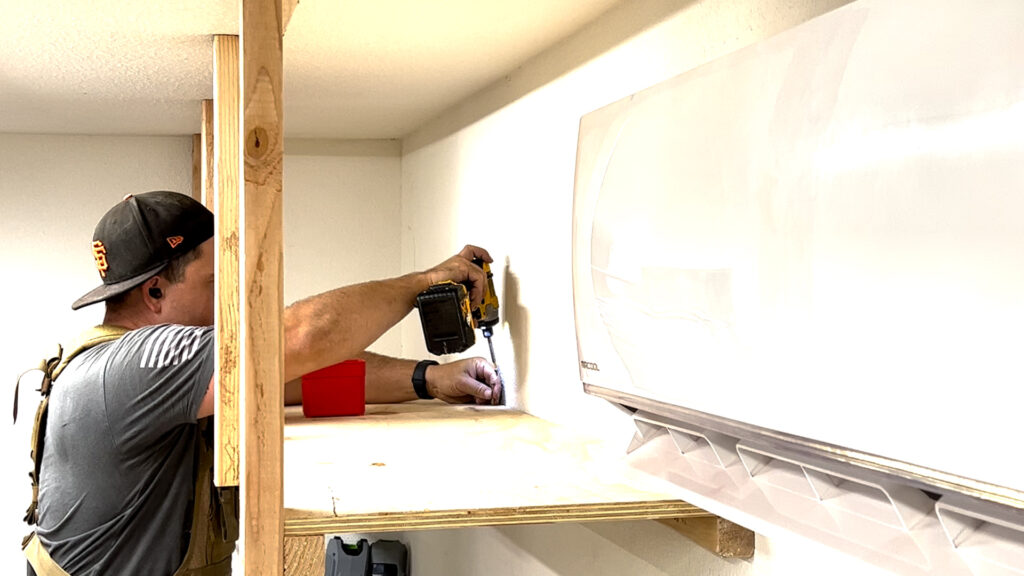
The same processes are duplicated on both shelves you see in the images below.
Conclusion
Thanks for reading! At the top of this article you can find affiliate links to the tools and products I used in this project. If you are interested in supporting my efforts, clicking my affiliate links goes a long way and I greatly appreciate any support that I receive. Because these shelves have to be customized to your space I didn’t make any kind of plan to reference. If you have any questions, however, leave a comment down below or on the YouTube video itself and I will do my best to answer them.