
Introduction
Among the router jigs you should think about adding to your arsenal is a circle cutting jig. I built one for myself in preparation for a dust collection modification project. That project requires a number of circular slots routed into MDF that sandwiches the thein baffle. This jig makes quick work of routing those slots. If you have a project in the future, such as a circular table, I highly recommend making one of these for yourself. I make the entire jig from scrap 1/2″ birch plywood but any plywood will work.
How to Build It
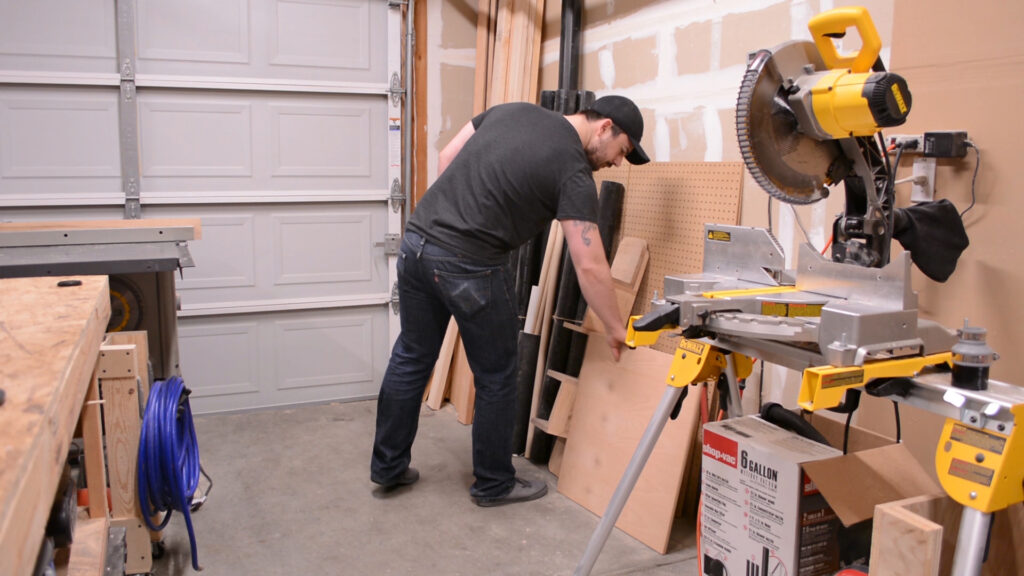
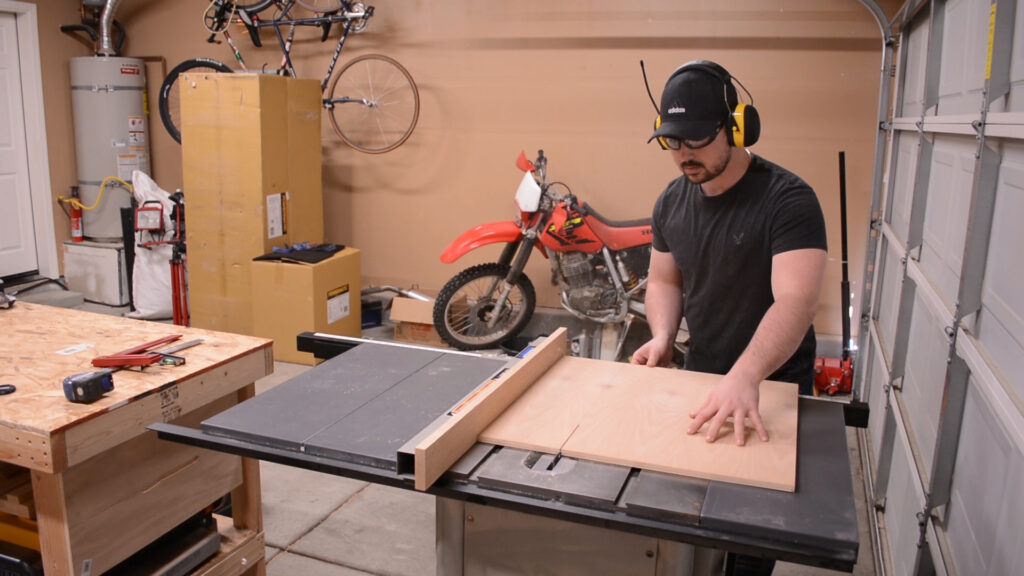
This can 100% be a project you accomplish with scrap plywood. As previously stated, I used 1/2″ birch plywood that I had left over from an old project. The first step is to mark the width of the jigs body then cut it it to size on the table saw. If the router your making this for has a base plate, remove it now because it will be needed for a later step.
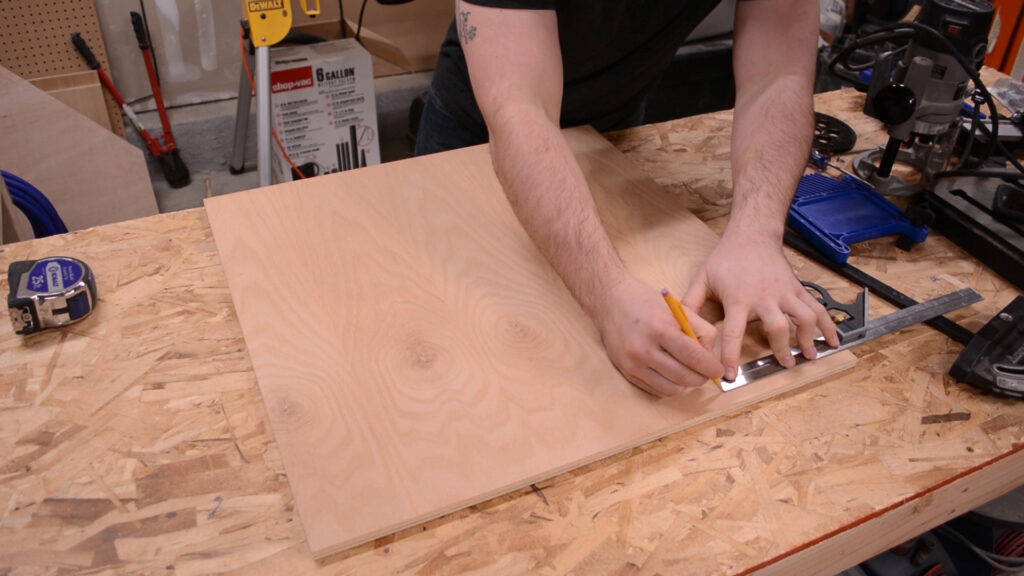
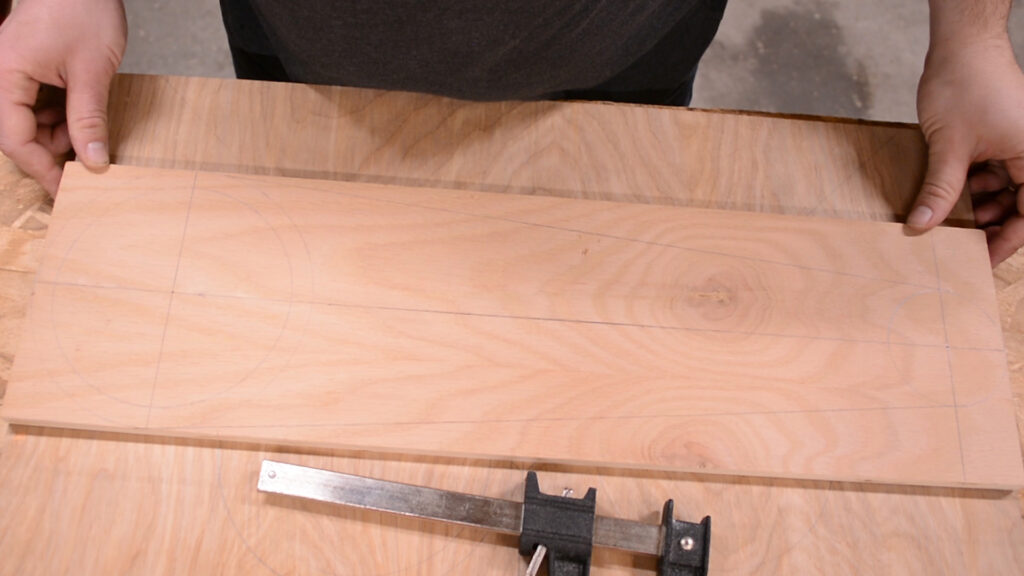
Its a little hard to see in the photo but there are several layout lines that I drew on the surface of the plywood. These lines will be used to cut out the shape of the jig and to route/cut the needed slots and holes. Reference the plan linked down below for placement of the layout lines.
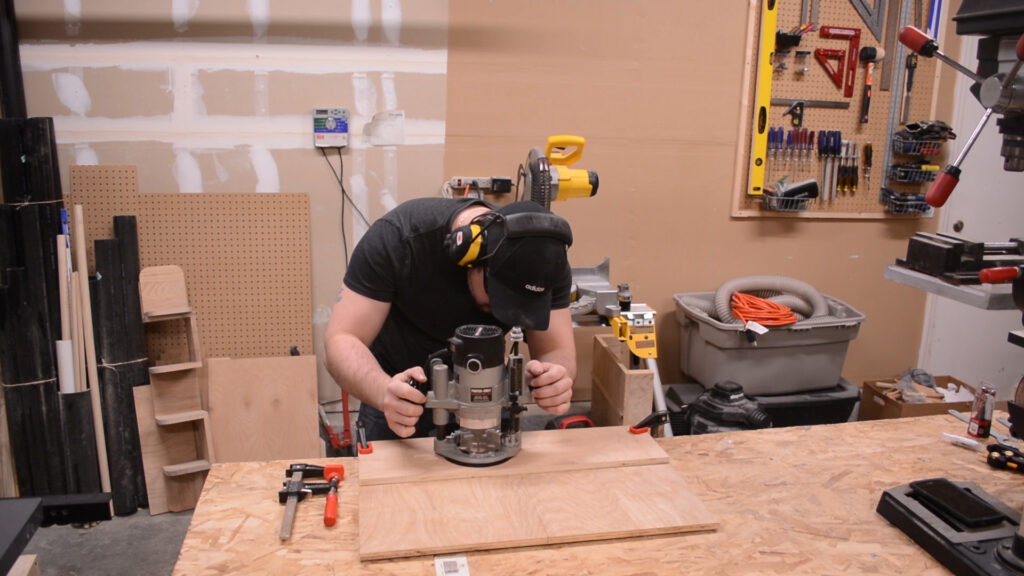
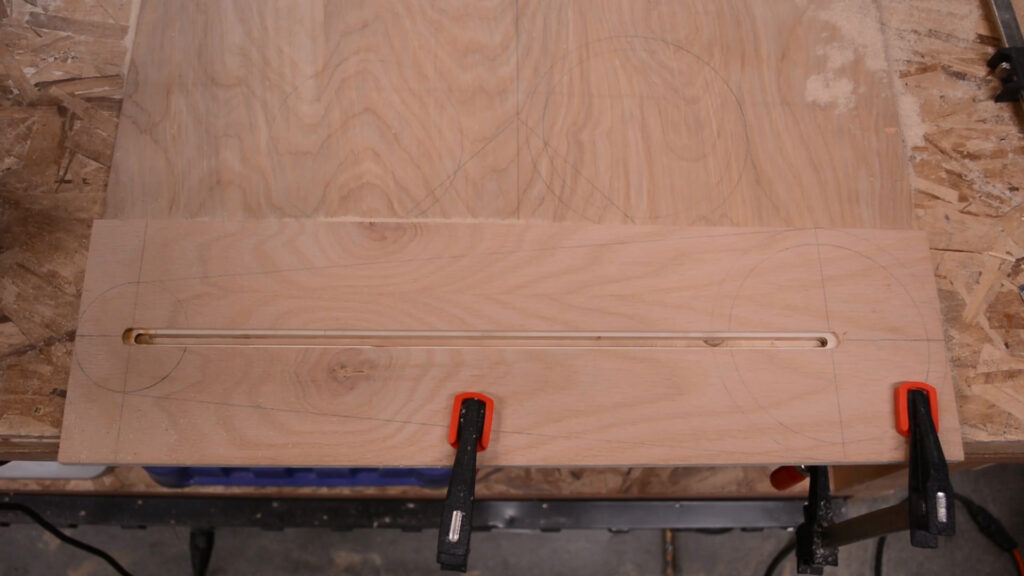
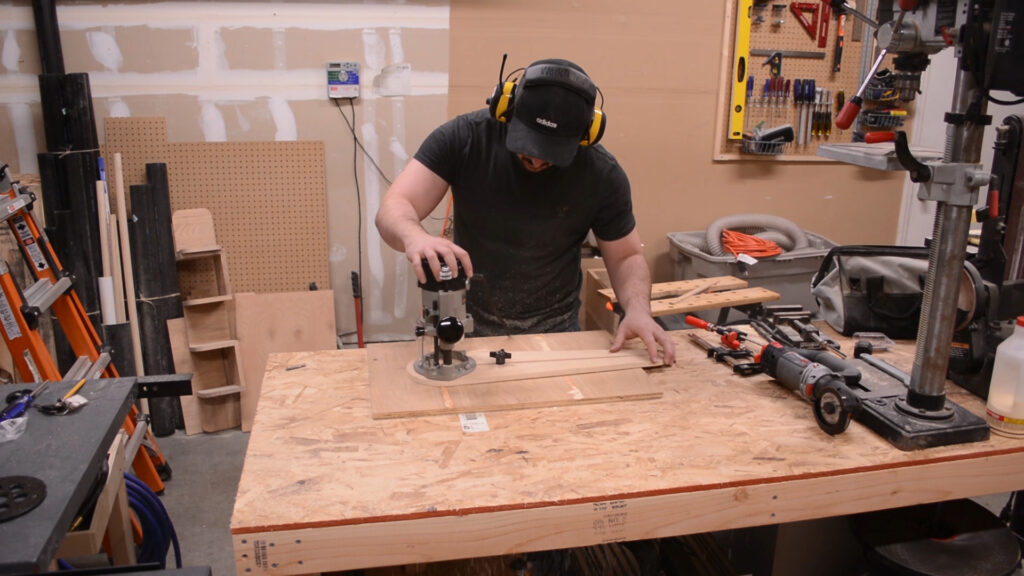
With the layout lines in place I started routing the slots for the adjustable pivot point part of the jig. There are two slots, one that goes 50% of the way through the jig body(1/2″ Spiral Bit) and a the second goes all the way through(5/16″ Spiral Bit). I accomplish these slots using my router with an attached fence.
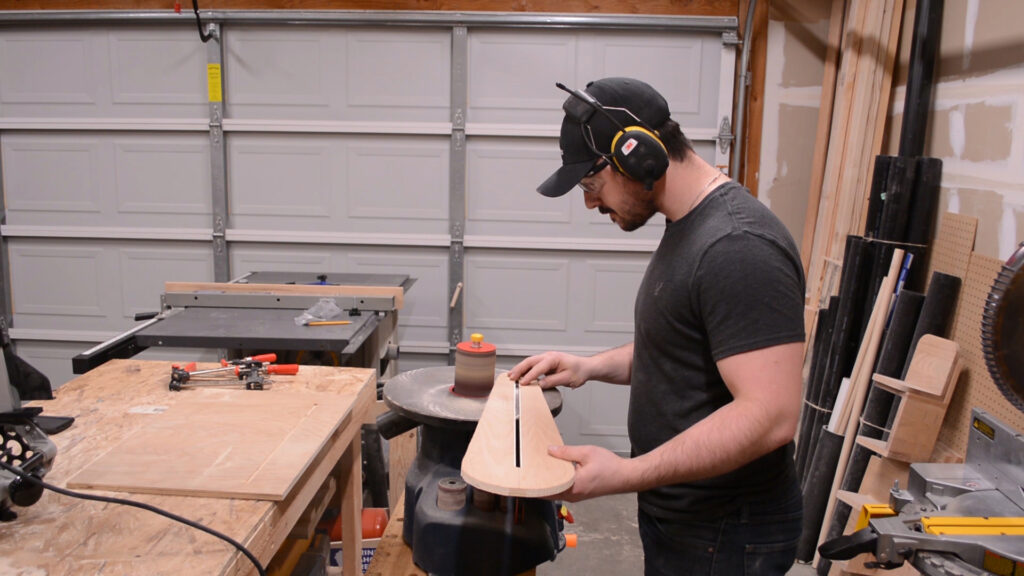
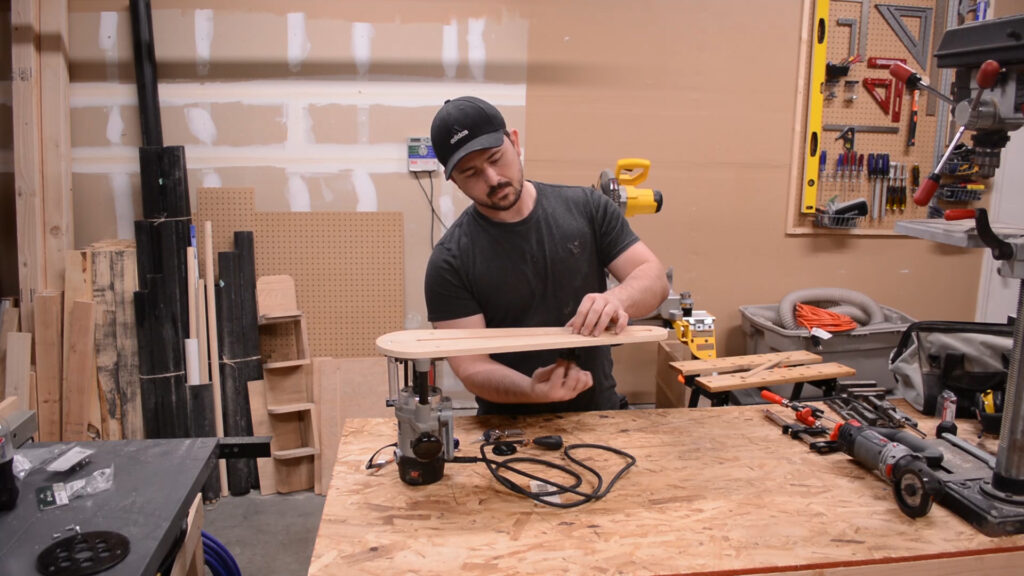
The shape of the jigs body is cut at the band saw then refined using my spindle sander. If you don’t care how the jig looks then this step can be skipped entirely.

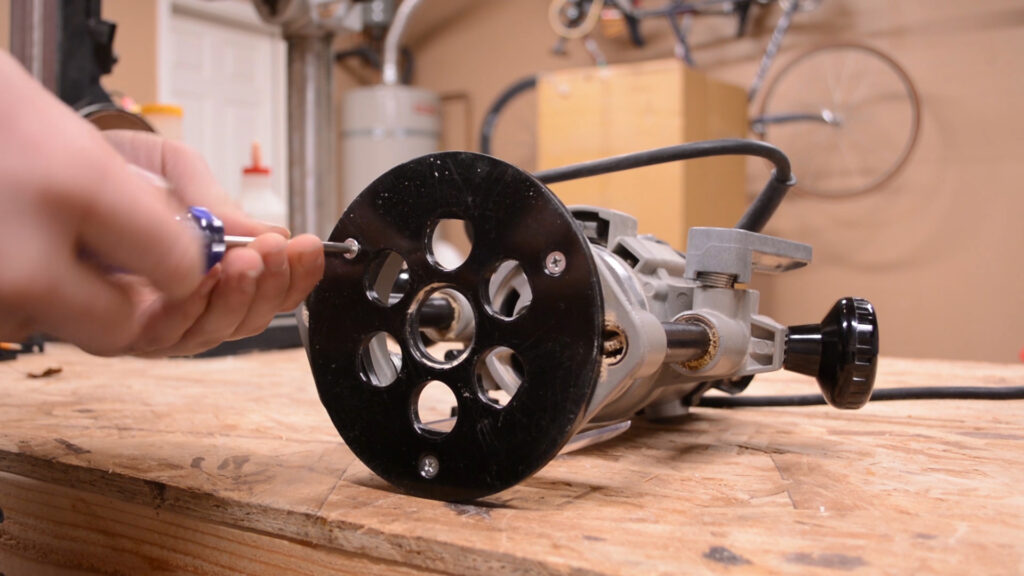
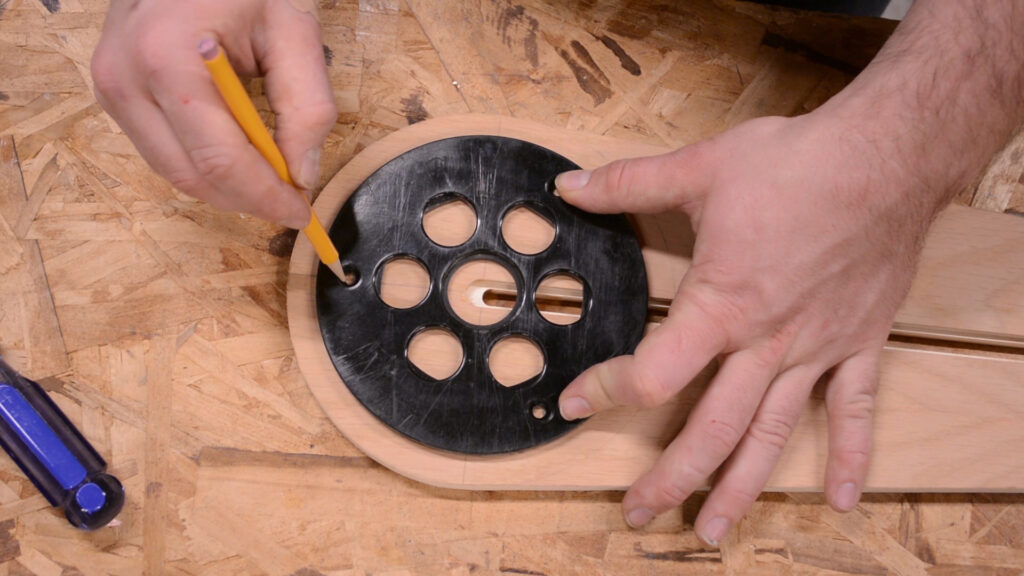
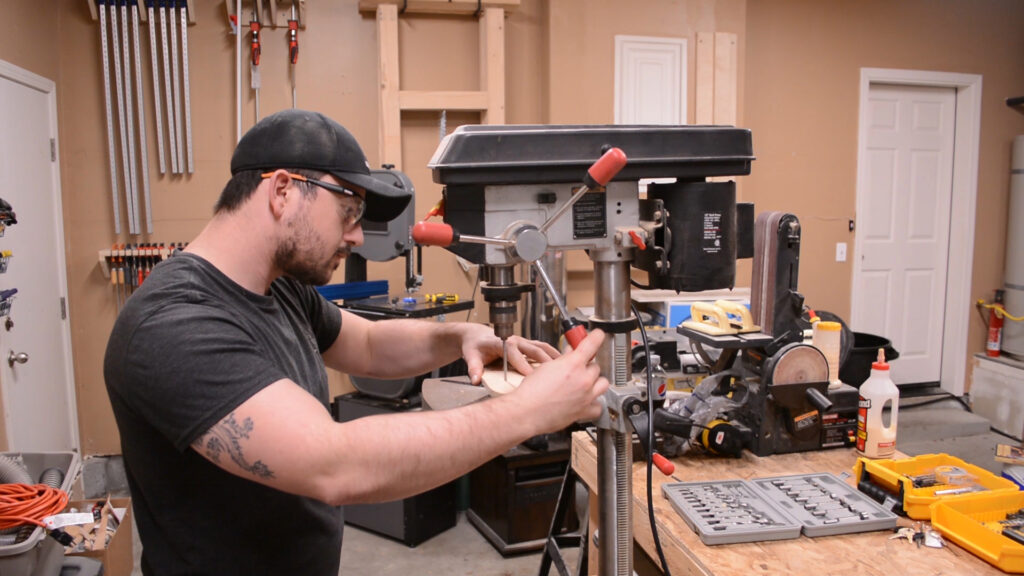
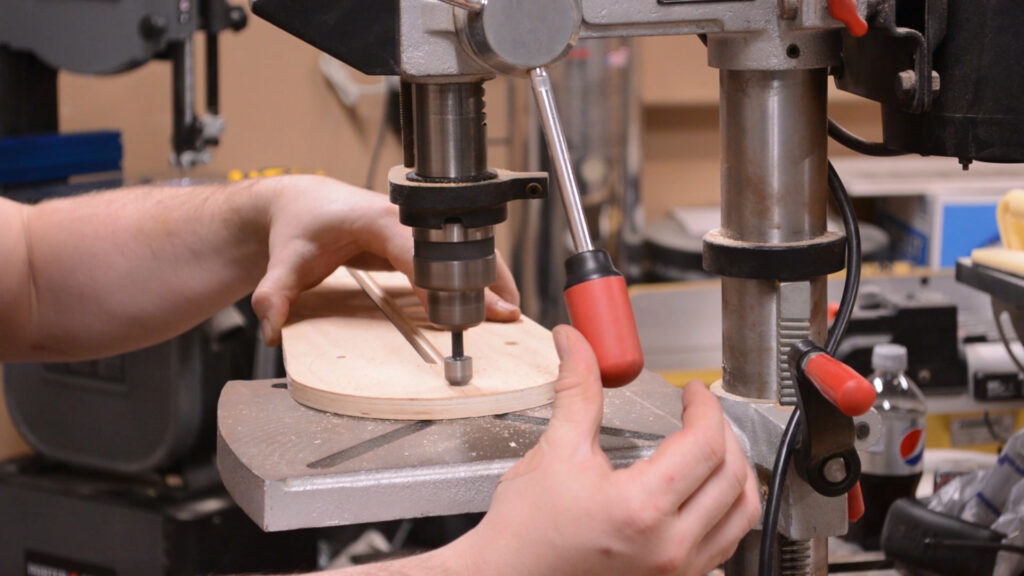
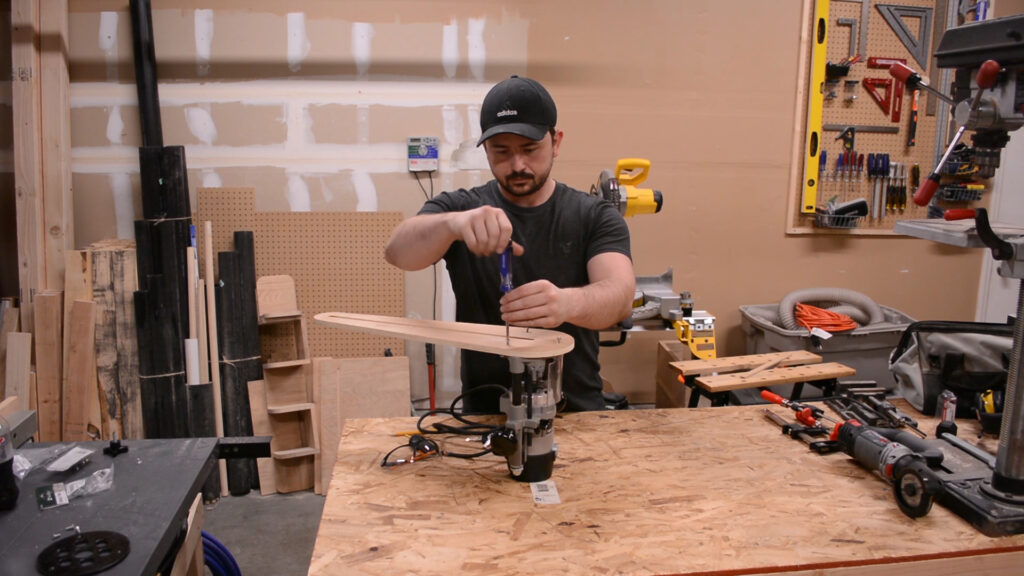
Attaching the base plate to the router requires a few holes be drilled. I use the routers base plate to mark out the locations then drill through holes with countersinks with my drill press.
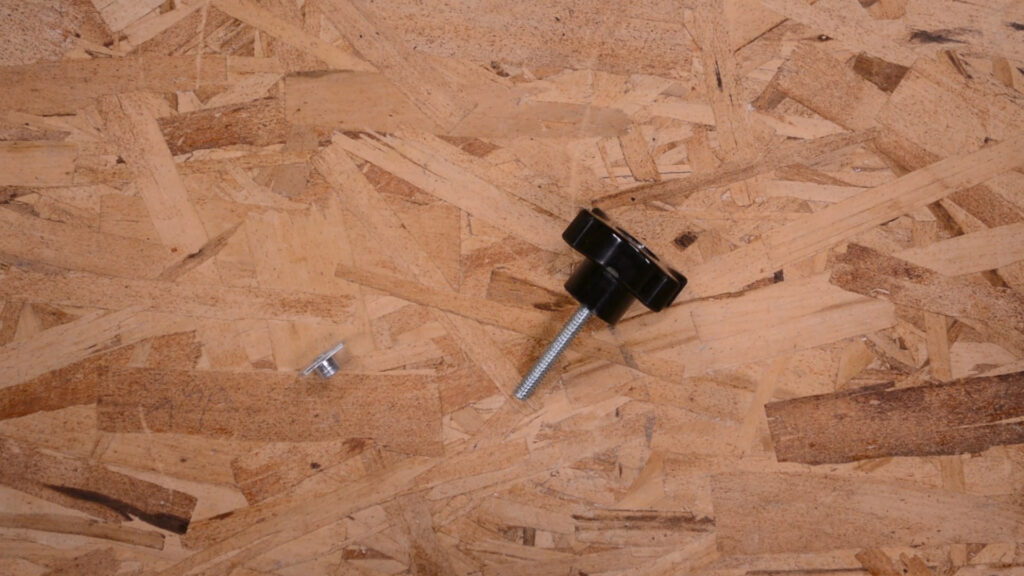
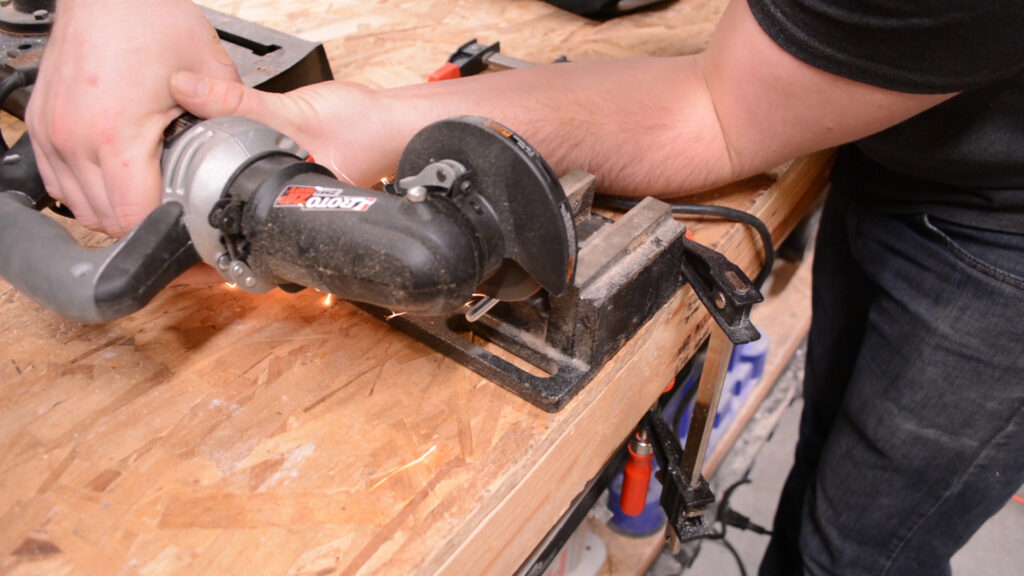
The pivot point the router will travel around is a star bolt and t-nut that will get attached to the jig body through the slots routed earlier. First the star bolt needs to the shortened a little, I do this with a grinder.
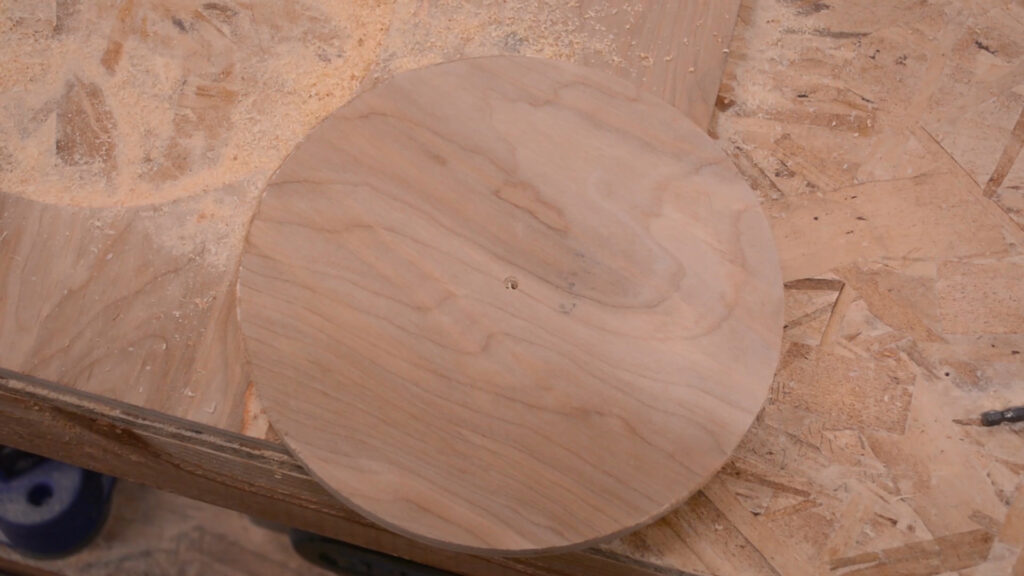
Its time to attach the jig to the router and test it. As you can see from the images below the jig works perfectly.
Conclusion
Thanks for reading! Below you can find affiliate links to the tools and products I used in this project. If you are interested in supporting my efforts, clicking my affiliate links goes a long way and I greatly appreciate any support that I receive. Also, you can find a downloadable diagram for this project if your looking to build this jig for yourself.
Tools/Products


