
Introduction
Prior to this project my clamps lived in various locations all over my work shop. In order to better organize my workshop I decided to build some holders for the majority of them. Because I had several different types of clamps I had to make a few variations. All of the clamp holders are made from either strips of 1/2″ birch or 2×4 dimensional lumber.
How to Build It
First things first… I started breaking down the plywood into small strips. These strips are cut to the width necessary for each clamp holder. All of the dimensions are in the included plan down below.

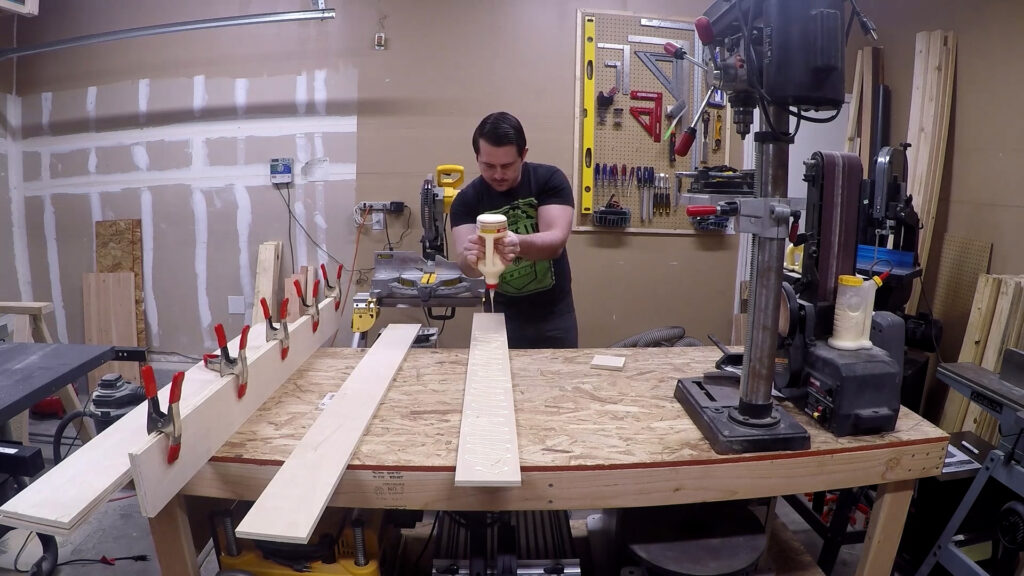
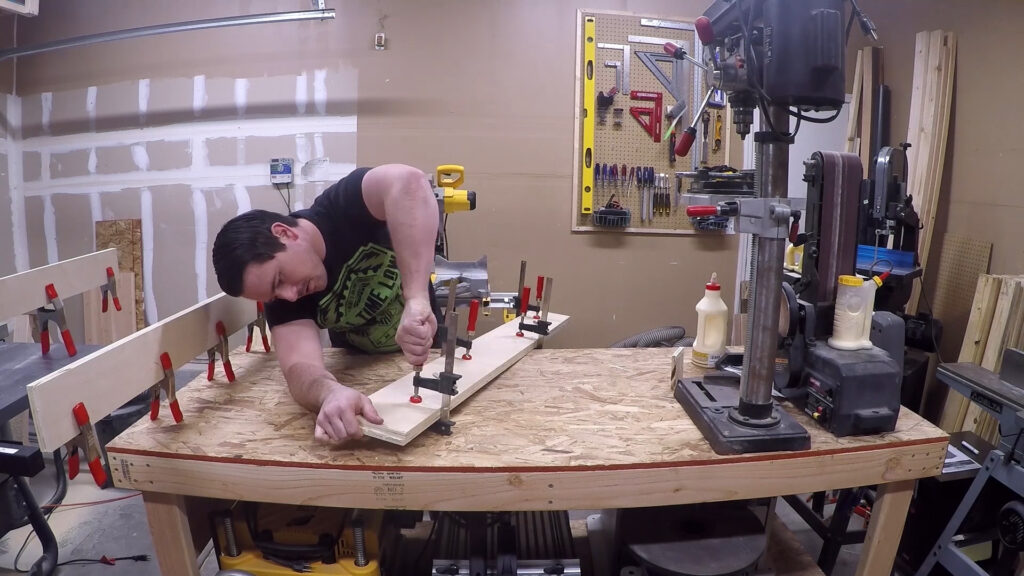
Once the strips are cut they need to be glued and clamped together. I accomplish this with standard wood glue and a bunch of clamps.
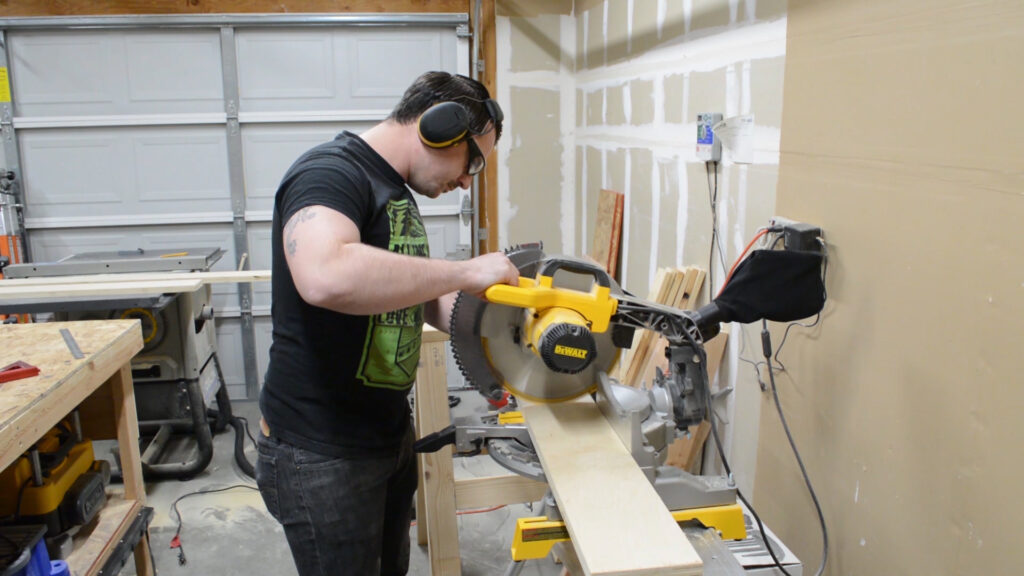
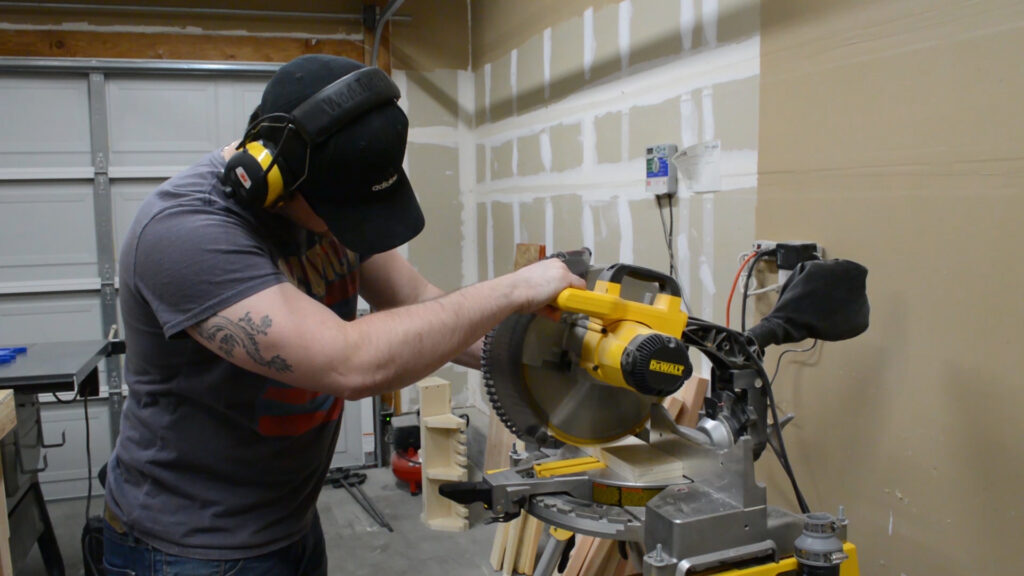
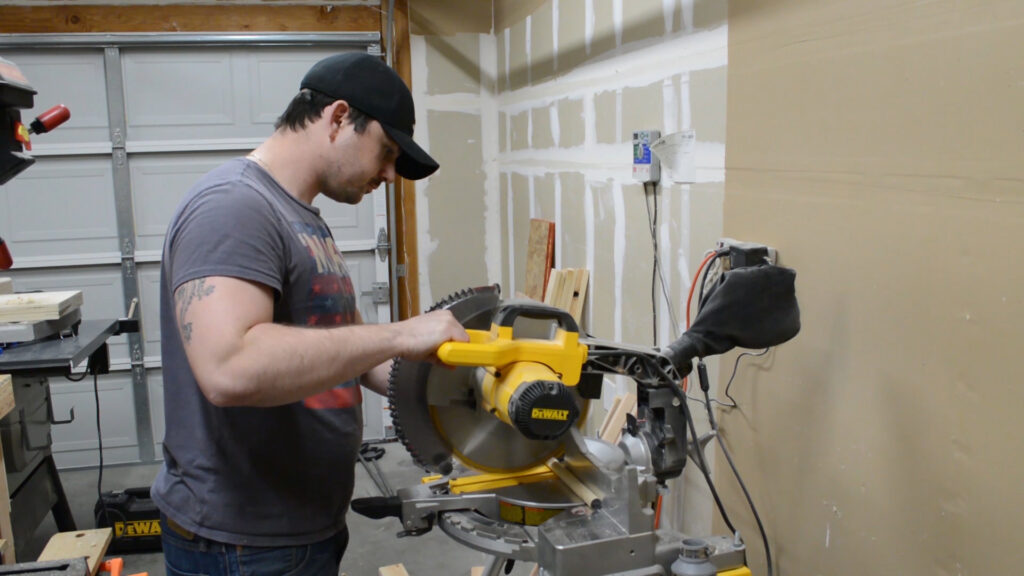
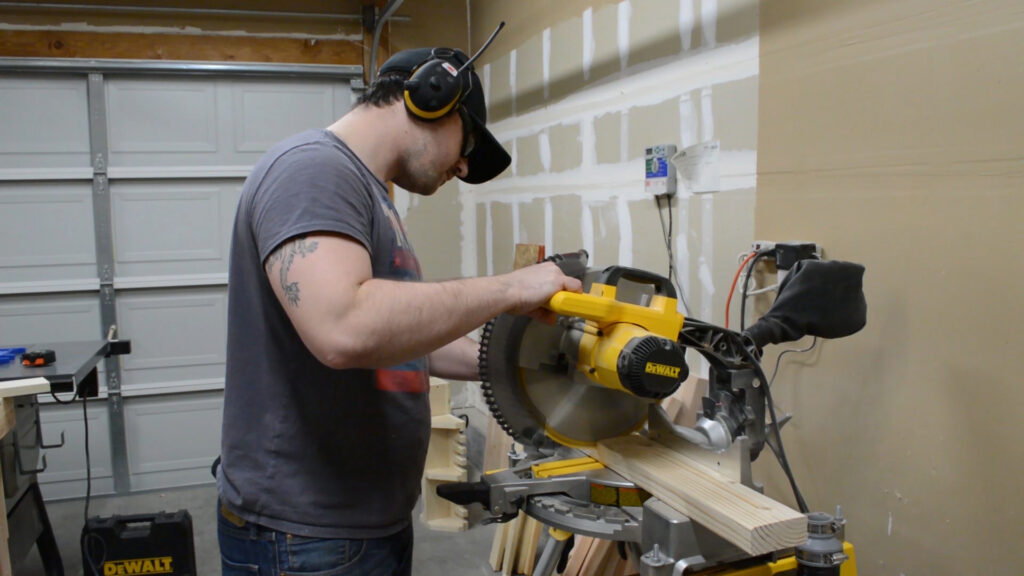
In total I will be making three different holders from these laminated strips. The laminated strips are cut to length using a miter saw.
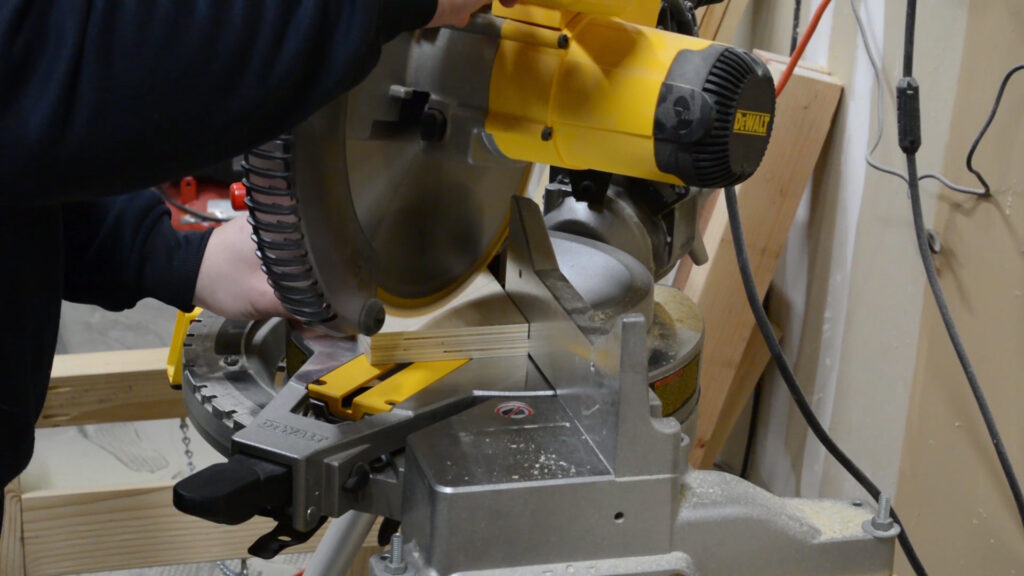
All of the clamp holders will have angled supports below the holders surface to add some reinforcement and holding power. Clamps, as you may know, are made from metal and can get pretty heavy. These angled supports are cut using the miter saw and are essentially square blocks with an angle cut on one corner.

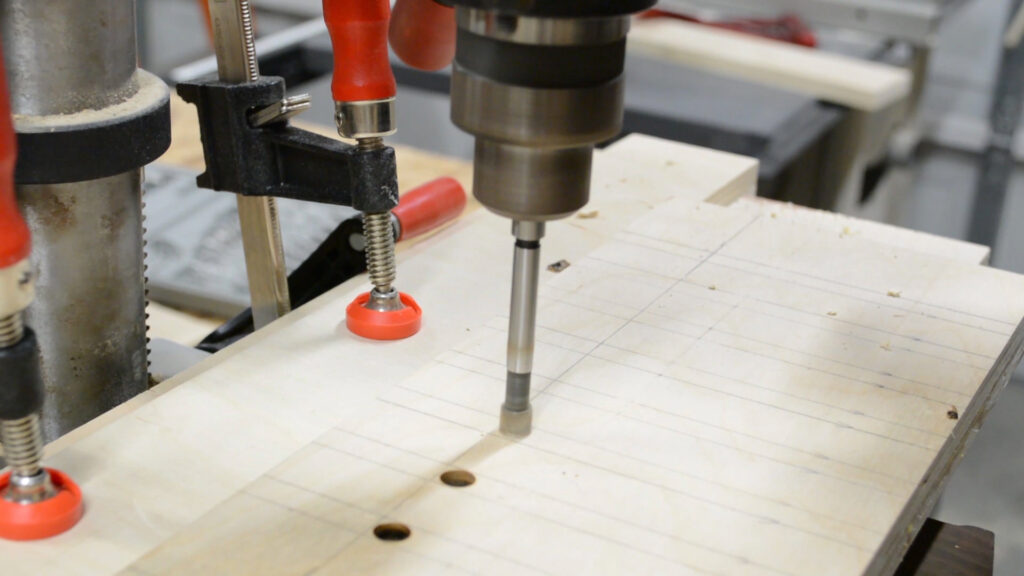
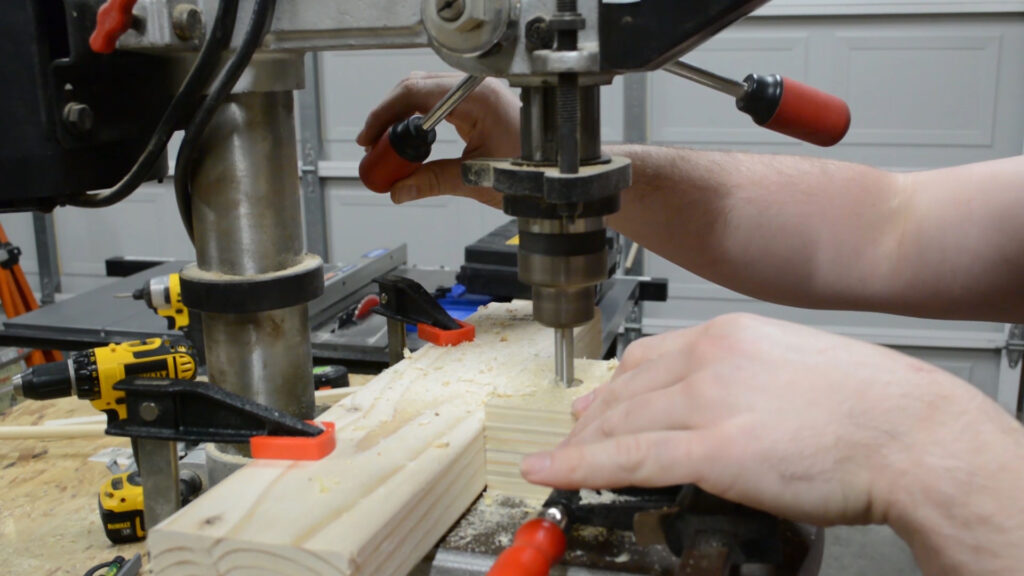
After marking out the locations and stop points of the clamp slots I moved to the drill press. I decided to drill holes at each of the stop points to establish the end of the slots and ad a rounded shape to receive the clamp backs.
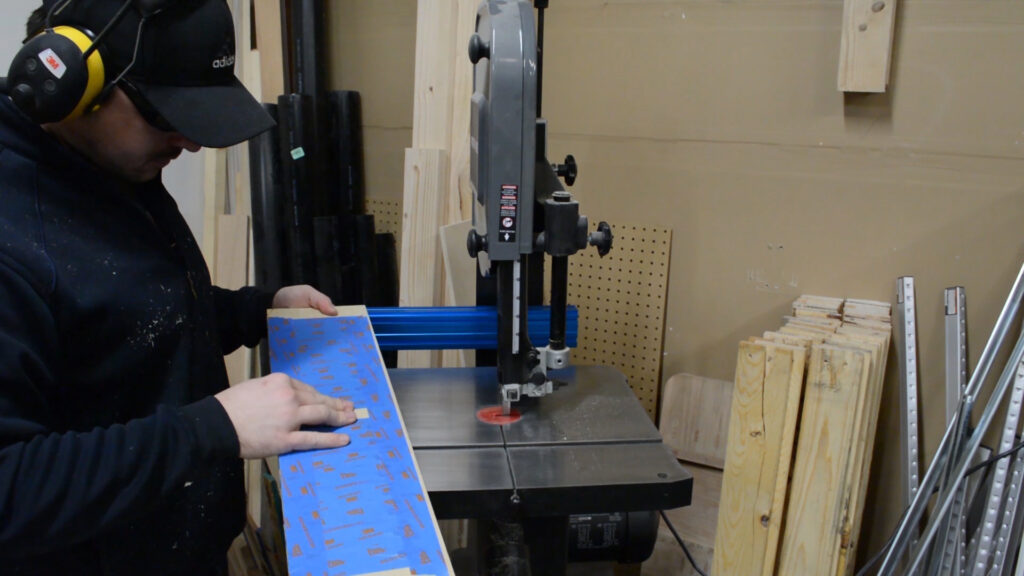
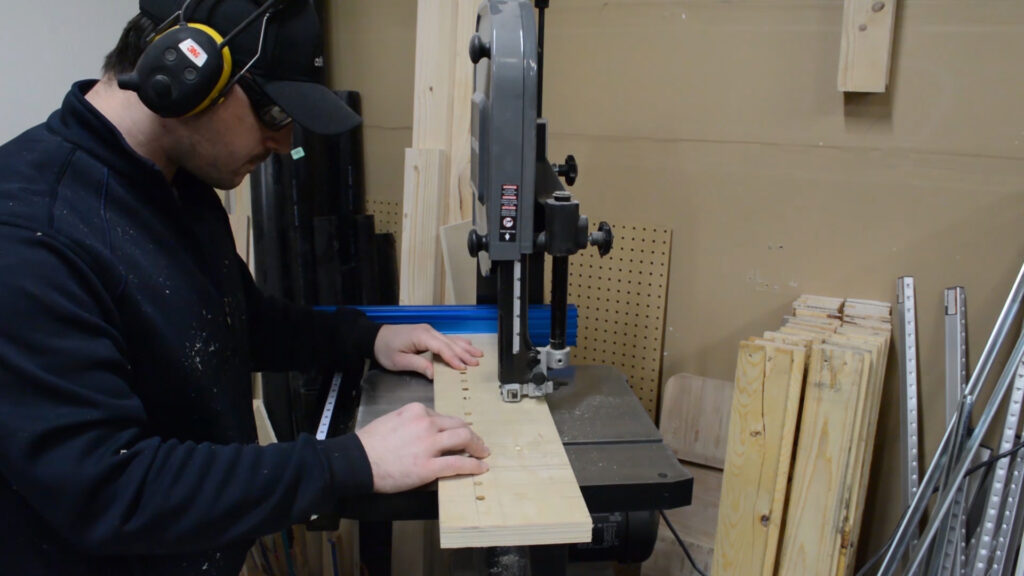
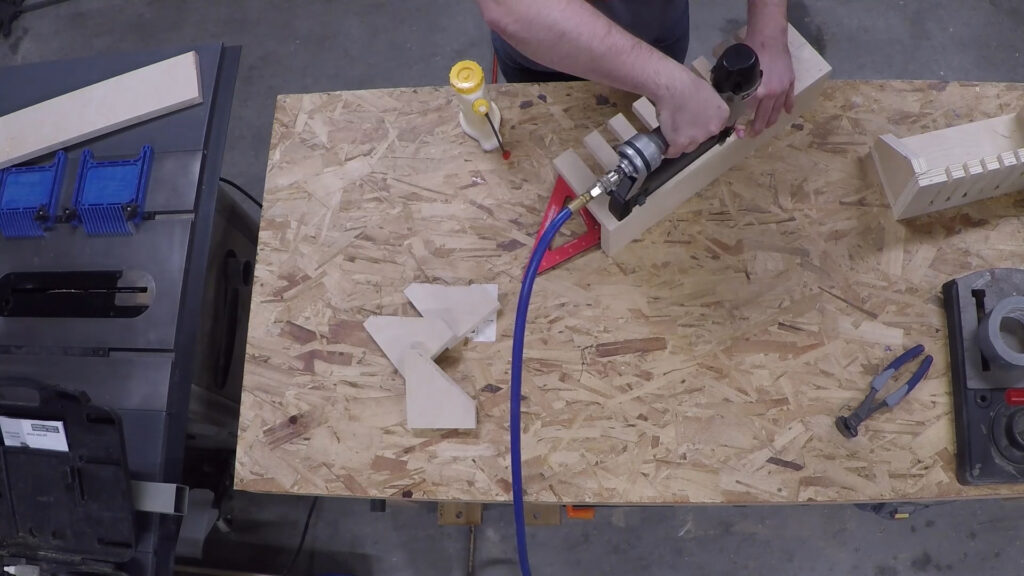
With the slot holes drilled I prep for the next step by adding blue painters take to the surface of the blanks. This will prevent tare out of the veneered surface by the bandsaw. Once that is done I cut the slots.
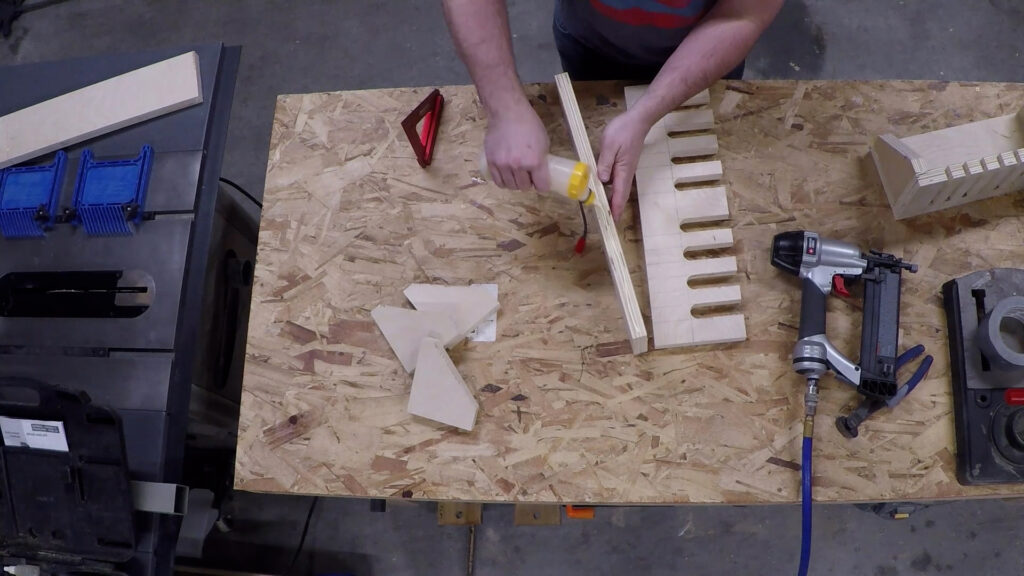
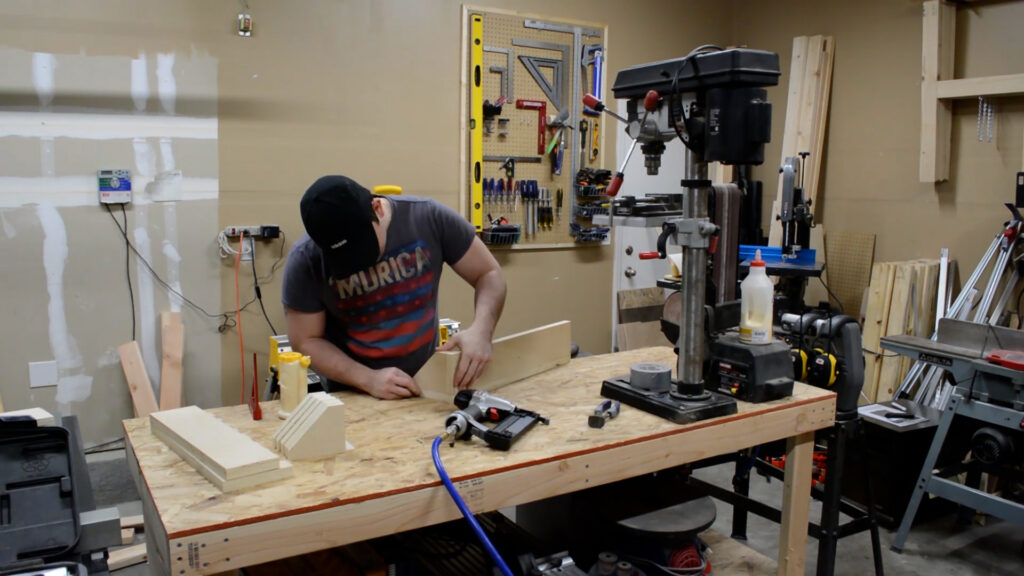
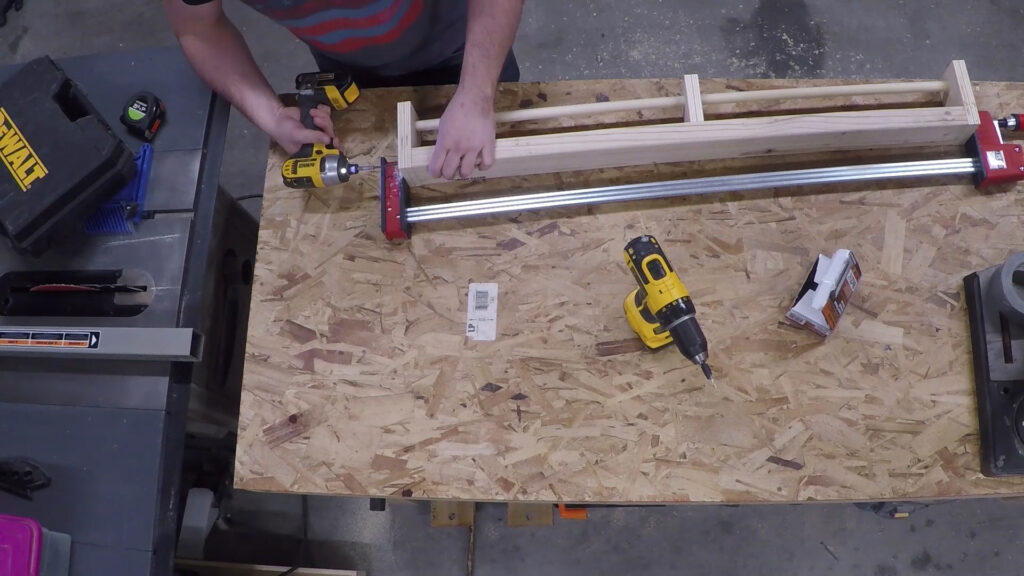
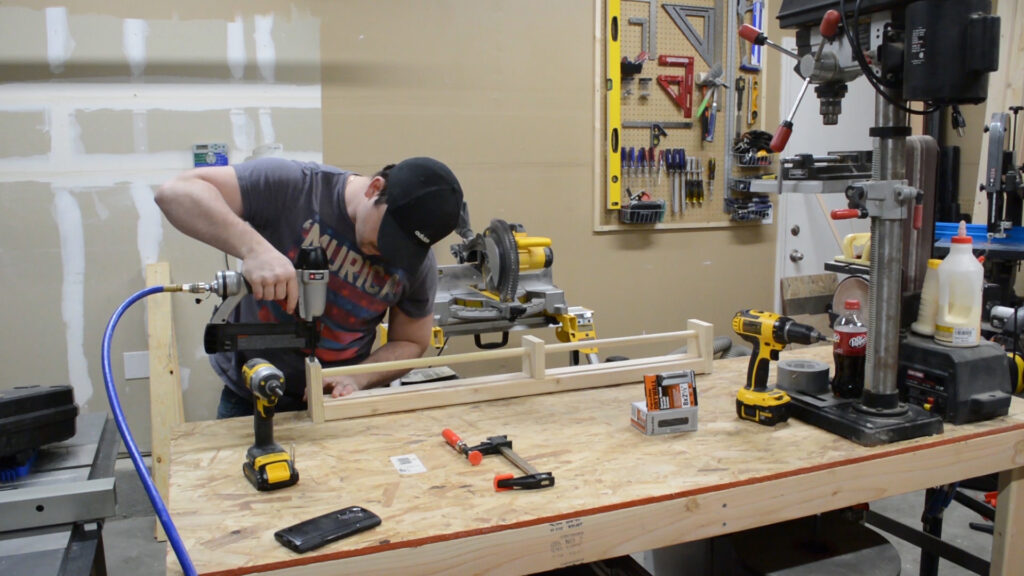
With all the cutting and drilling complete I move to assembly. Standard wood glue, brad nails, and screws are used to secure everything together.
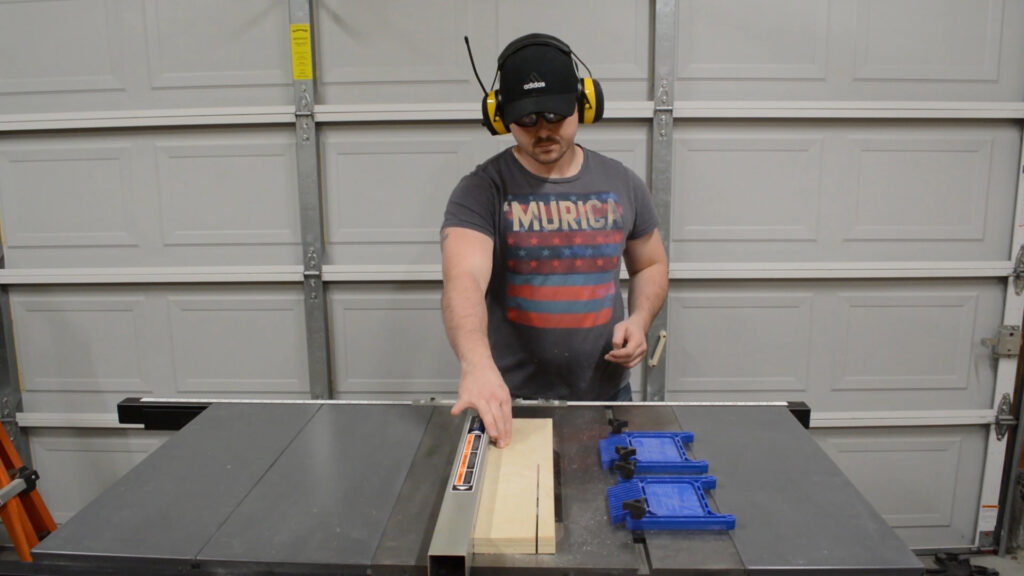
The above construction and assembly steps were for three of the four clamp racks. Some of the steps below are repeated but for the most part are unique to the last clamp holder. I begin by ripping strips of plywood at the table saw. Then support blocks using the miter saw.
This clamp holder will be used for spring clamps. In order to hold the spring clamps a large dowel will be held by the support block for the spring clamps to clamp to. I drill the holes with my drill press.
I cut the dowel to length at the miter saw.
The body of this holder is made from dimensional 2×4 lumber. It is cut to length at the miter saw.
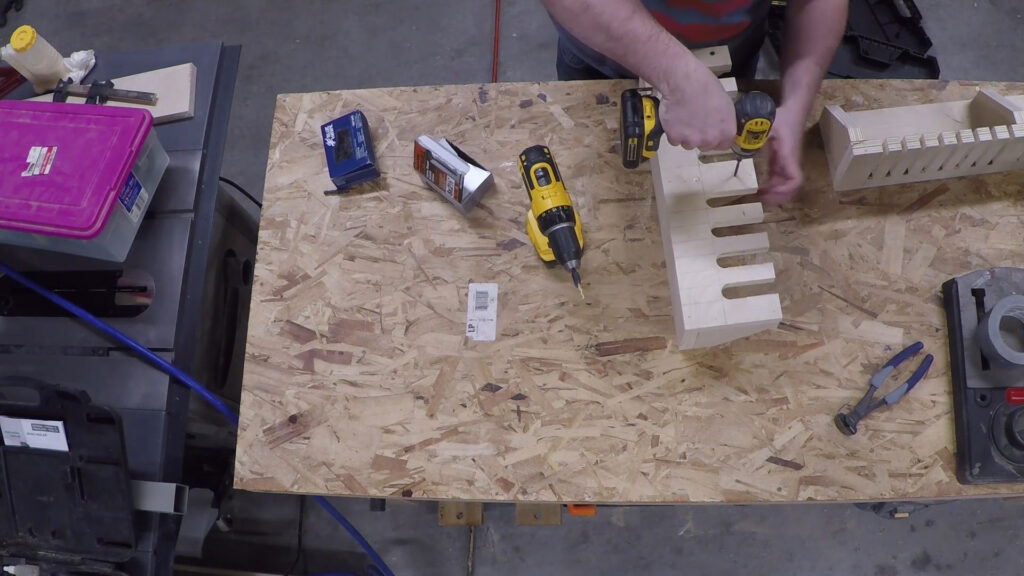
With all the pieces of this clamp holder cut to length and width its time to assemble it. As you can see from the image below, the dowel is threaded through the three support blocks and the end support blocks are screwed into place. The middle block is secured from behind with screws as well. As stated earlier, all measurements can be refences in the plan.
To secure the the dowel I sink brad nails through the support and into the dowel.
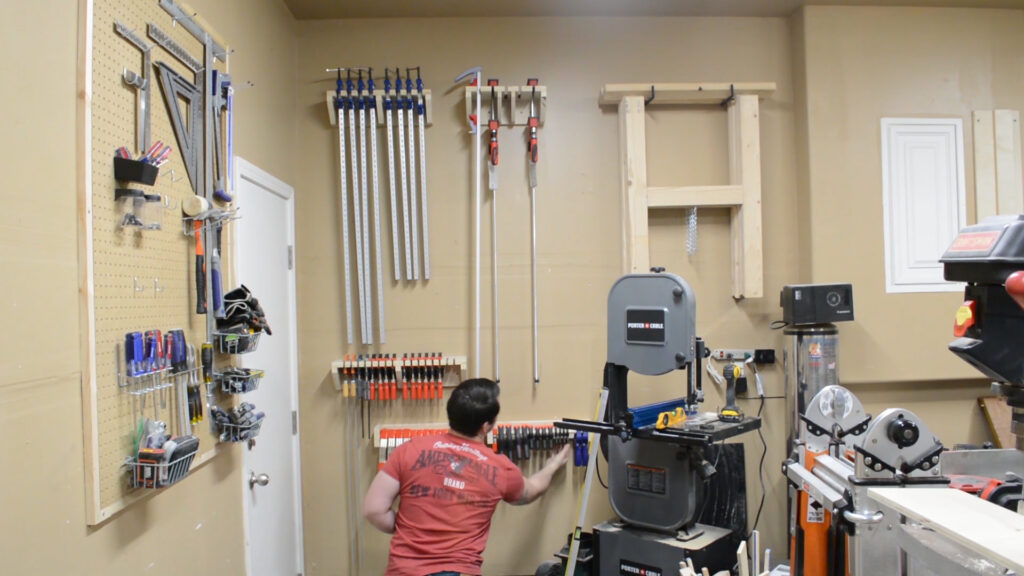
With that all the construction steps are complete. I chose a spot on the wall in my shop and secured all the holders to the wall into studs.
Conclusion
Thanks for reading! Below you can find affiliate links to the tools and products I used in this project. If you are interested in supporting my efforts, clicking my affiliate links goes a long way and I greatly appreciate any support that I receive. Also, you can find a downloadable plan for this project if your looking to build these holders for yourself.
Tools/Products


