
Introduction
I built this cart to make air powered tools easier to use around my shop. This cart is specific to my air compressor but the concept can be adapted to any small air compressor. I used 1/2″ birch plywood to make this cart but any type and size of plywood can be used. If I didn’t already have some on hand I would have likely purchased sheathing plywood. Sheathing plywood doesn’t look great but shop projects don’t have to look pretty. It’s usually the cheapest plywood at the home store and is, in my opinion, perfect for this kind of thing.
How to Build It
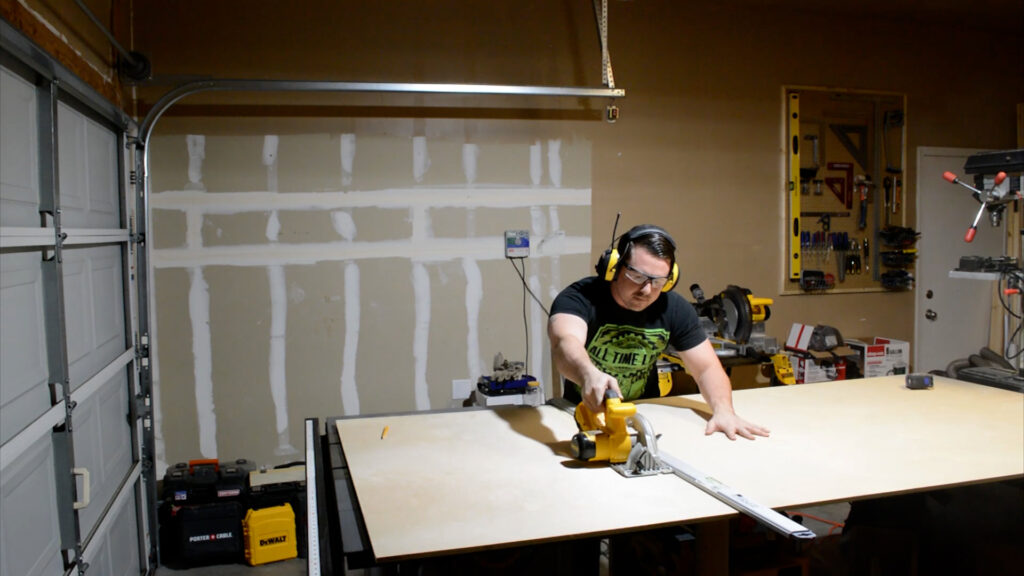
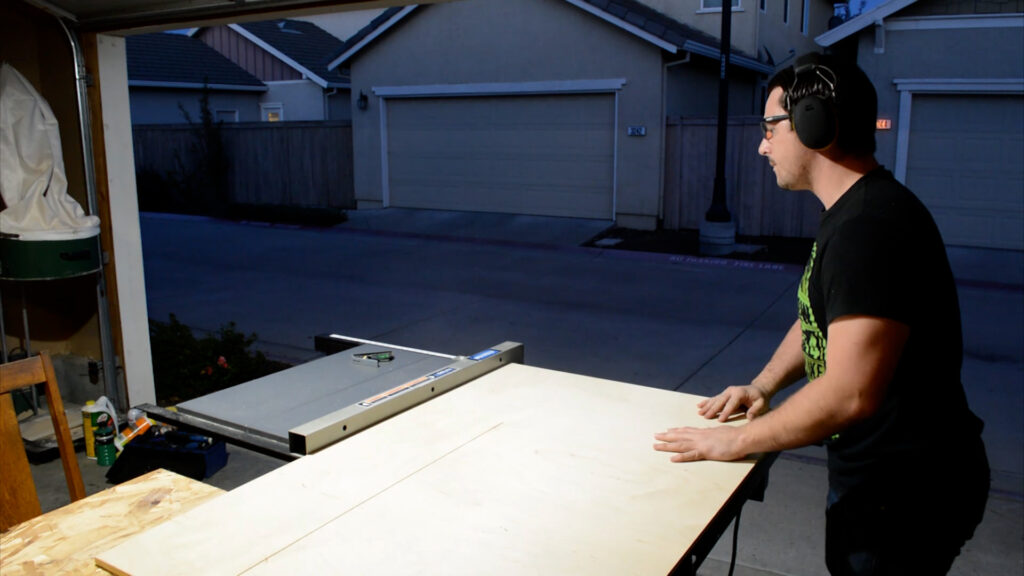
I began by breaking down the plywood using a combination of my circular saw with a guide and my table saw with a crosscut sled. In this step all the pieces of this cart are cut to their final dimensions, except for the tray sides.

With all the pieces cut to size I taped what will be the sides of the upper and lower trays together with blue painters tape. This is done in preparation for the next step.
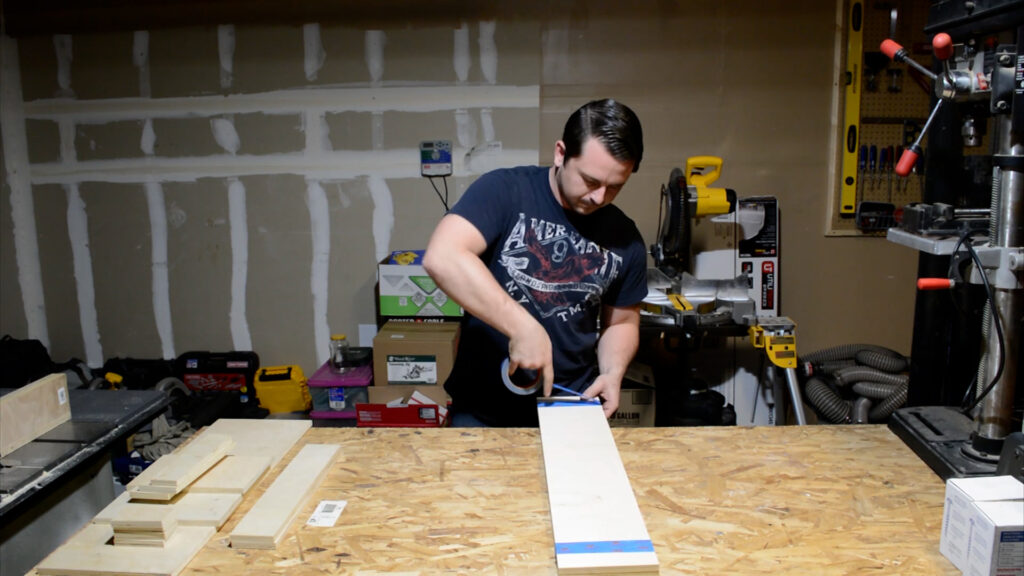
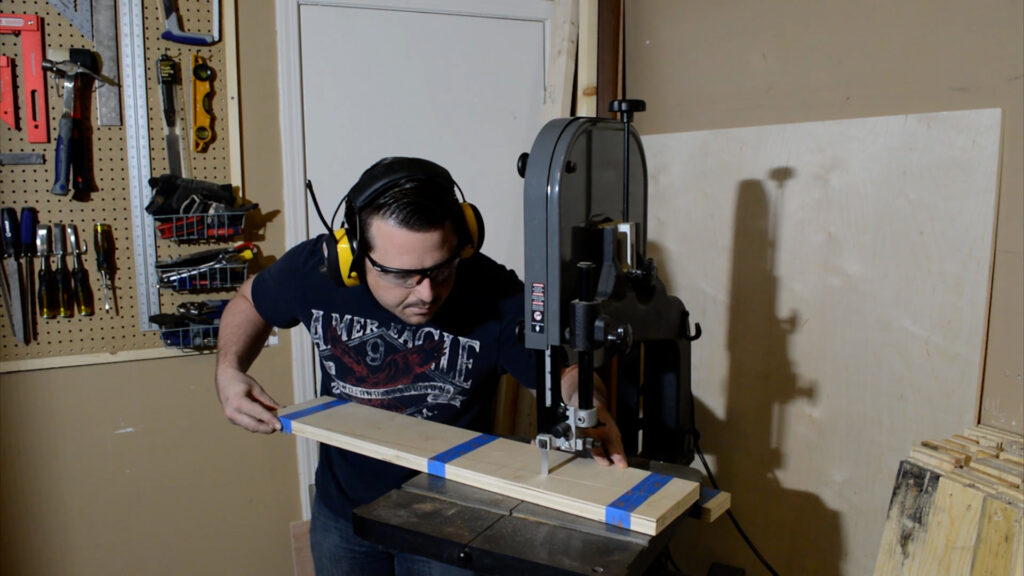
Both the upper and lower trays have tapered sides. With the sides of both trays attached together I move to my band saw to cut the tapers. Cutting both tapers simultaneously allows me ensure both sides of each tray will have identical dimensions.
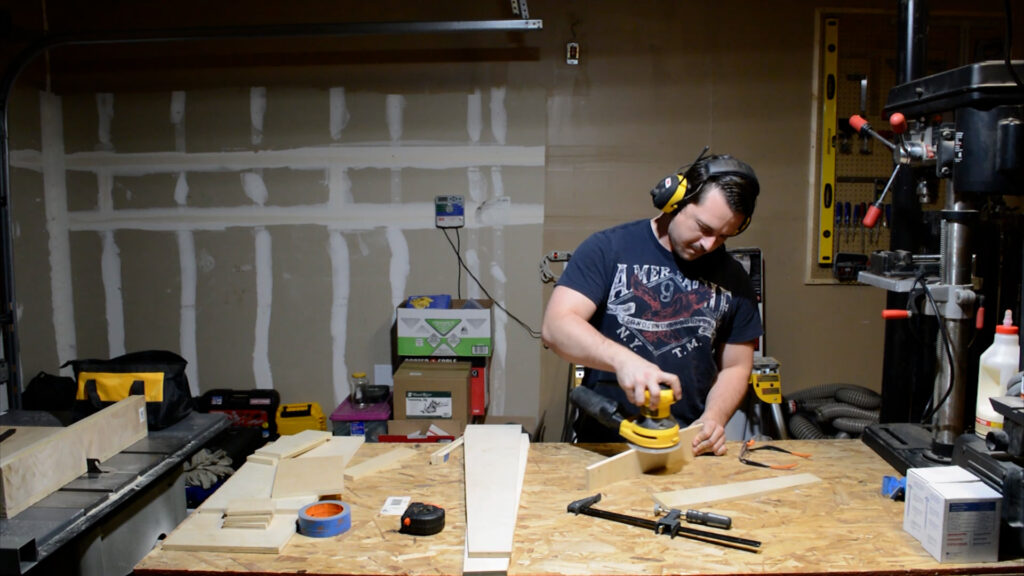
With all the pieces of this cart finalized I ran my random orbit sander over all the components to smooth out the plywood and soften all the plywood edges.
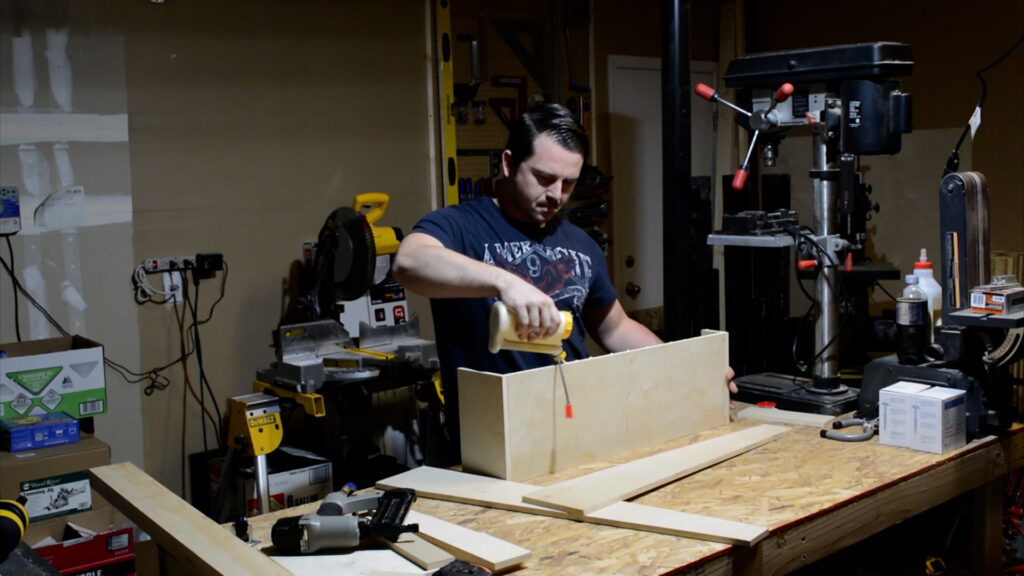
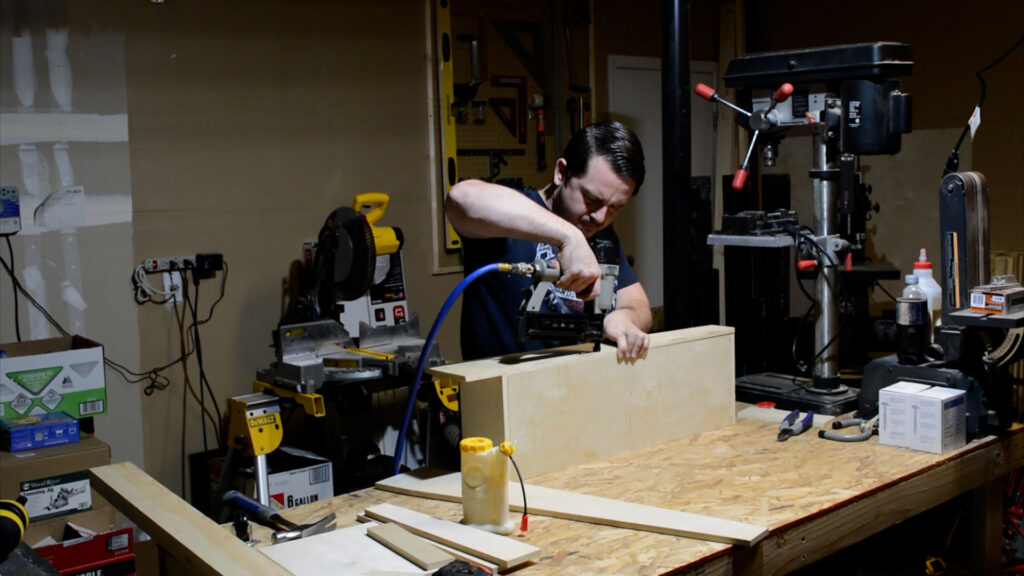
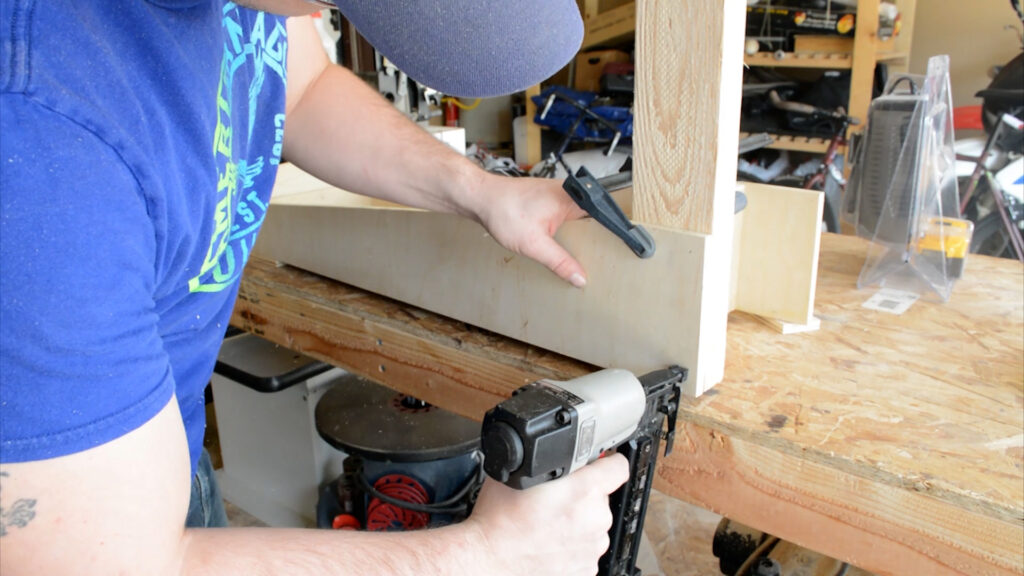
After sanding the assembly process could begin. Although, it doesn’t add a lot of structural strength to the assembly, I figured it couldn’t hurt to add glue to all the joints. Once glue was added I then secure all the components together with brad nails.
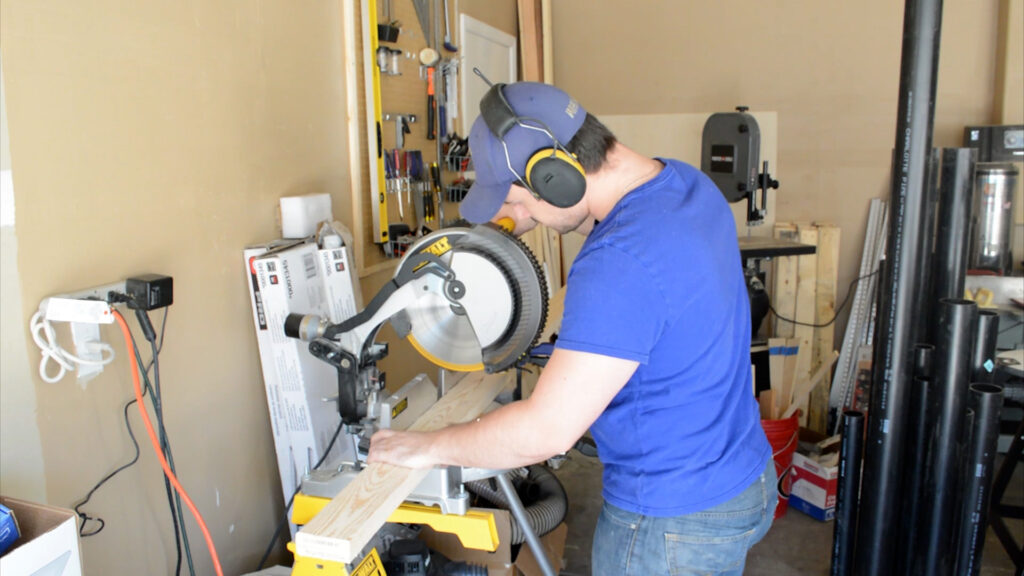
Once assembling the trays was complete I moved on to cutting the tray supports. Both supports are made from dimensional 2×4 lumber. A miter saw is used to cut them to size.
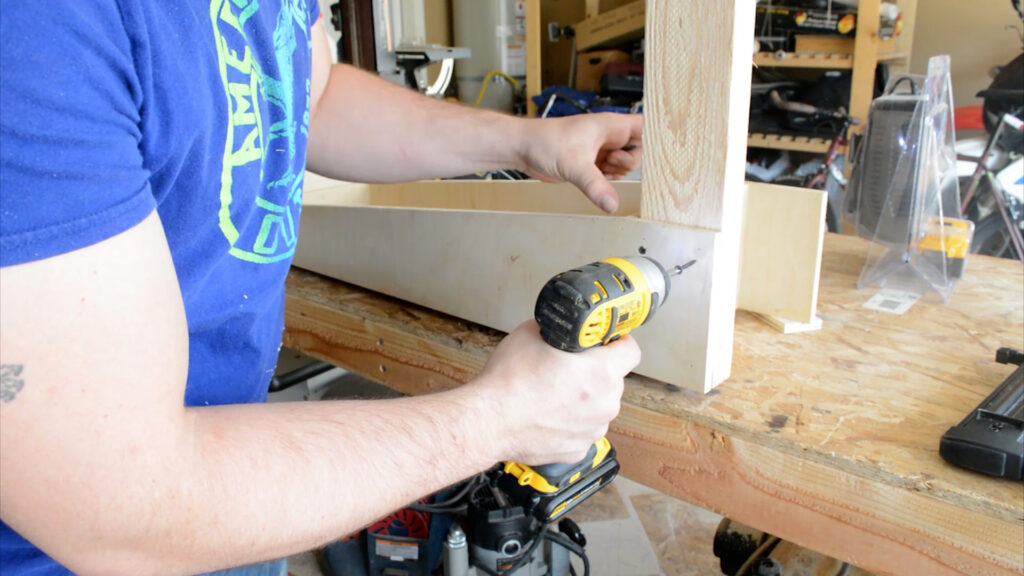
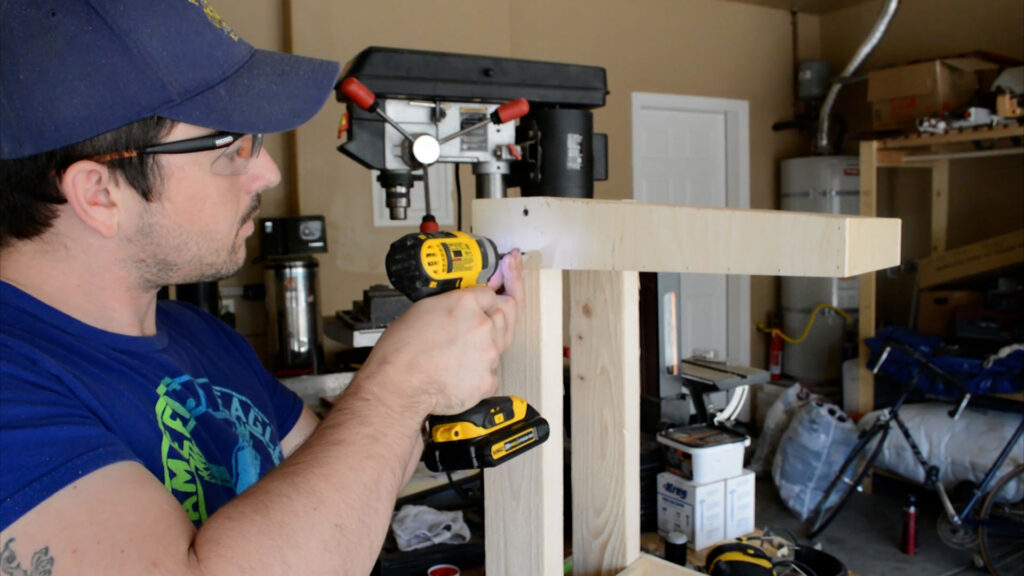
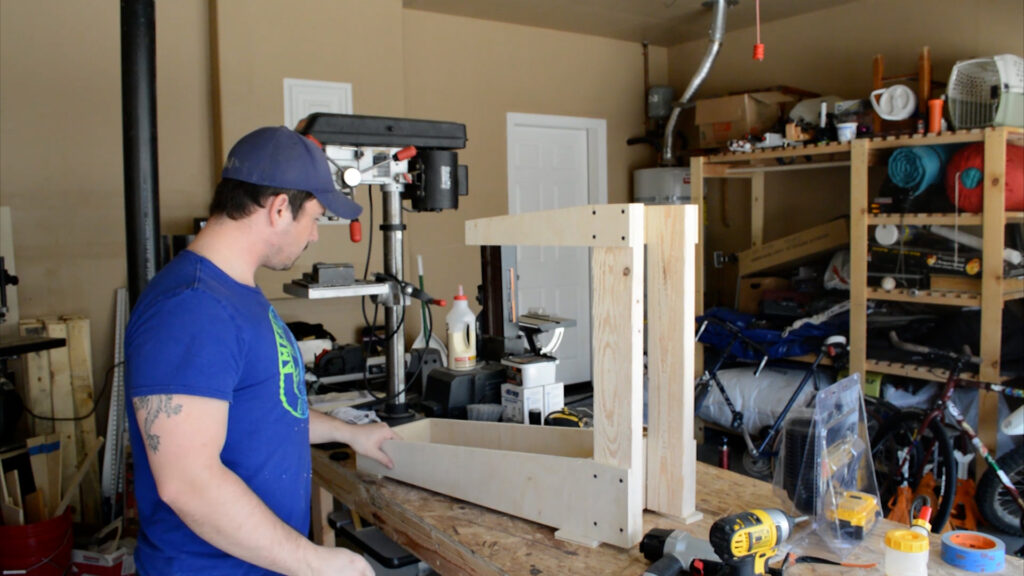
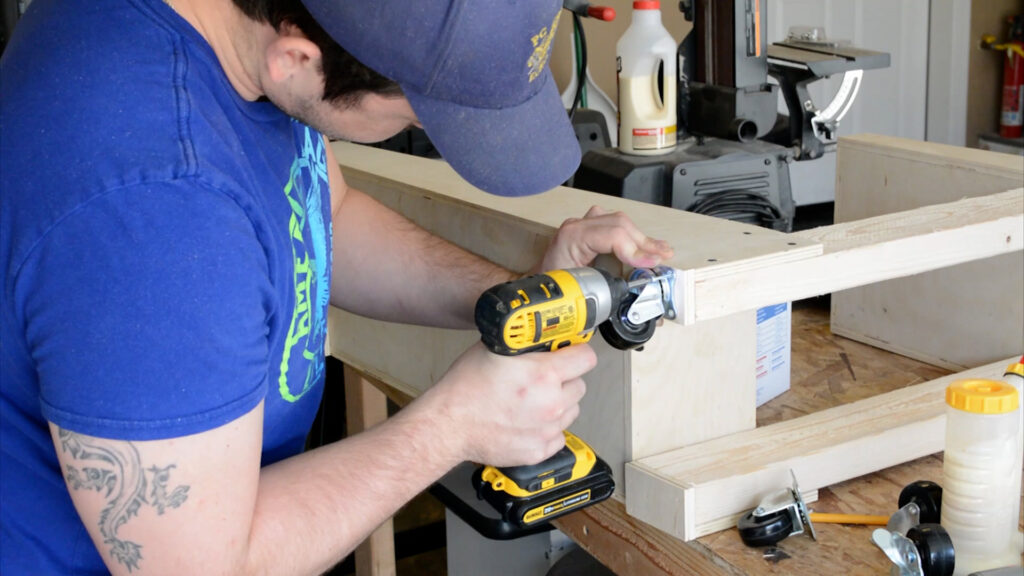
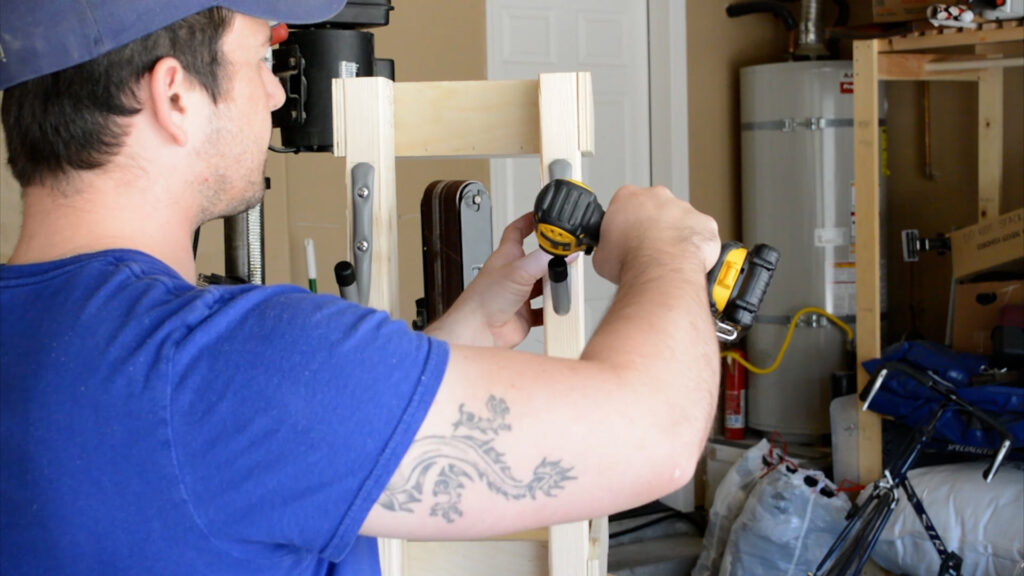
Now that the supports are cut to size I move on to the second stage of assembly. The supports are first tacked into place with brad nails then secured permanently with wood screws.
Its time to make the cart mobile. To do this swivel castors are attached to the bottom tray. I didn’t feel comfortable screwing into end grain so I added small blocks of plywood to the bottom of each corner of the bottom tray. The blocks are attached with glue and brad nails then casters are screwed into them.
I needed to find a way to store the compressor hose on the cart. My solution was to attach these large hooks to the support posts. I found them at my local home store in the organization area of the store.
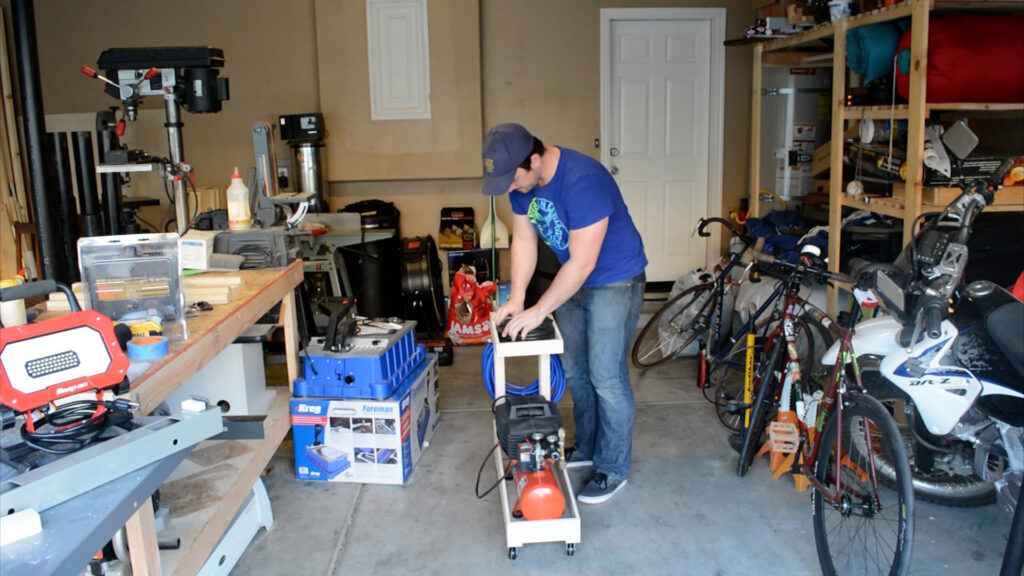
The only thing left to do is load the cart up with my compressor and all the accessories.
Conclusion
Thanks for reading! Below you can find affiliate links to the tools and products I used in this project. If you are interested in supporting my efforts, clicking my affiliate links goes a long way and I greatly appreciate any support that I receive. Also, you can find a downloadable diagram for this project if your looking to build one for yourself.
Tools/Products


