
Introduction
Space is precious in most shops and traditional sawhorses can take up a large footprint in a small space. When I started thinking about building a set of these I really wanted to find a way to reduce that footprint as much as possible. Making the sawhorses fold in half and easily stowable against a, or up on a, wall was a goal I was reaching for. Using a couple of hinges, a few eyehooks and some chain I was able to make this goal a reality.
How to Build It
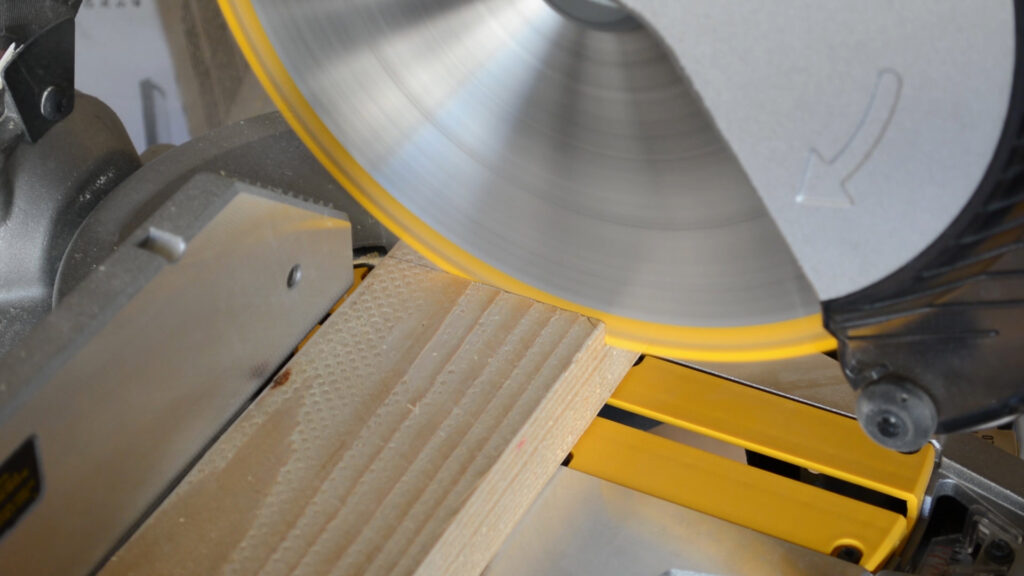
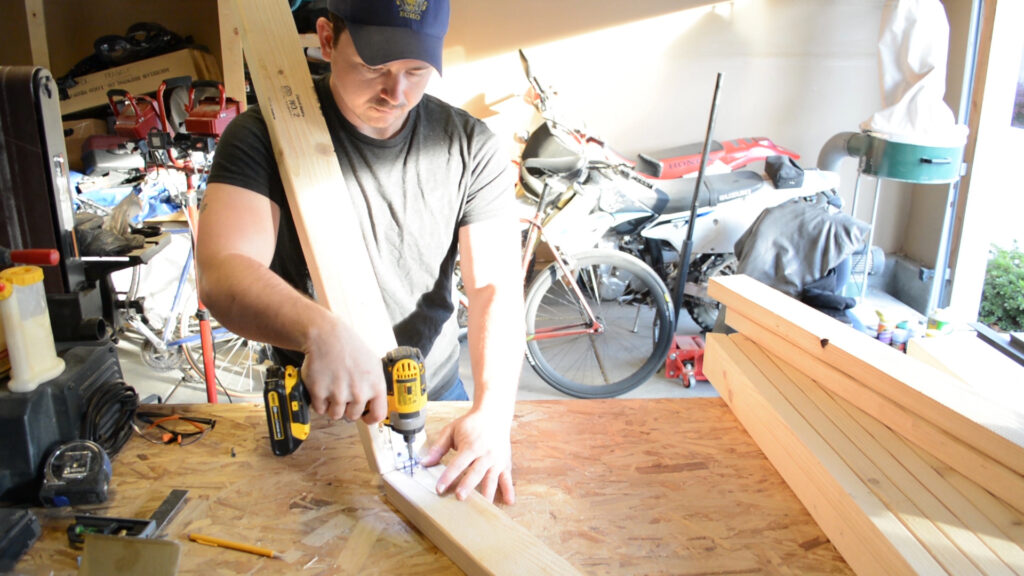
This entire project is made from dimensional 2×4 lumber. I begin this project using my miter saw to cut all the individual pieces to length.

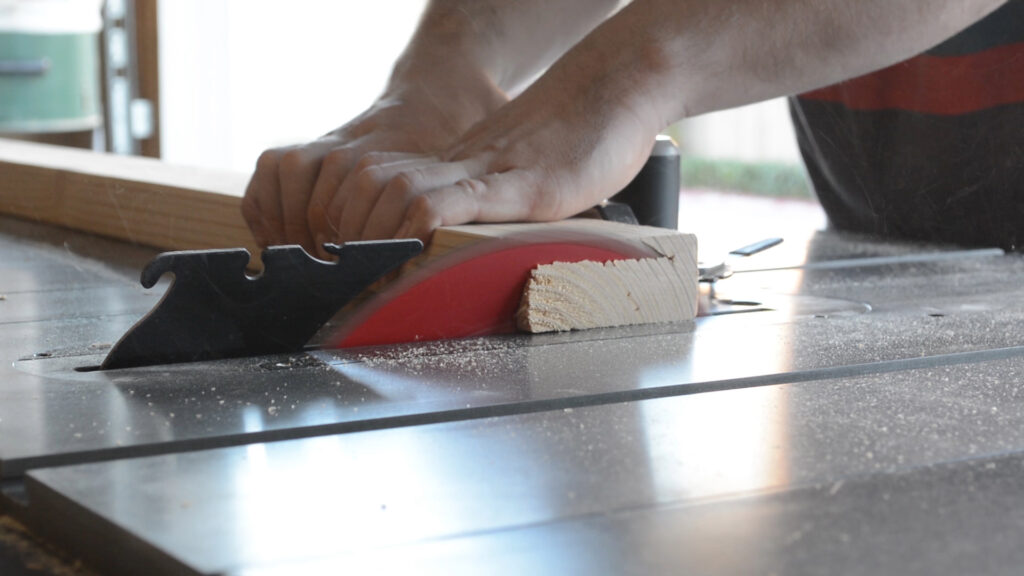
All four legs have angles, cut parallel to each other, at the top and bottom of each leg. I used a digital marking gauge to mark each leg then set the angle of my table saw blade. Utilizing my table saw miter gauge I cut the angles into each leg.


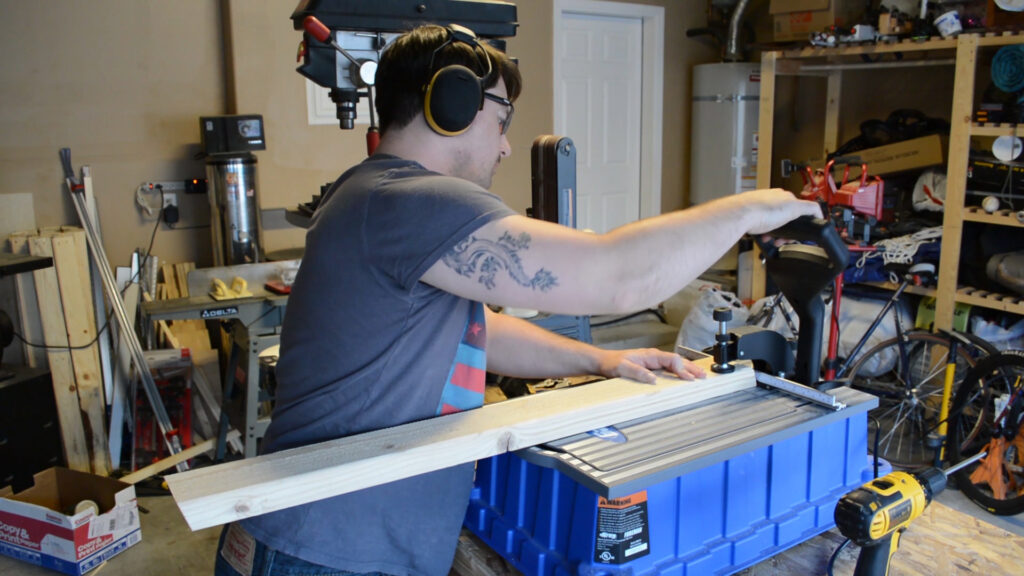
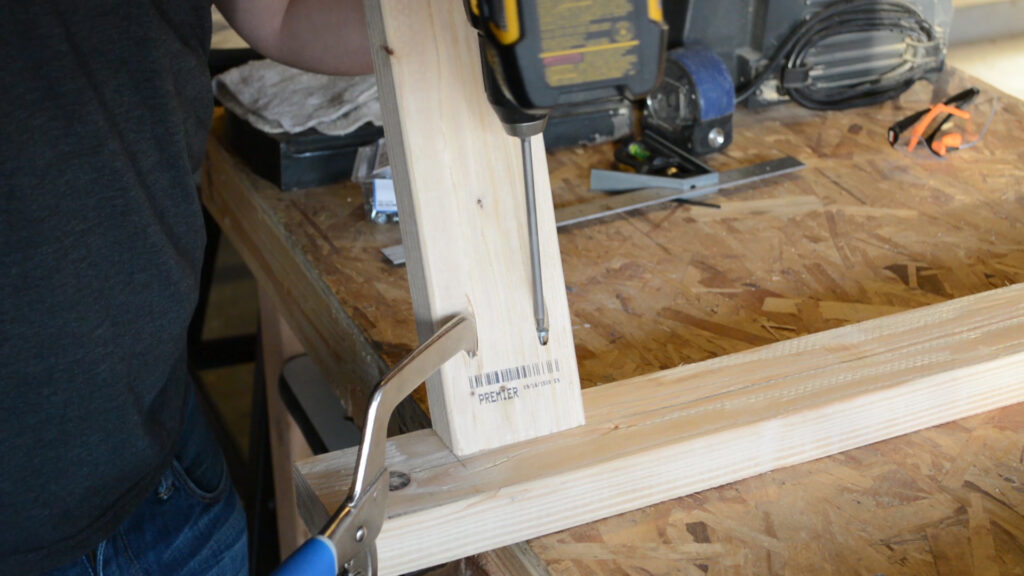
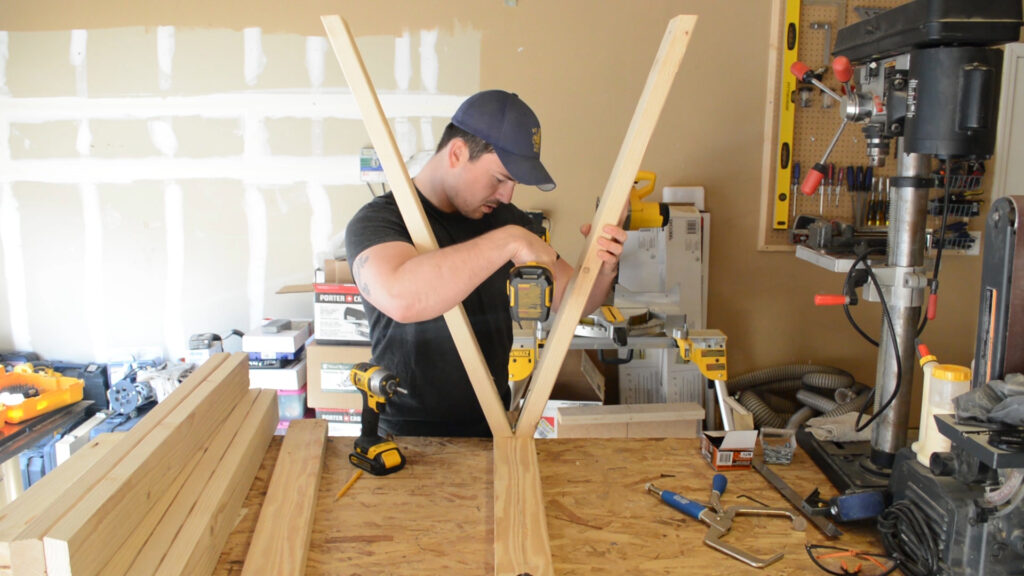
The legs are attached to the support surface with pocket holes. I used my Kreg Foreman to drill the pocket holes but any pocket hole machine will work. Pay attention to the image below and make sure to drill the pocket holes on the correct faces. I also use the foreman to drill pocket holes in both sides of the leg cross braces.
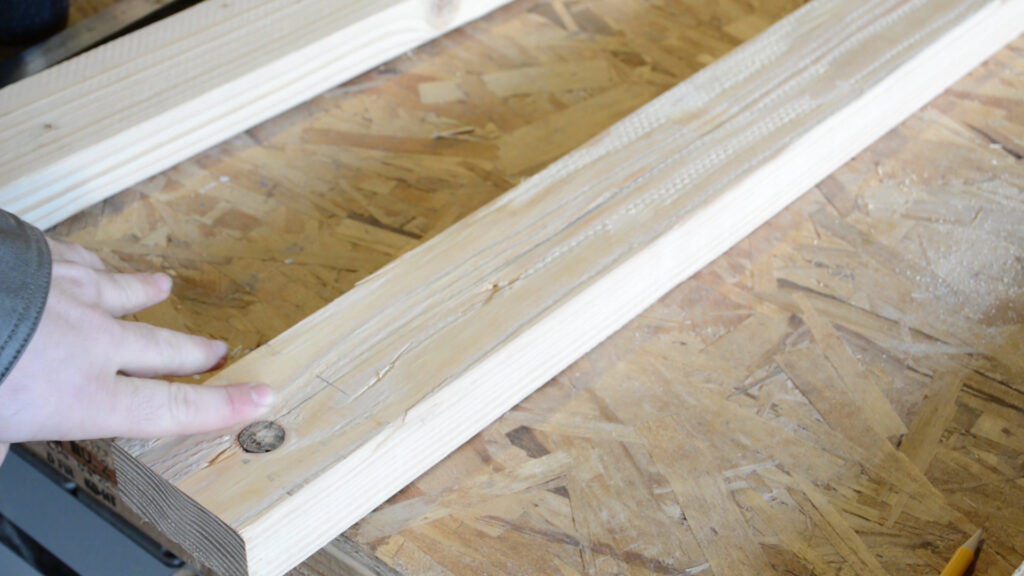
Unfortunately, its hard to see my layout lines in the image but I drew a line directly down the center and a line perpendicular to it on each end inset from the end grain. These layout lines are drawn on the underside of the support surface piece to aid in attaching the legs. Tip: Use one of the cross braces to determine how far apart to space the leg assemblies.
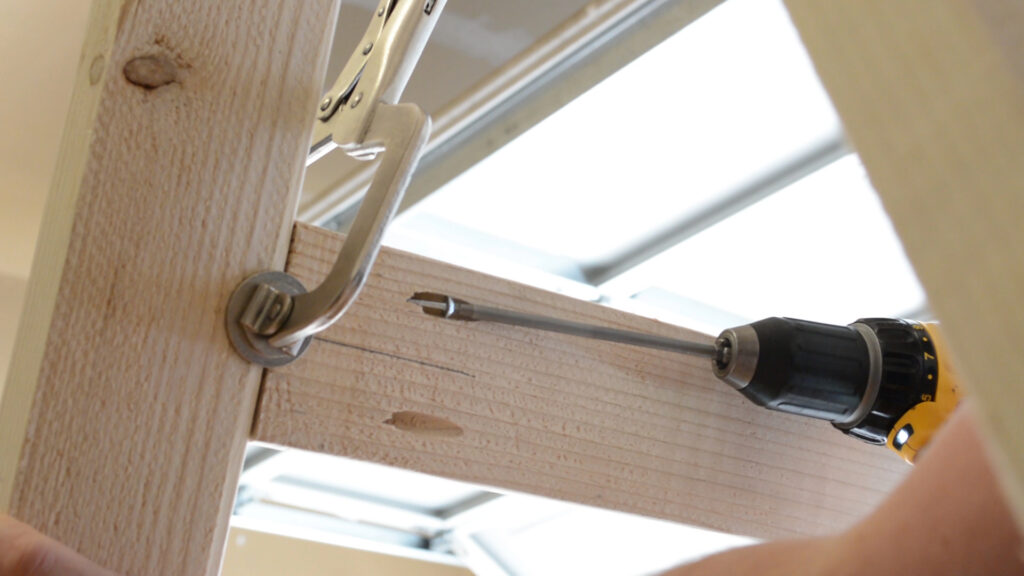
After drawing the layout lines I temporarily attach one leg to each side of the support surface. I then use the legs to find the placement of the strap hinges. I mark the holes with a pencil then attach the hinge with screws.
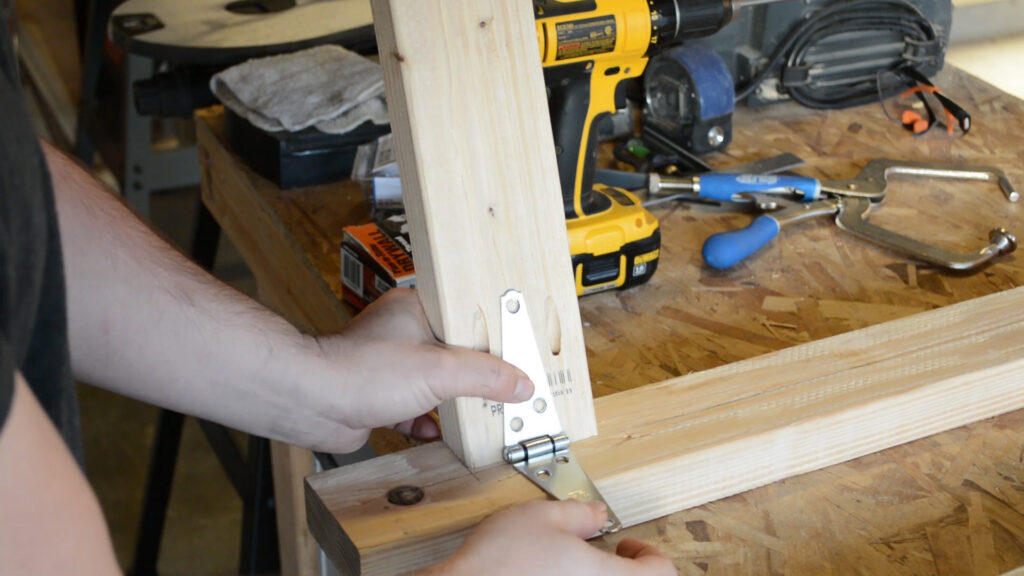
With one side of the hinge attached, I use a pencil to mark the holes for the other hinge.
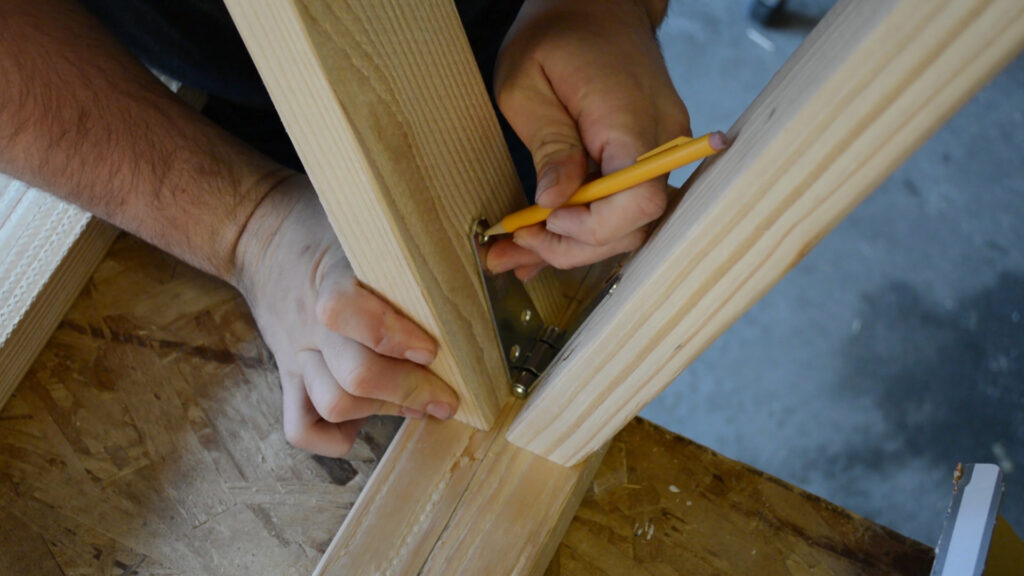
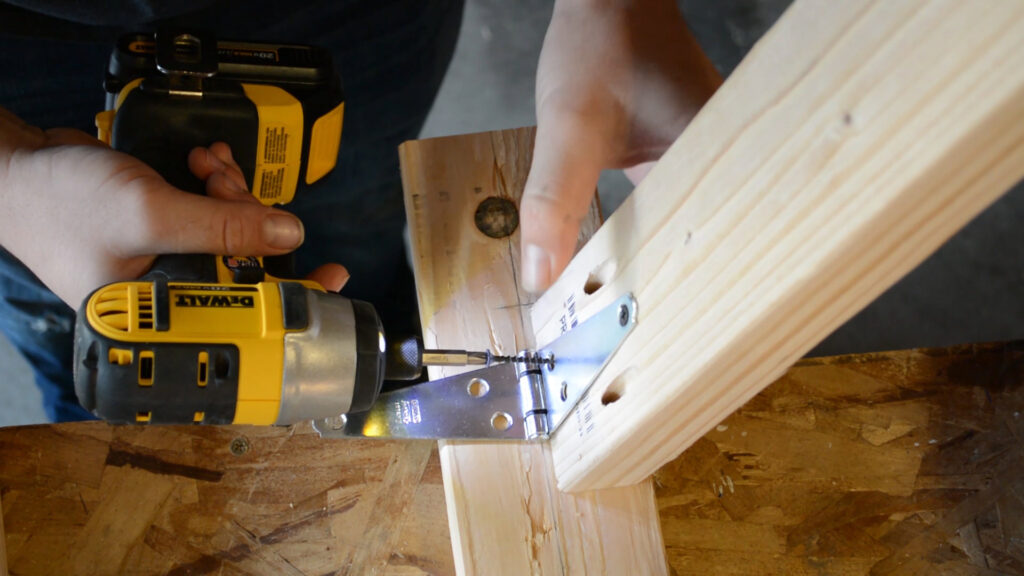
After detaching the leg with the hinge on it, I attach the other side of the hinge to the second leg. I then reattached the leg assembly. I repeat this process for all four set of legs.
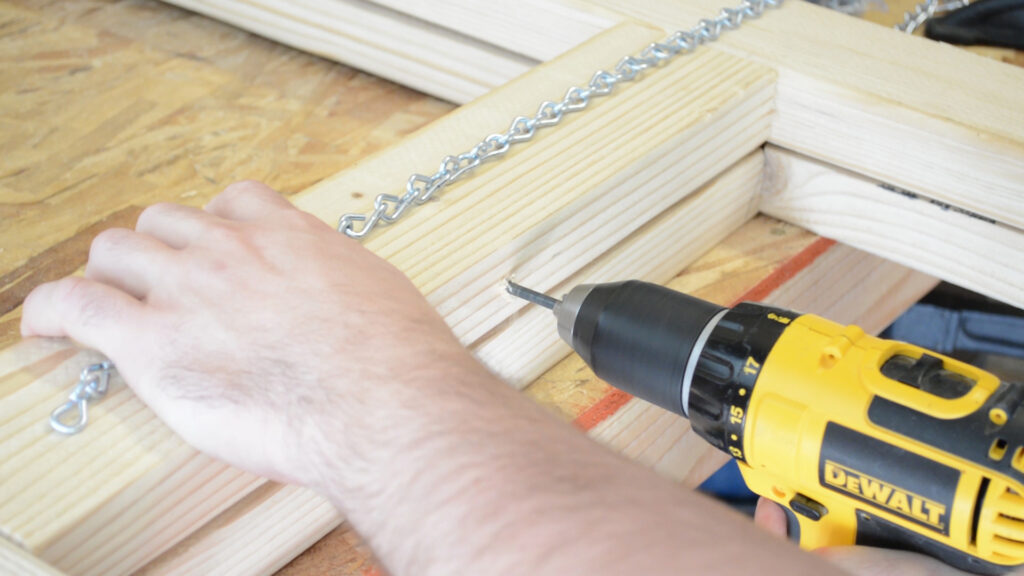
Once I had two sets of legs attached to a support surface I attach the cross braces to connect both sets of legs together.
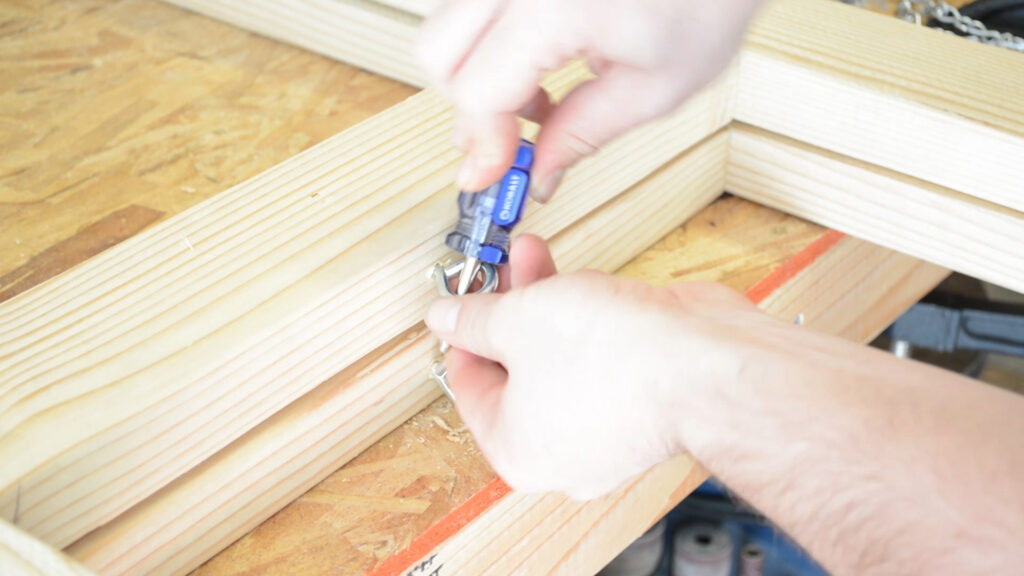
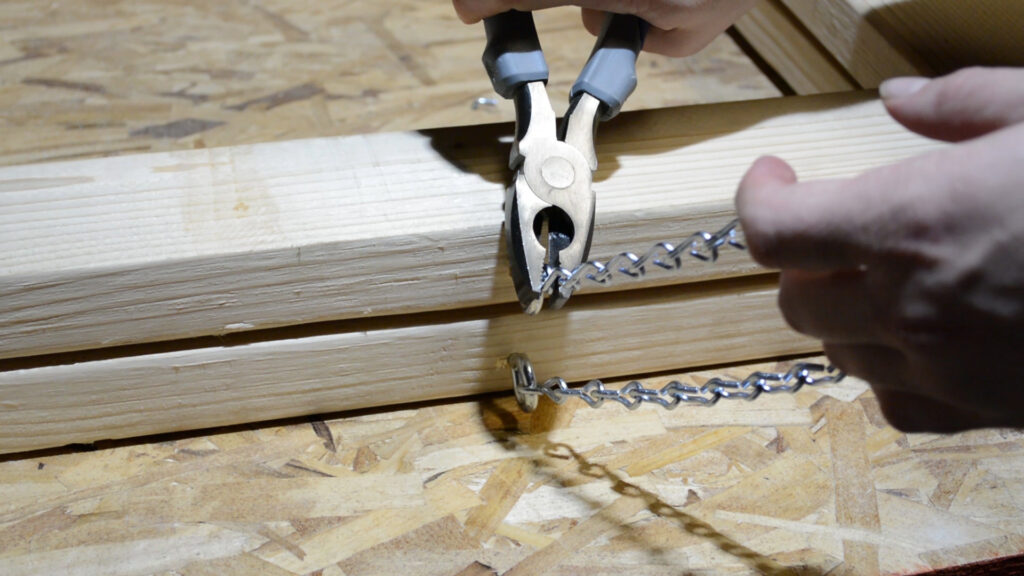
With the leg assemblies complete eyehooks and chain need to be attached to the bottom of the cross braces. This chain will limit the travel of the legs and prevent the legs from overextending.
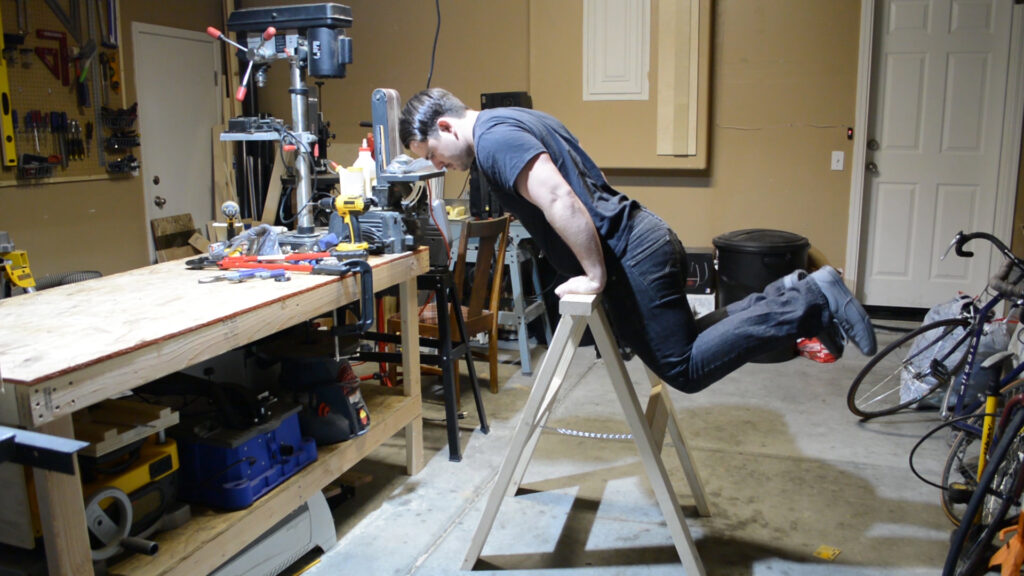
With that the sawhorses are complete. I decided to test them with my own weight to see how strong they would be. I weigh about 210 lbs and, as you can see, it holds me up pretty well.
Conclusion
Thanks for reading! Below you can find affiliate links to the tools and products I used in this project. If you are interested in supporting my efforts, clicking my affiliate links goes a long way and I greatly appreciate any support that I receive. Also, you can find a downloadable plan for this project if your looking to build a pair for yourself.
Tools/Products


