
Introduction
This fourth installment of the Harbor Freight Dust Collection Modification series comes many years after the previous installments. In part 4 I run all of the tubing for the dust collector and rebuild the fine dust filter. The original filter was much too small for this collector and needed an upgrade.
Tools/Products


How to Build It
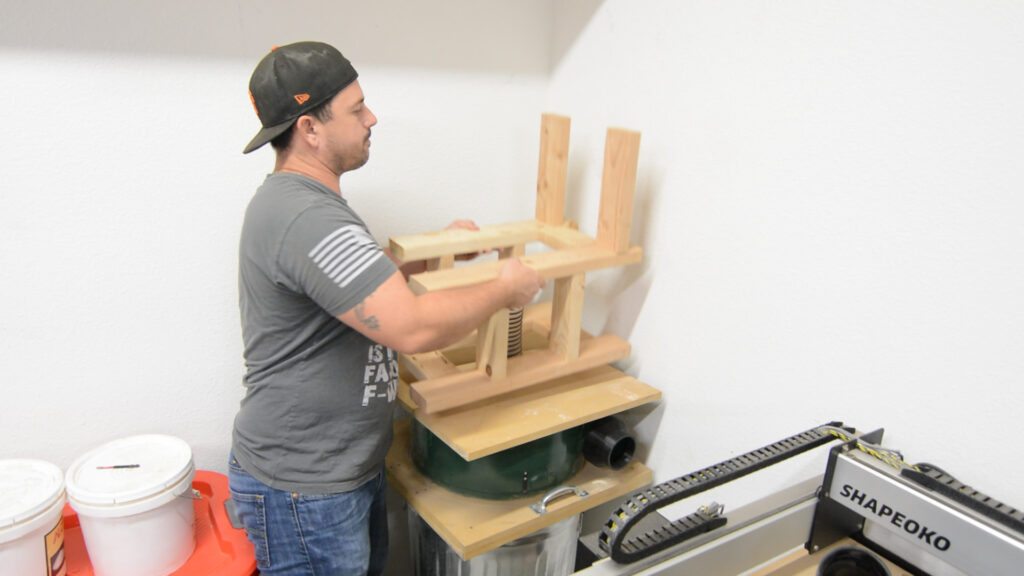
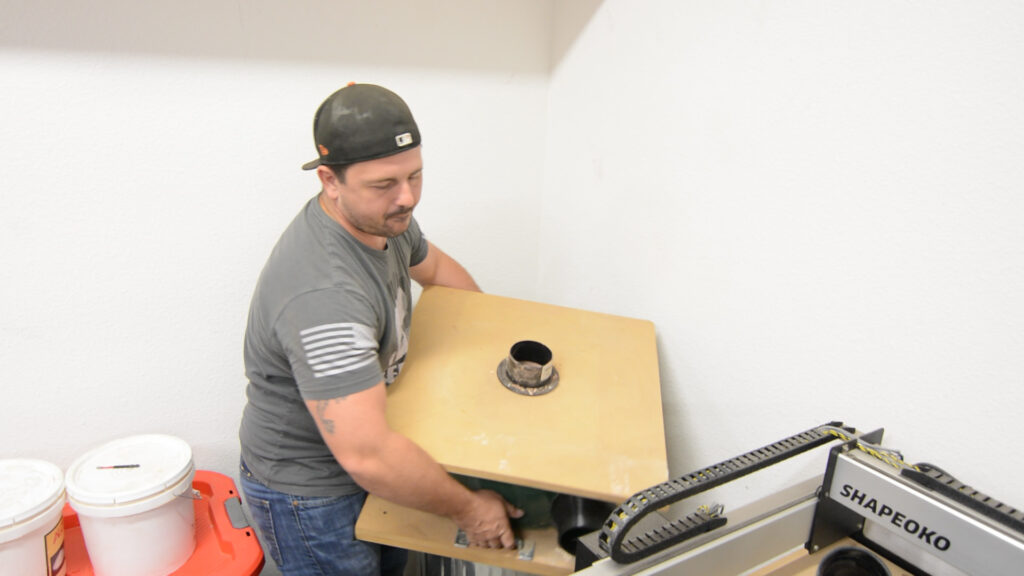
I got started by disassembling the dust collectors current support system/setup. This was always meant to be temporary and was built after I moved out of the shop you see in the previous installments.
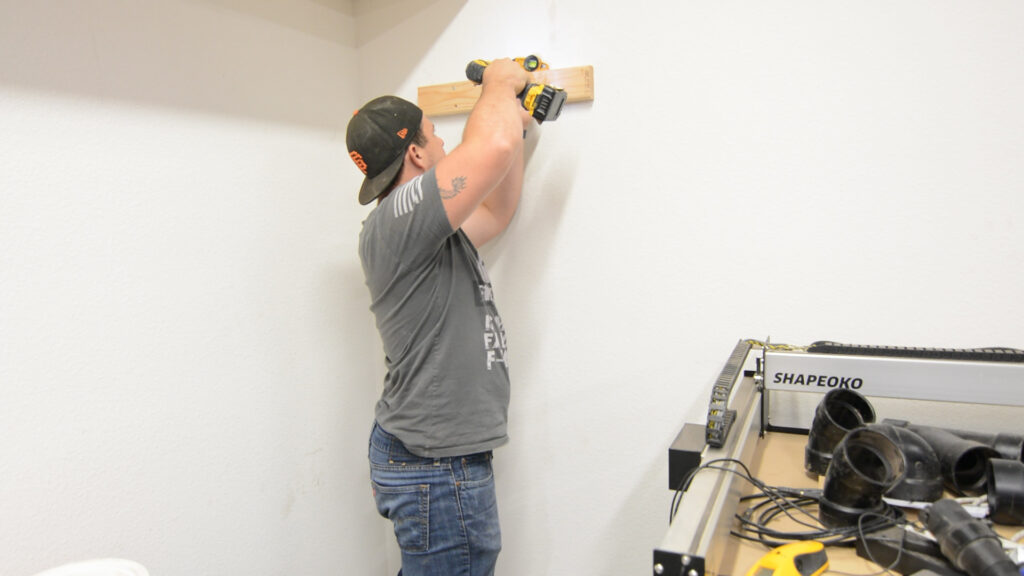
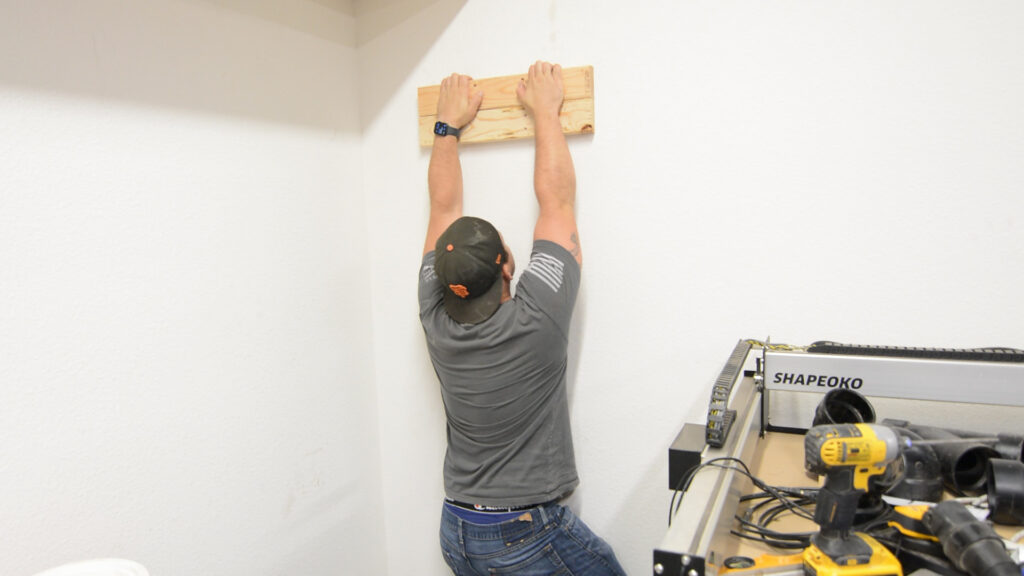
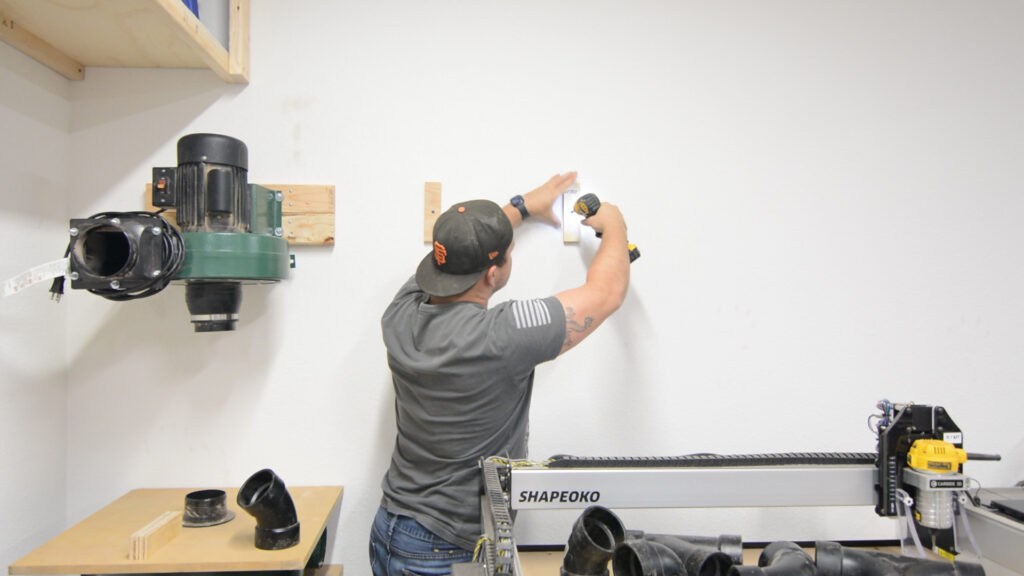
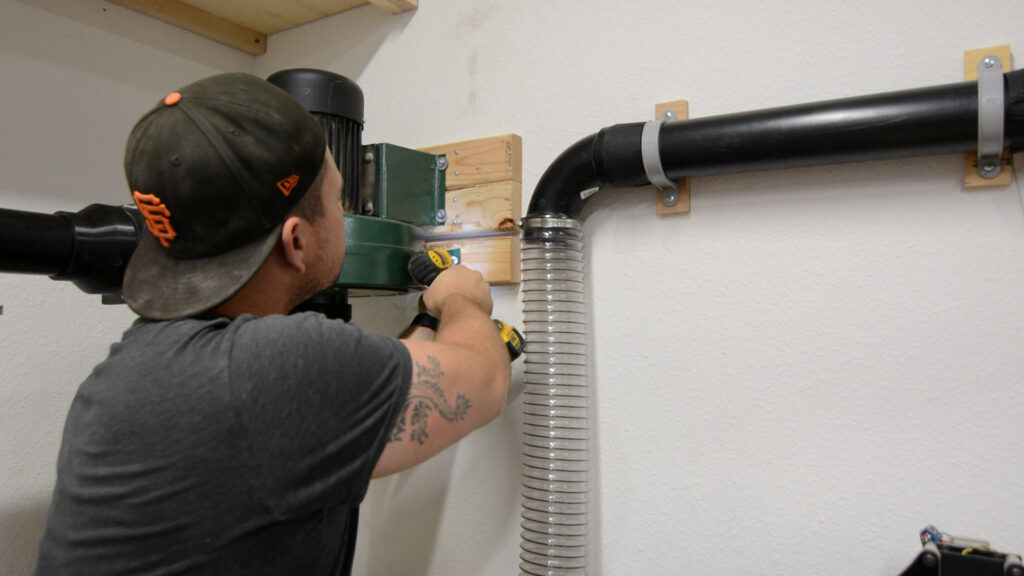
One that was done I cut some 2×4’s and began attaching them to the wall, securing them to stubs. This will be what I attach the impeller motor to. I weigh much more than the impeller motor and as you can see this will be more than sufficient to hold the motor in place.
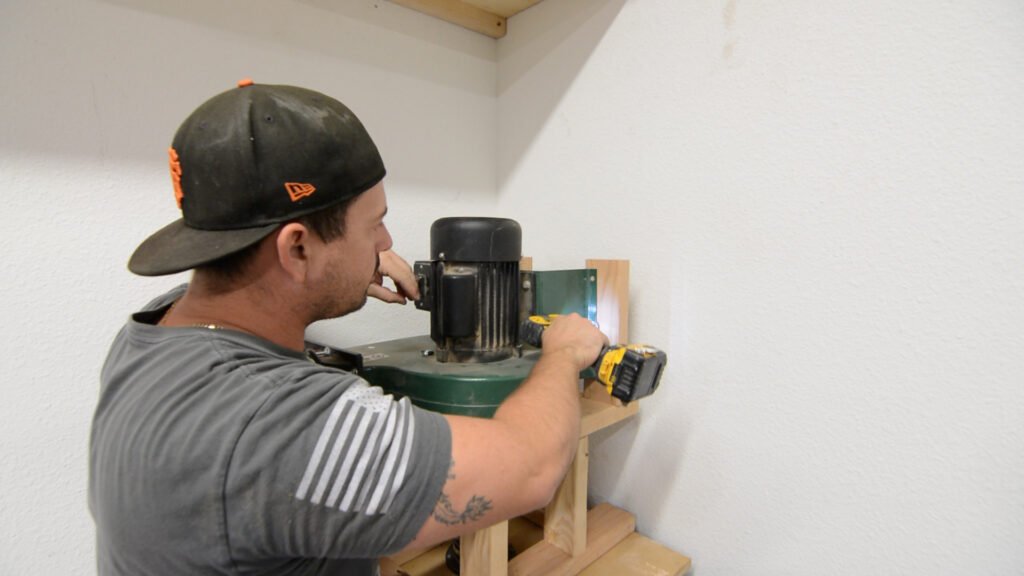
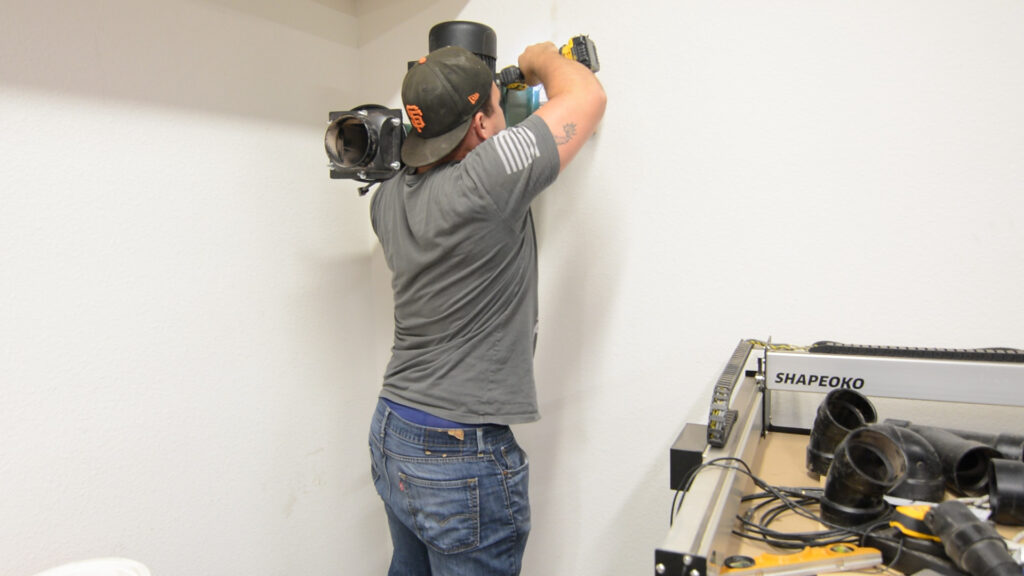
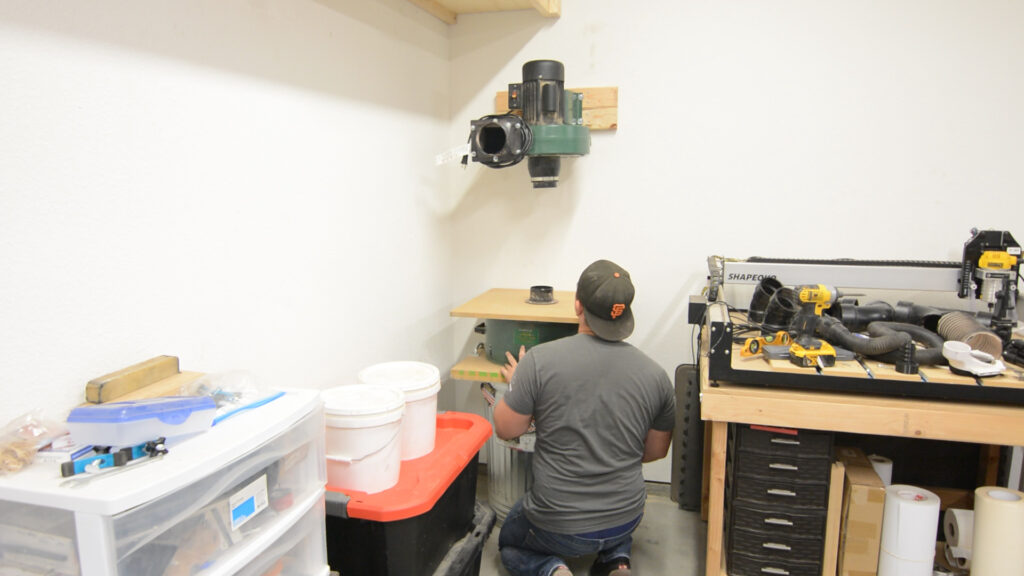
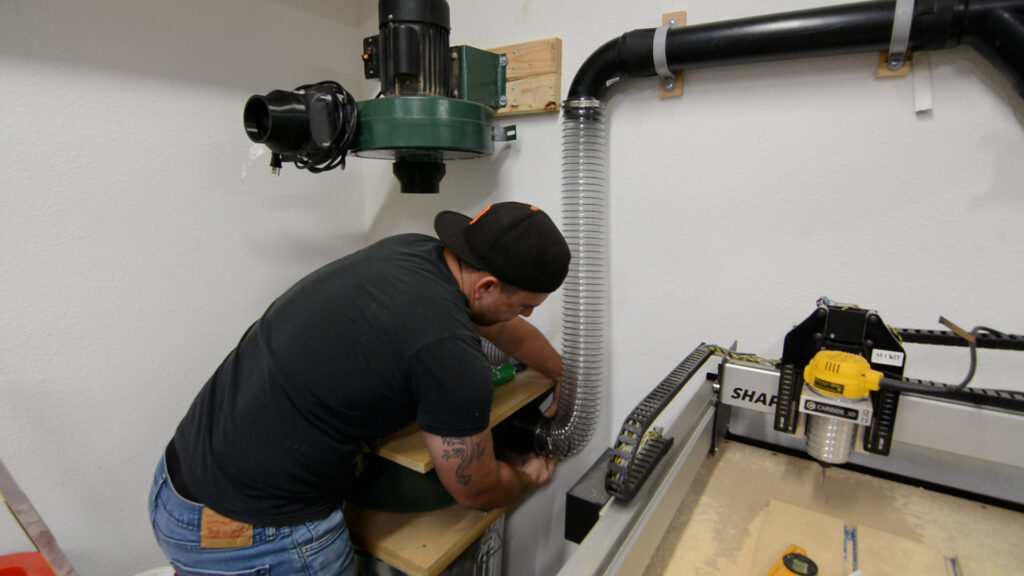
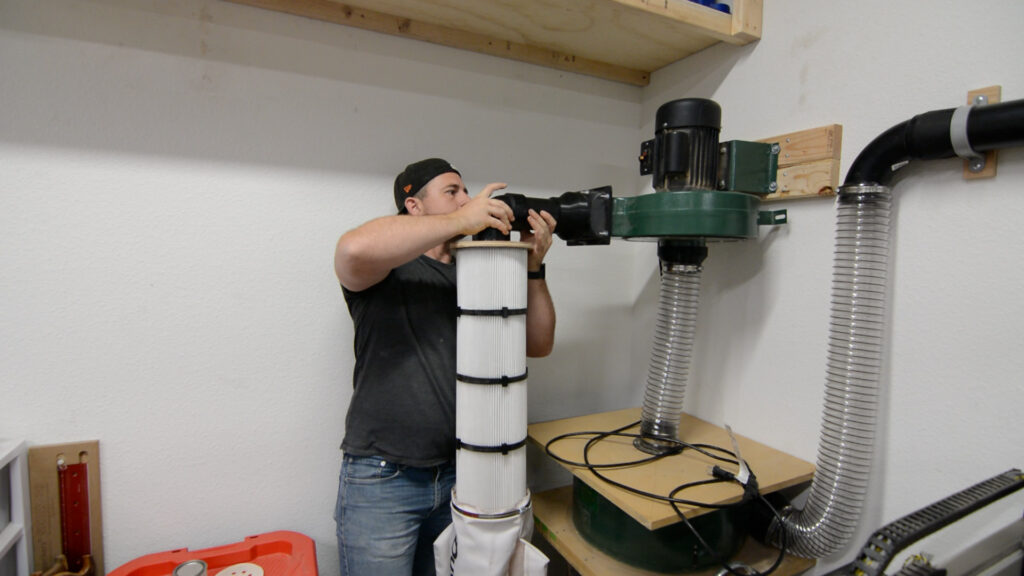
Now that the mounting location was sorted out I secured the impeller motor to the 2×4’s with heavy duty wood screws and fender washers. This was a little sketchy and really tested my upper body strength. I would suggest that you get some help with this part because doing it the way I did was a recipe for future back problems. After mounting the motor I moved the waste bin into its approximate location to make sure everything would line up.
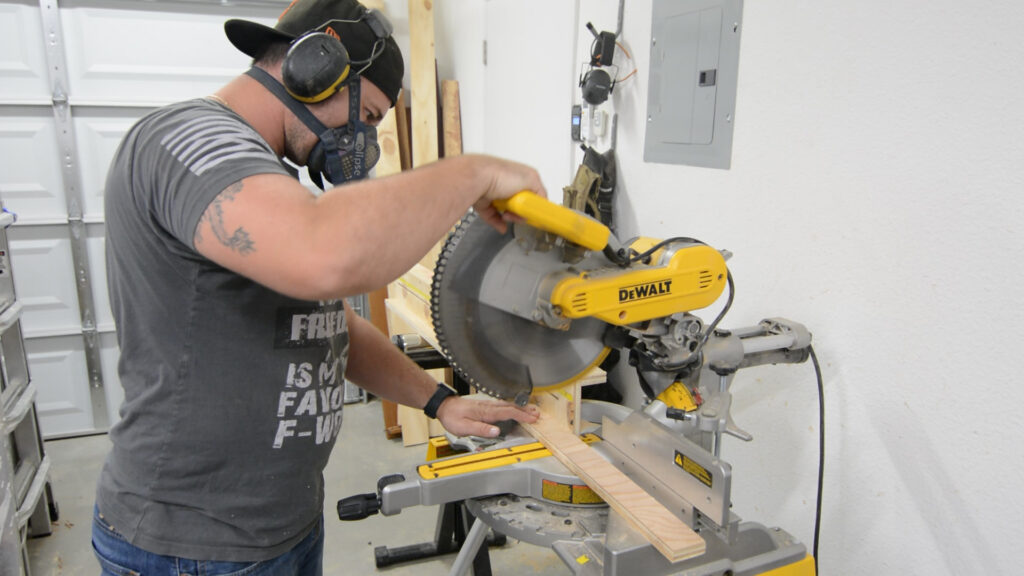
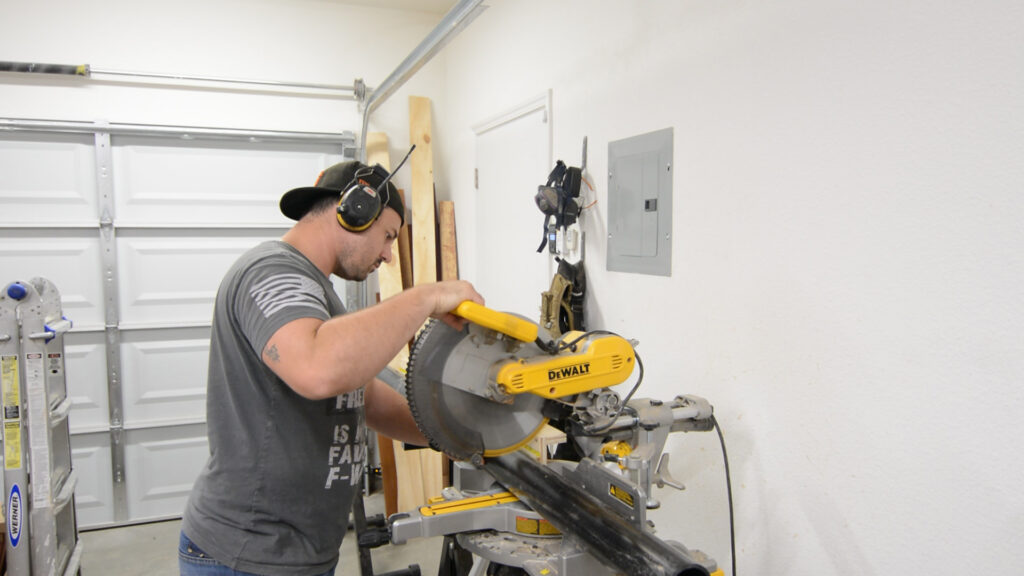
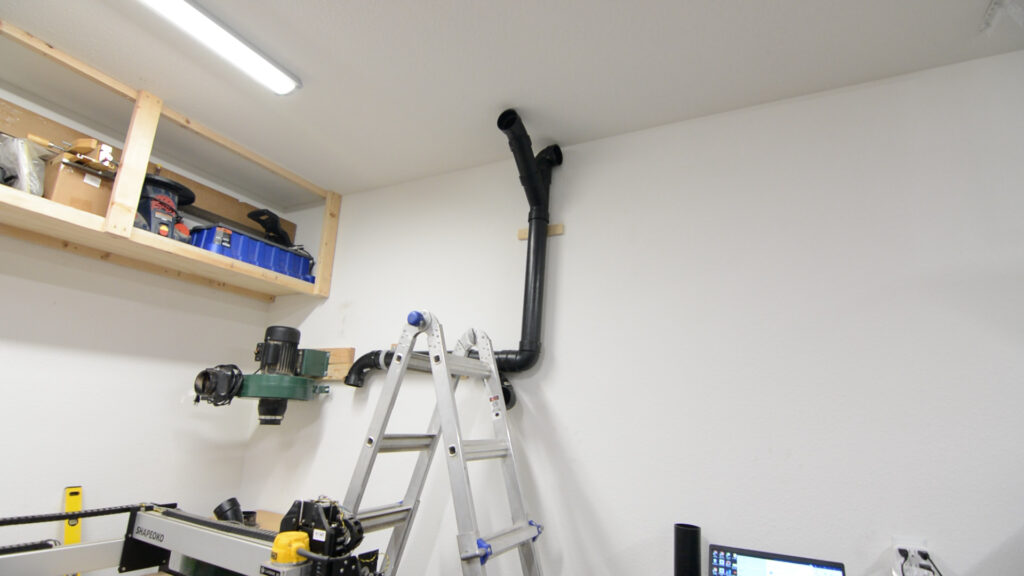
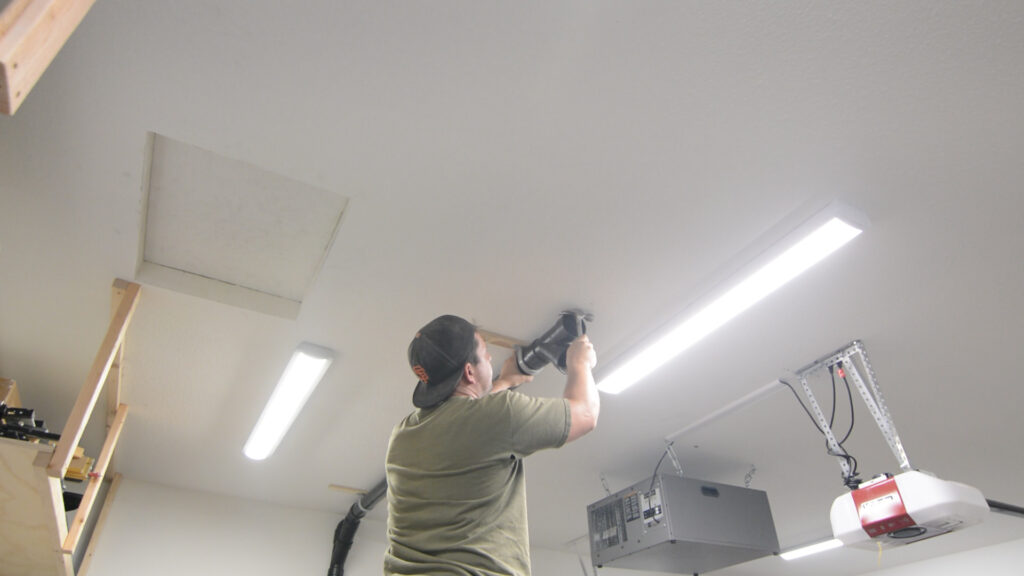
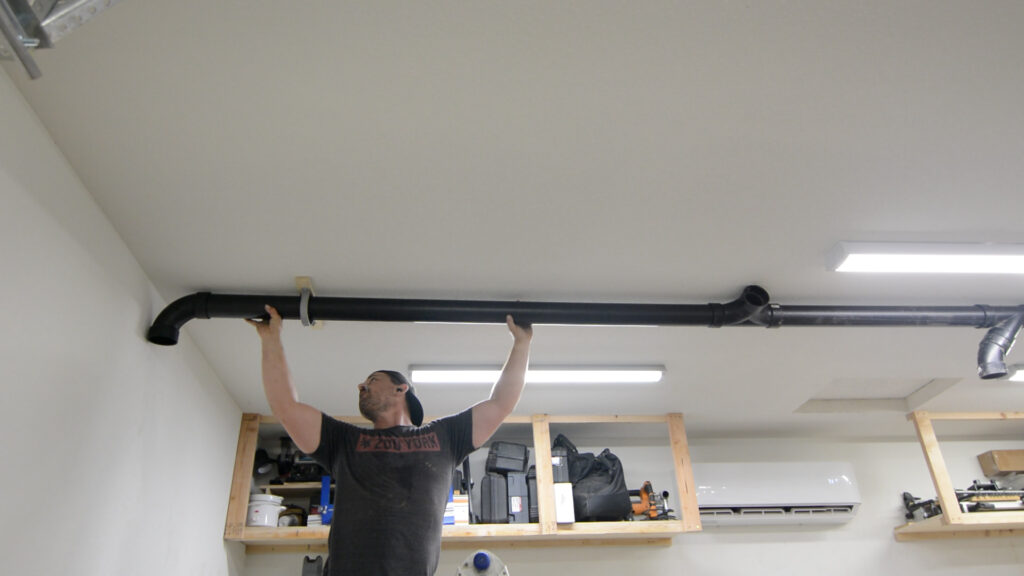
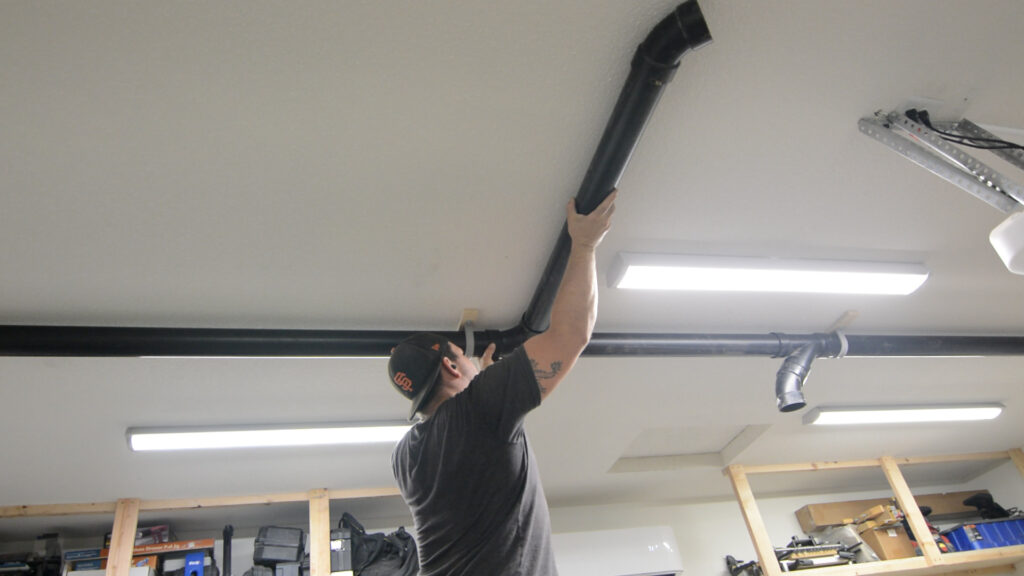
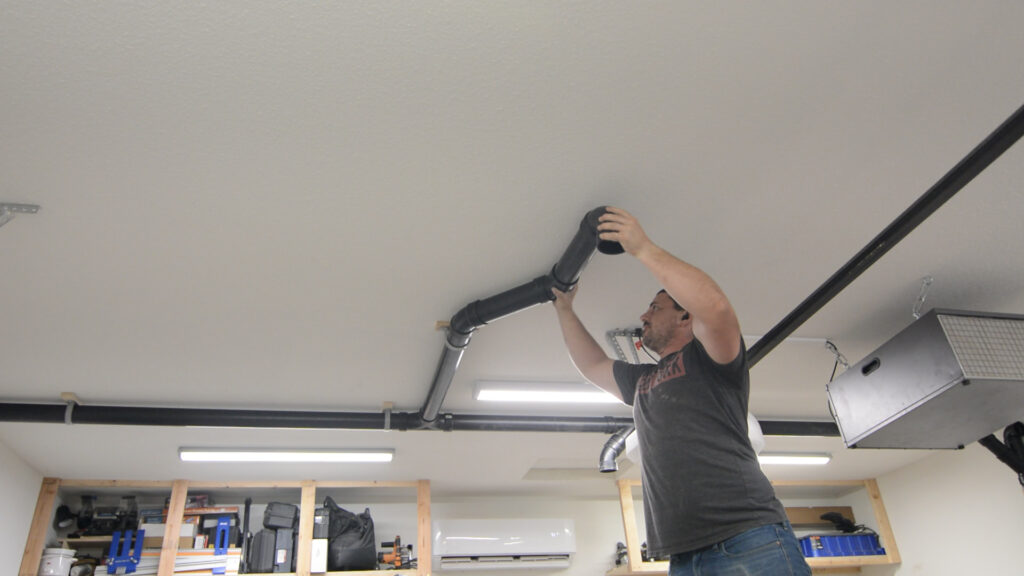
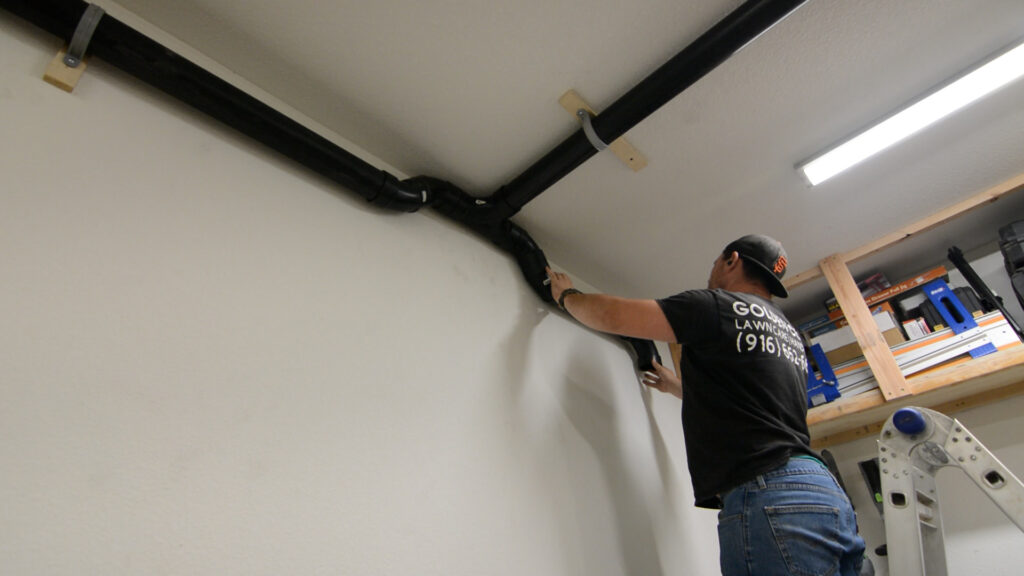
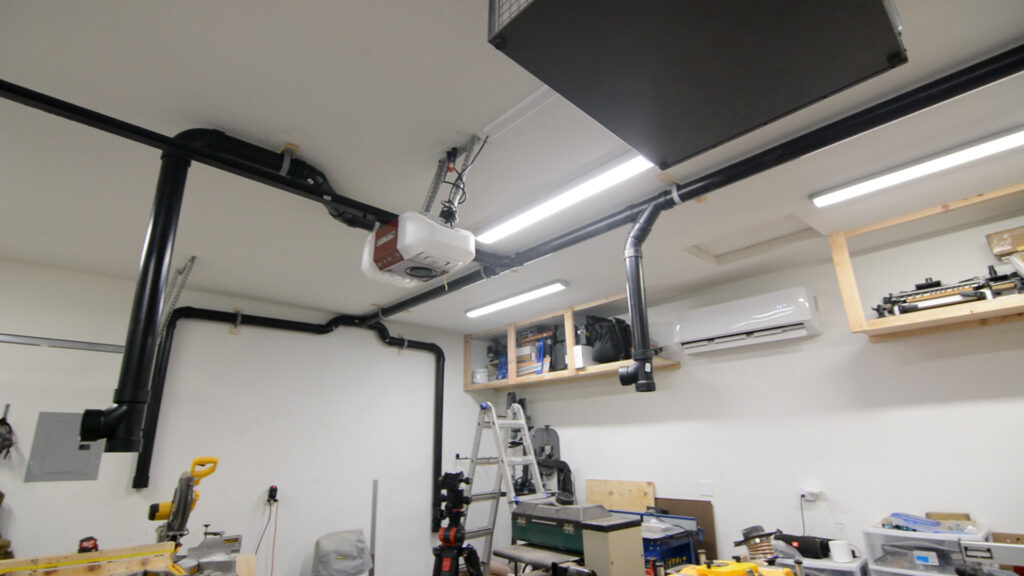
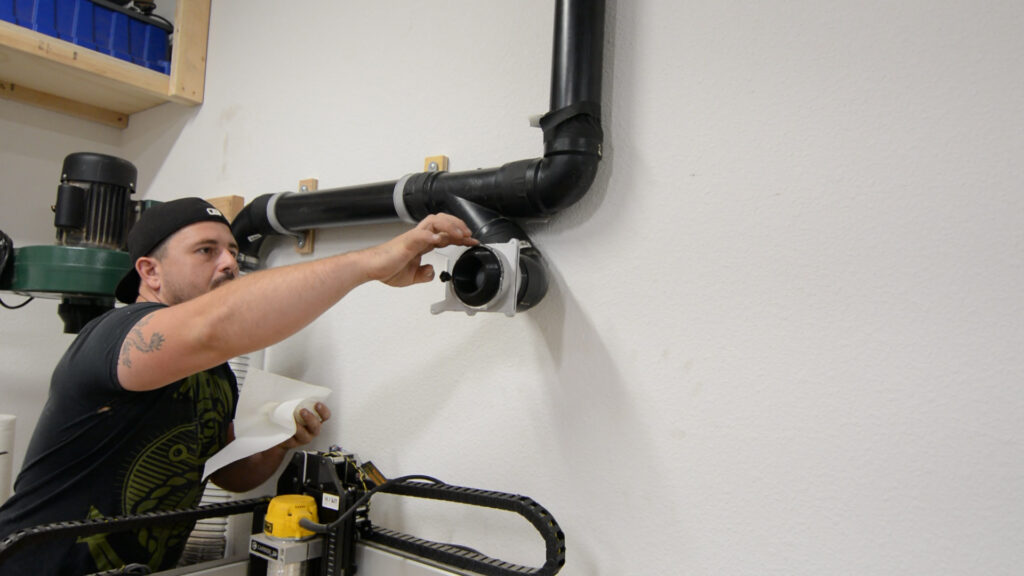
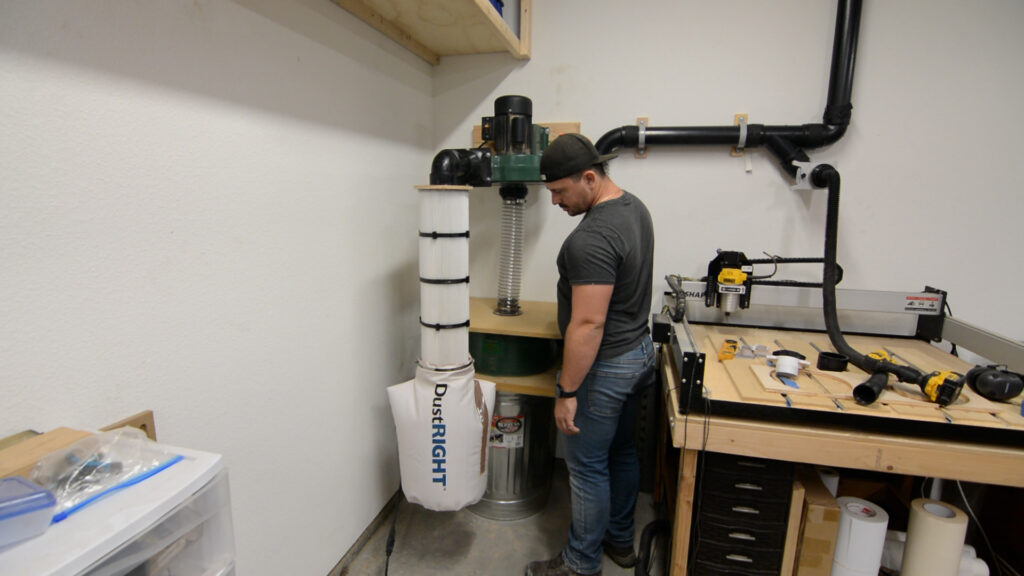
To mount all of the dust collection tubing I use a combination of 3/4″ strips of plywood and 3″ diameter pipe hangers. The pipe hangers were purchased from a big box store and I will link to them at the bottom of this article. They really are the best way to hang the ABS pipes that I use. The plywood is sheathing plywood that I had laying around from old projects. The plywood is used to offset the pipes from the wall to accommodate the ABS fittings used to connect all the various sections of the pipe system. Everything is cut to size at the miter saw.
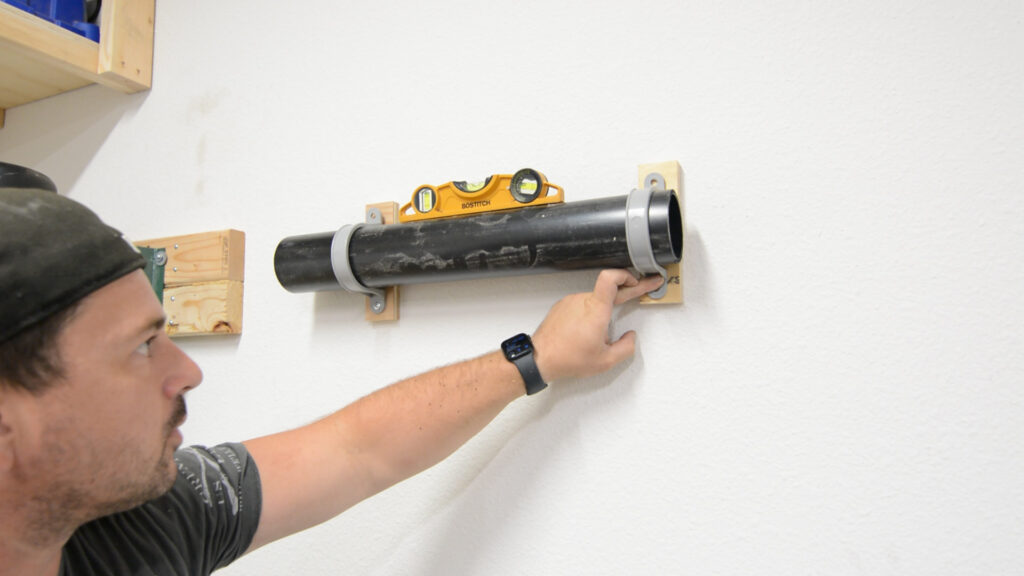
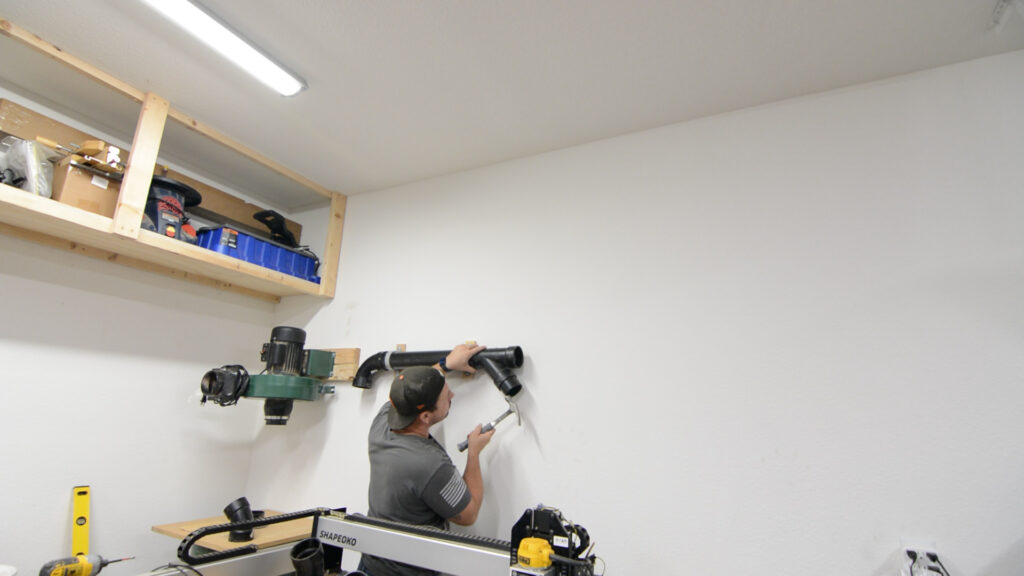
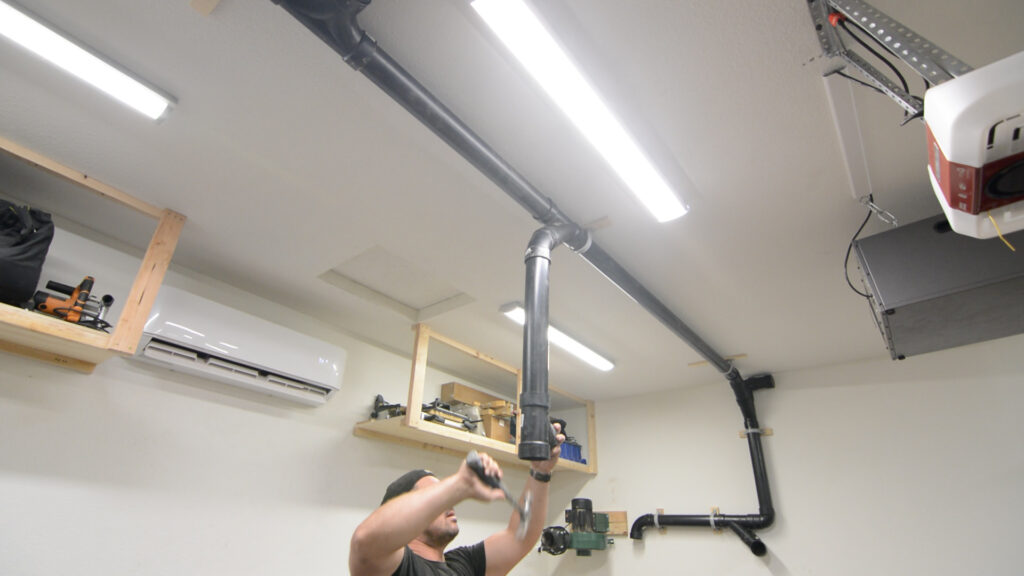
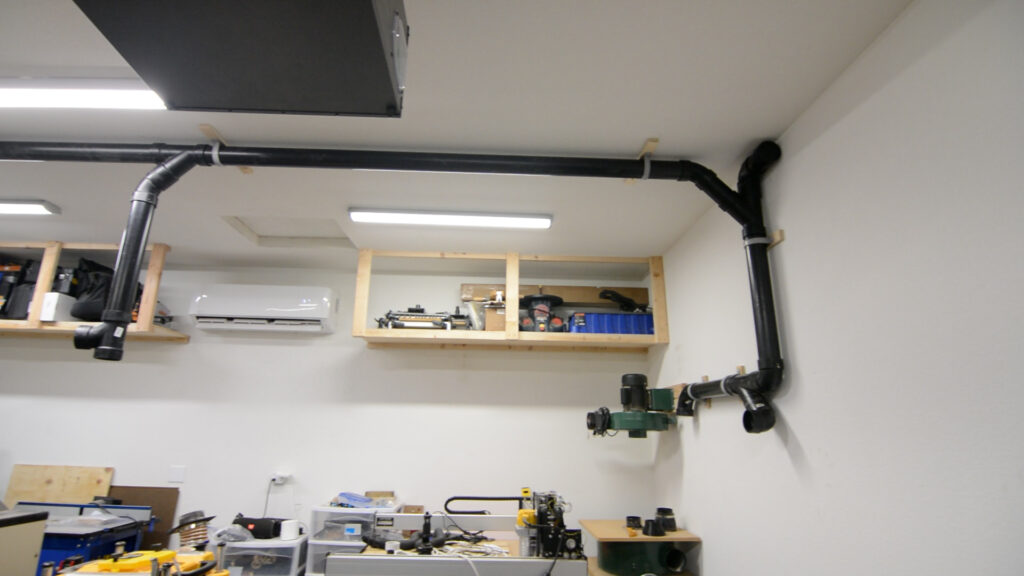
The process seen in the pictures above is repeated for the entirety of the tubing layout. Below are images of the layout as I built it.

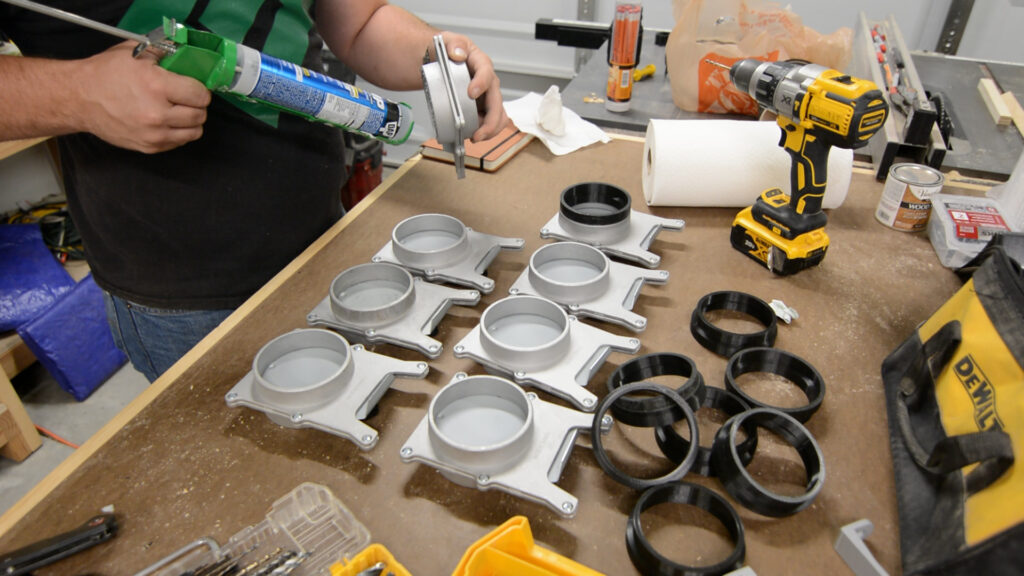
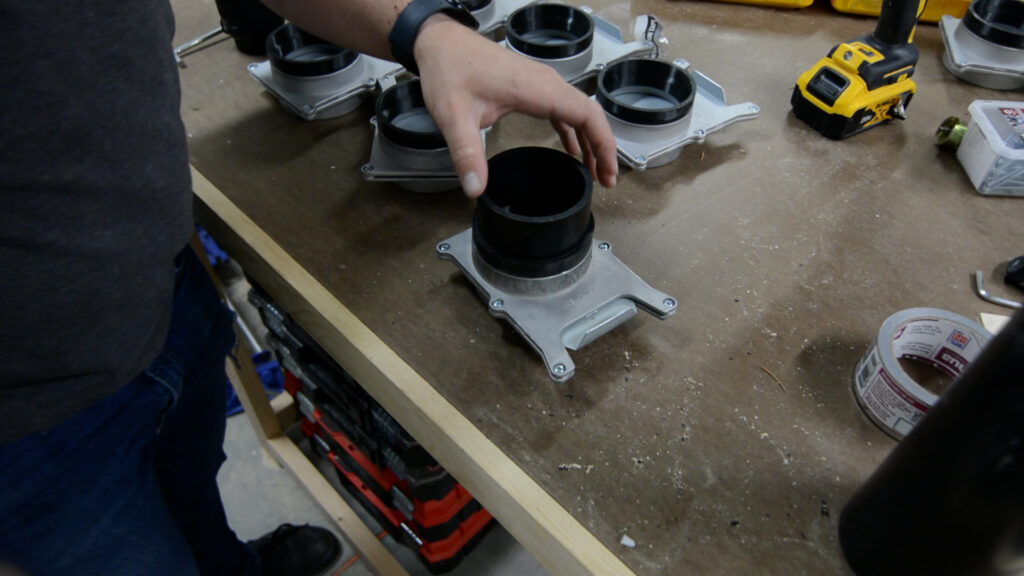
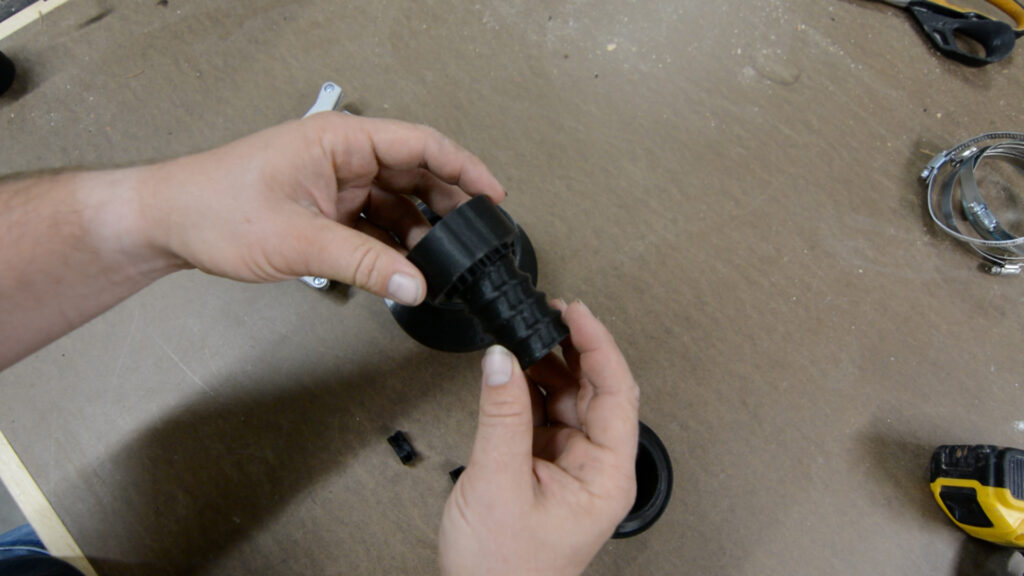
After the tubing layout was finished I moved on to the blast gates. Because I am using 3″ ABS pipes I had to 3d print an adapter to compensate and attach the blast gates. The blast gates I used are designed for 4″ pipes. The 3d printed adapters are attached with silicone adhesive.
While the silicone adhesive was drying I decided to seal the joints between all of the ABS pipes. To do this I used ducting tape. For purely cosmetic reasons I covered up the ducting tape with black gaffers tape.
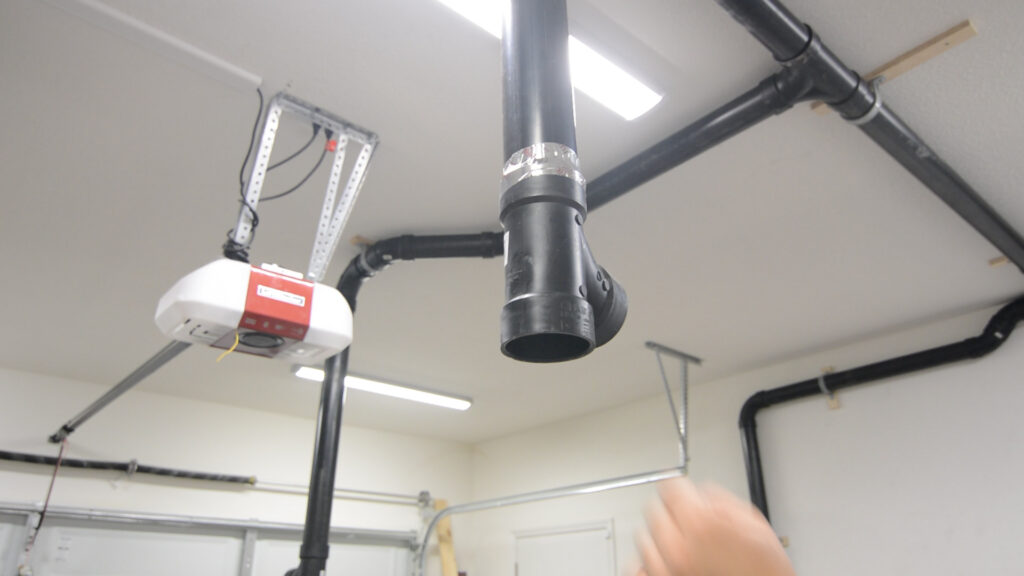
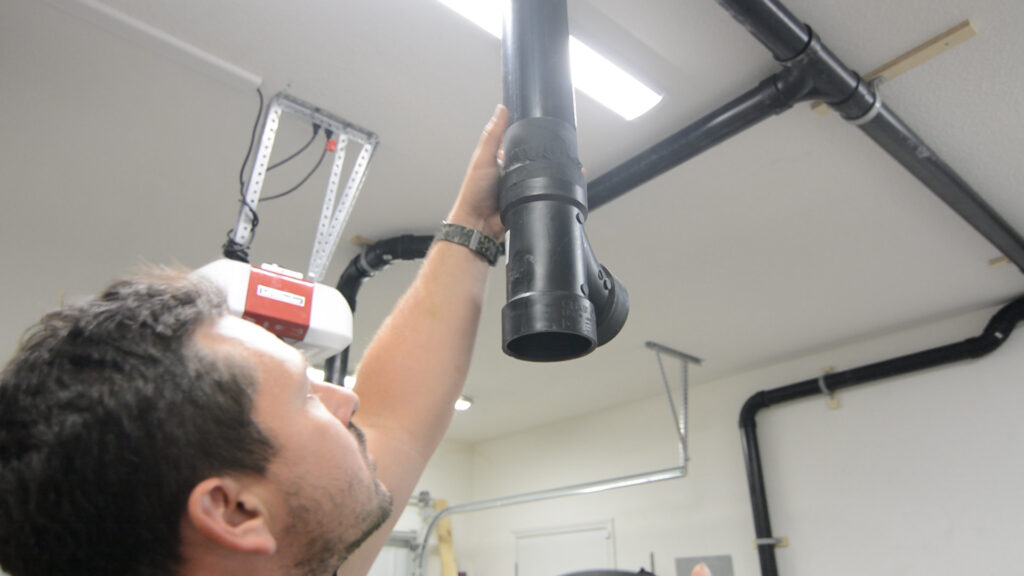
To attach the blast gates to the tubing I used a small section of ABS pipe. The connections are so tight the blast gates are held on by a purely friction fit.
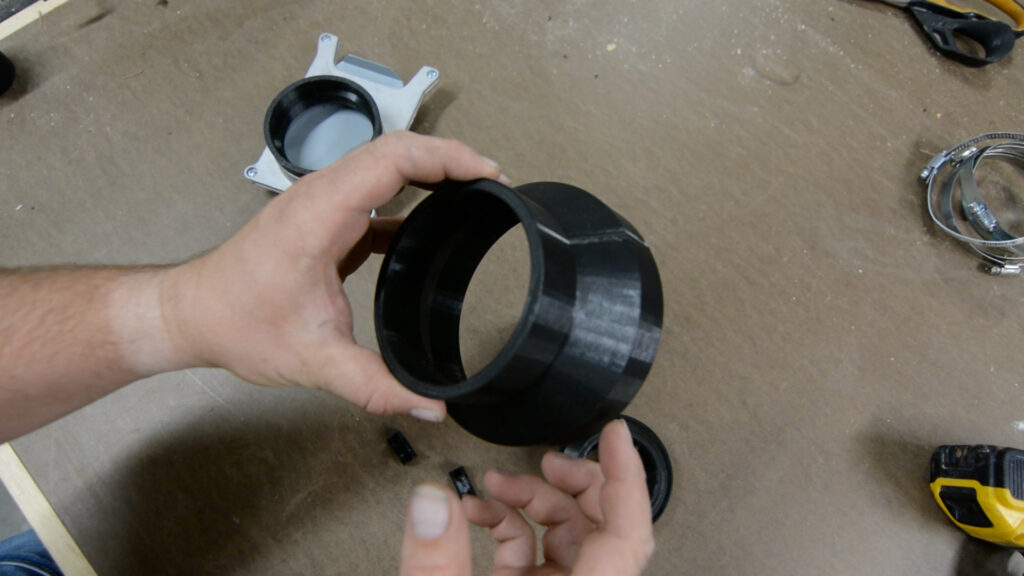
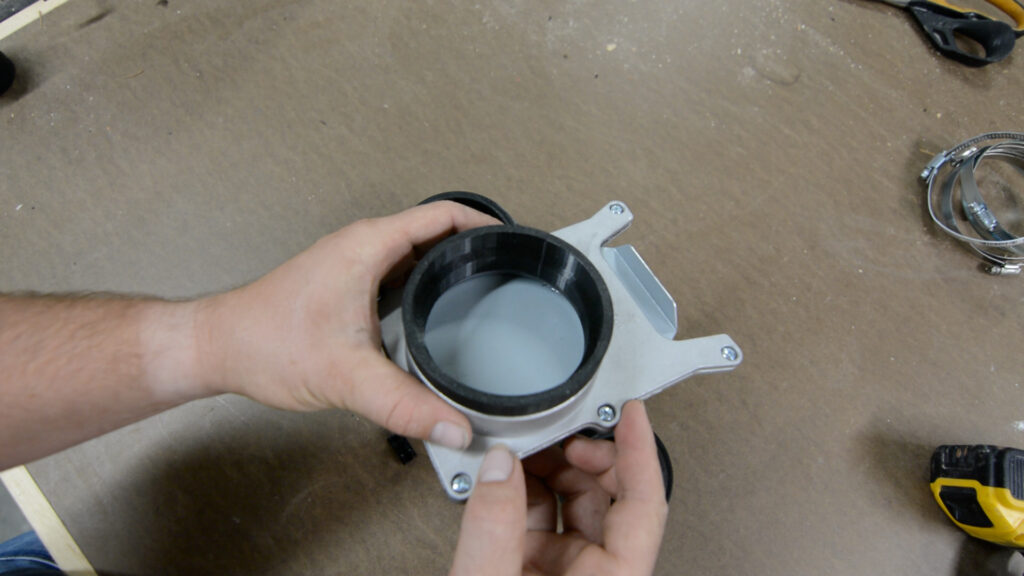
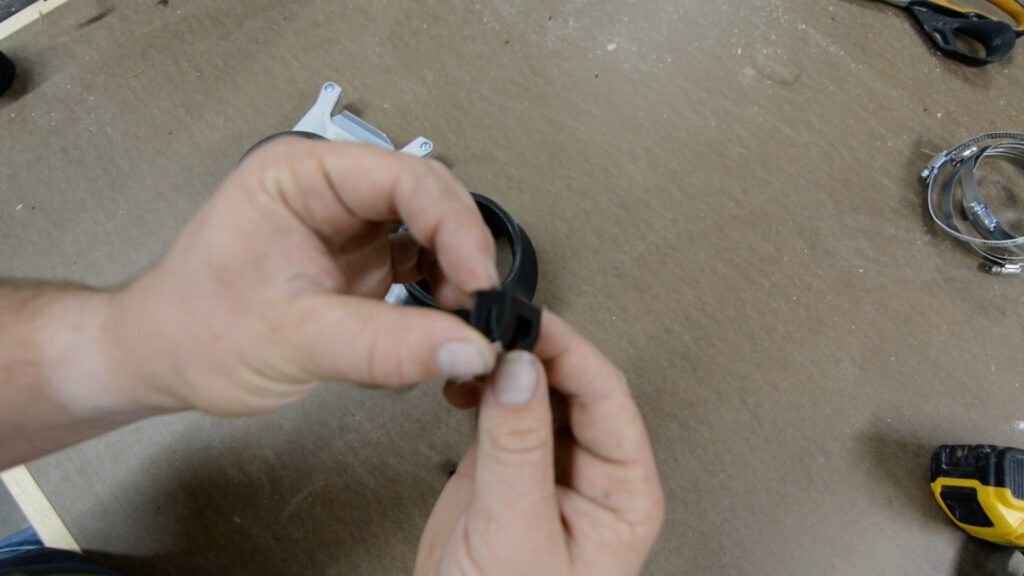
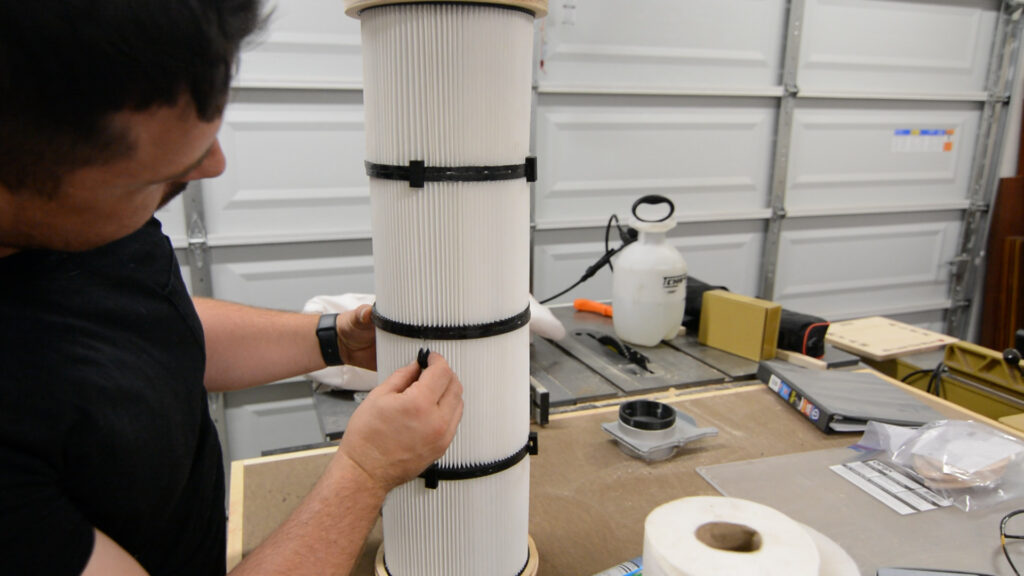
I utilized 3d printing to connect the dust collection tubes to my machines. I had to design several different types of adapters and thought it would be useful for my readers and viewers to see the custom adapters. I also 3d printed clips to hold the sections of my fine dust filter together. Images of each adapter can be seen below.

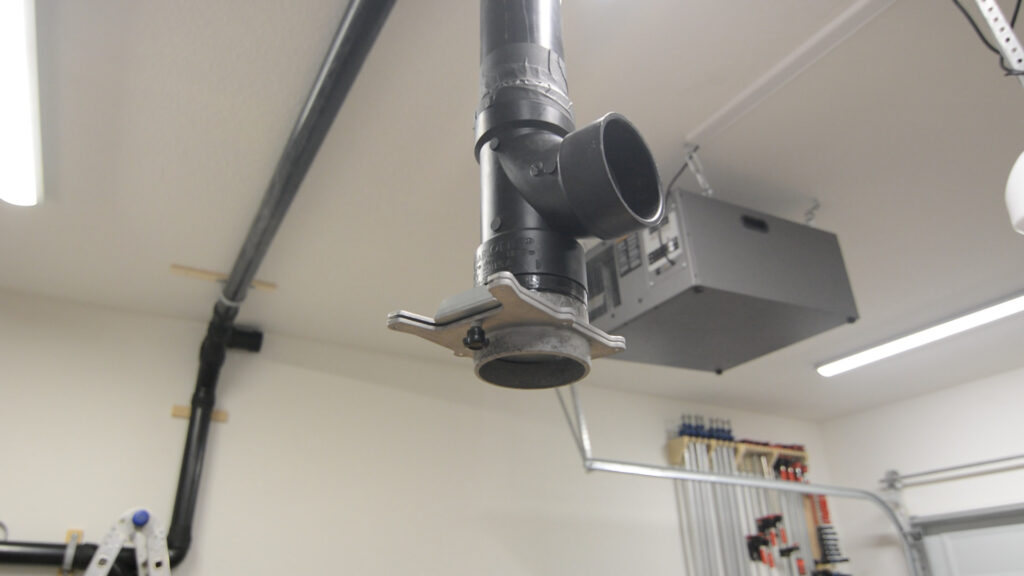
Where is was necessary I used silicone adhesive to attach the custom adapters. This included 3 locations on the dust collector itself, both on the separator and the impeller housing, as well as a few tools around the shop.
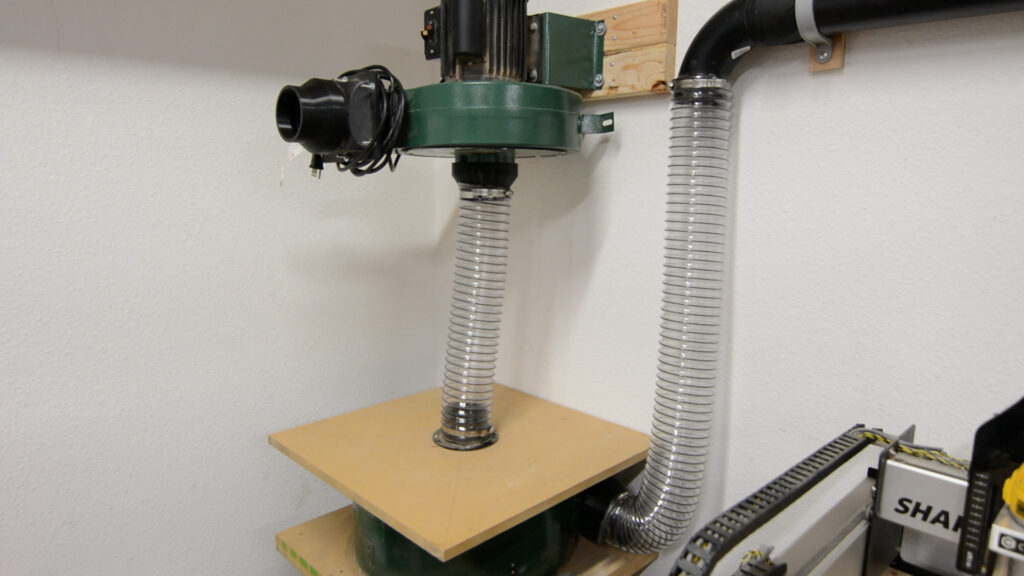
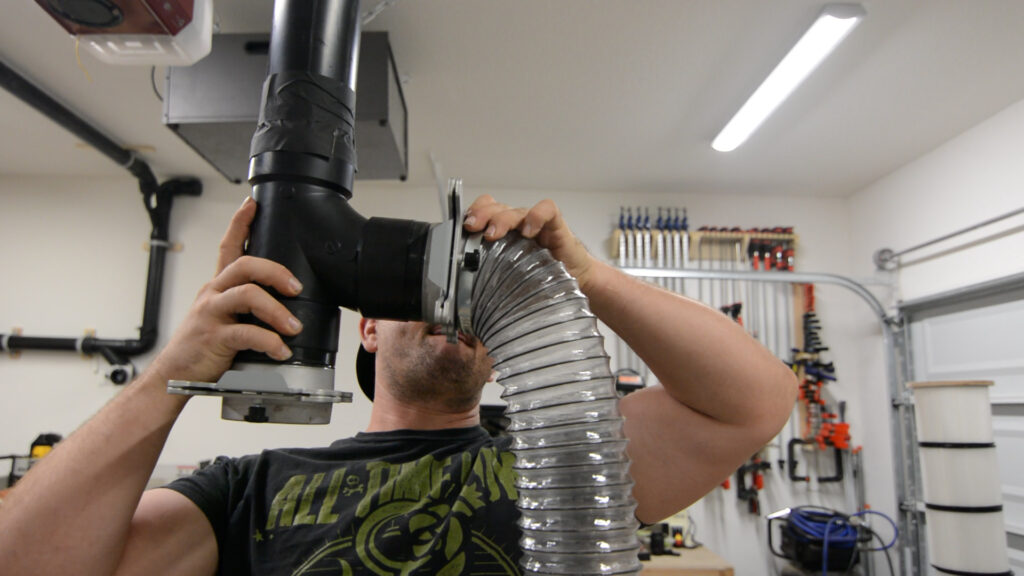
To connect the tubing to the impeller motor I used 4″ flexible hosing and hose clamps.
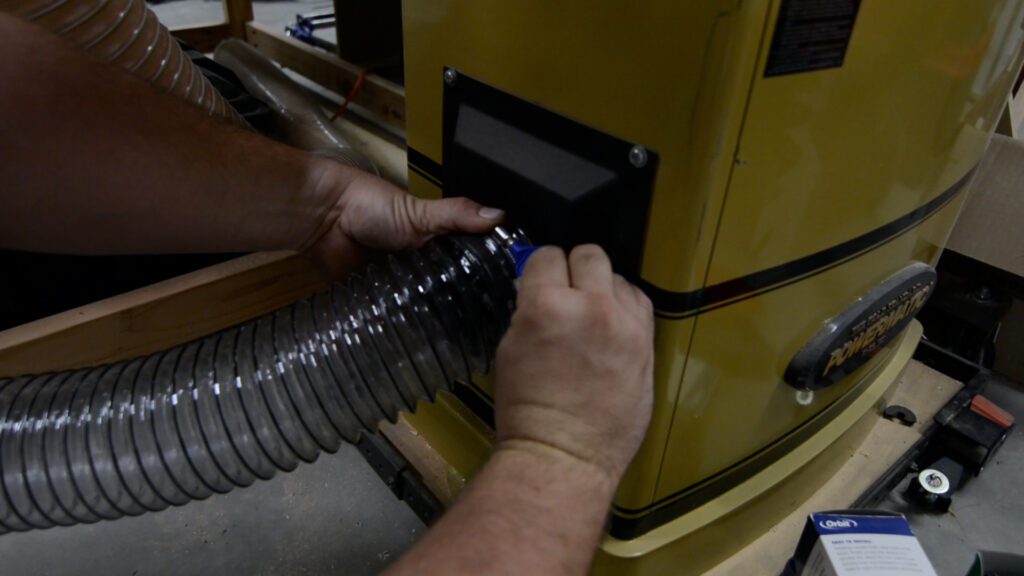
To connect all of the tools I used the same 4″ dust collection hose but two different types of hose clamps. I used the standard screw type hose clamps to connect the hose to the tubing and a thumb screw type hose clamp to connect the hose to each machine.
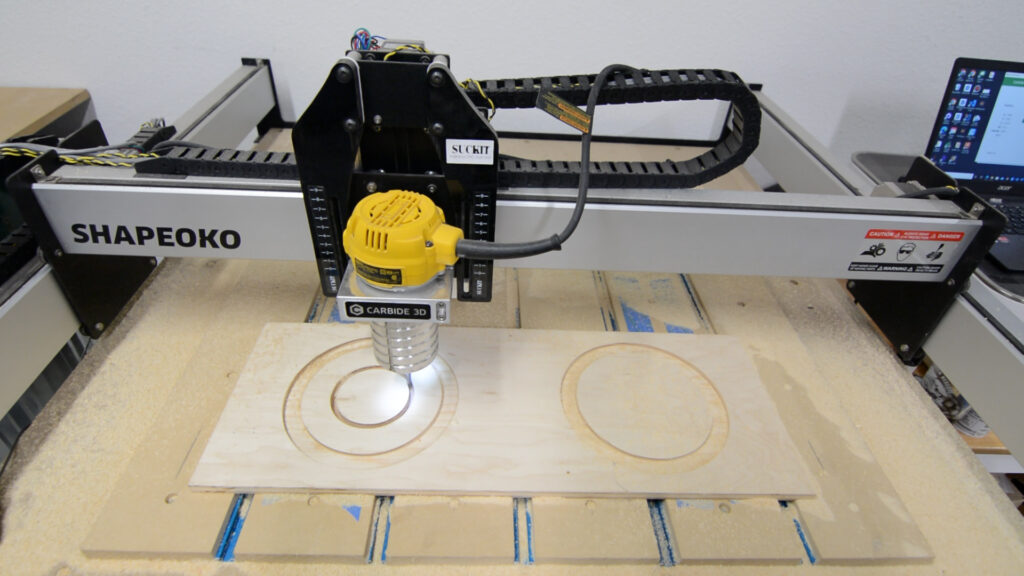
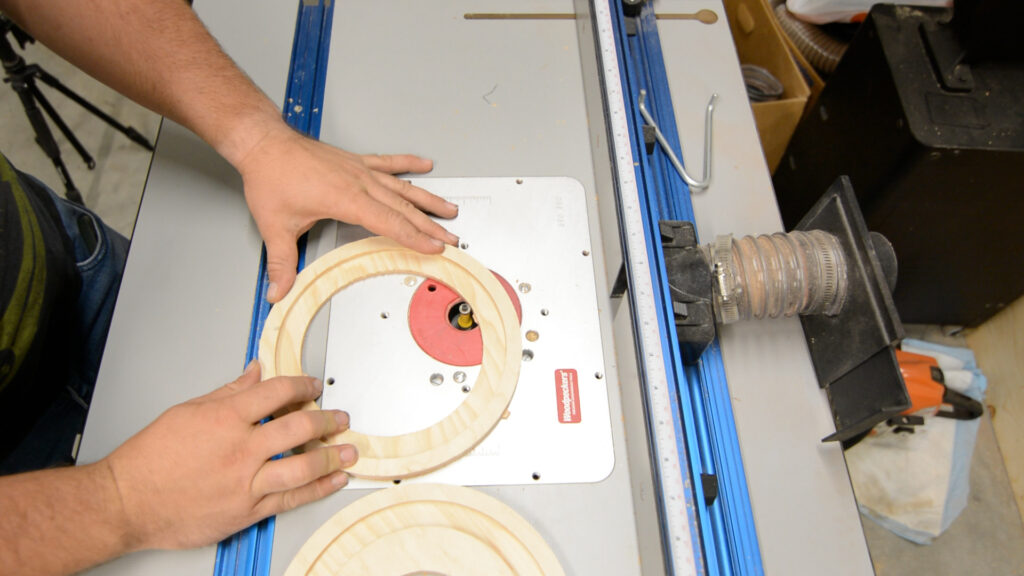
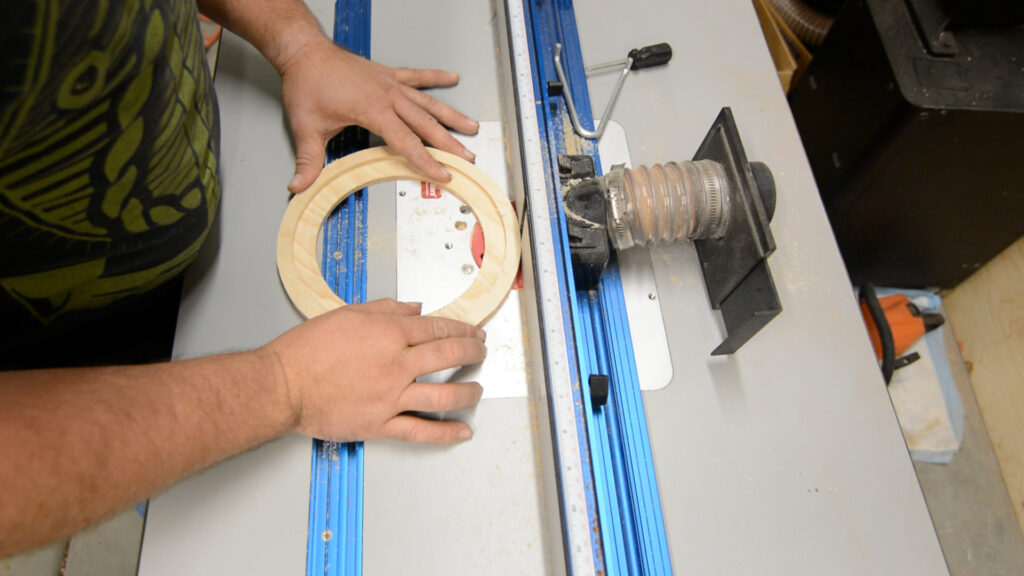
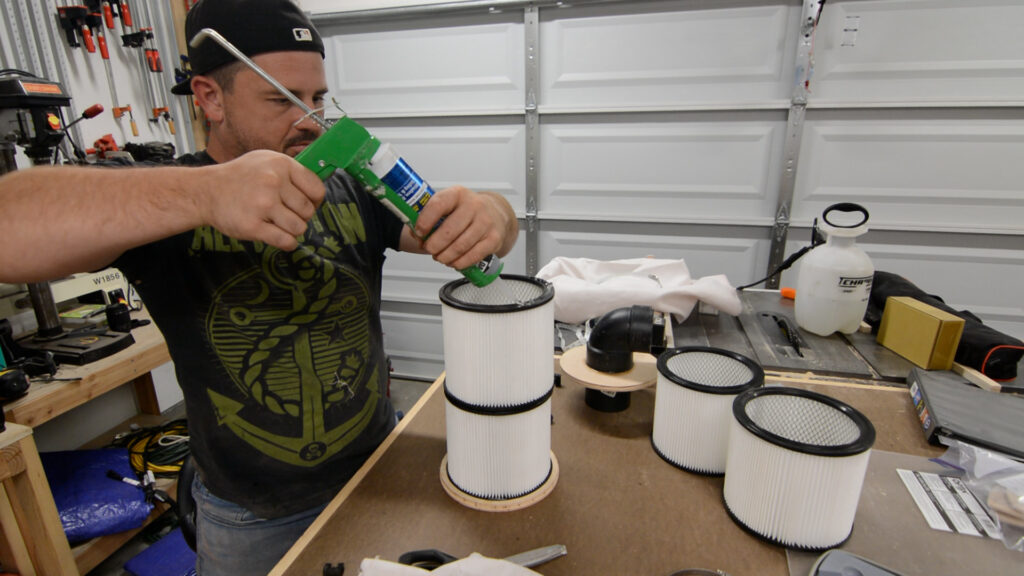
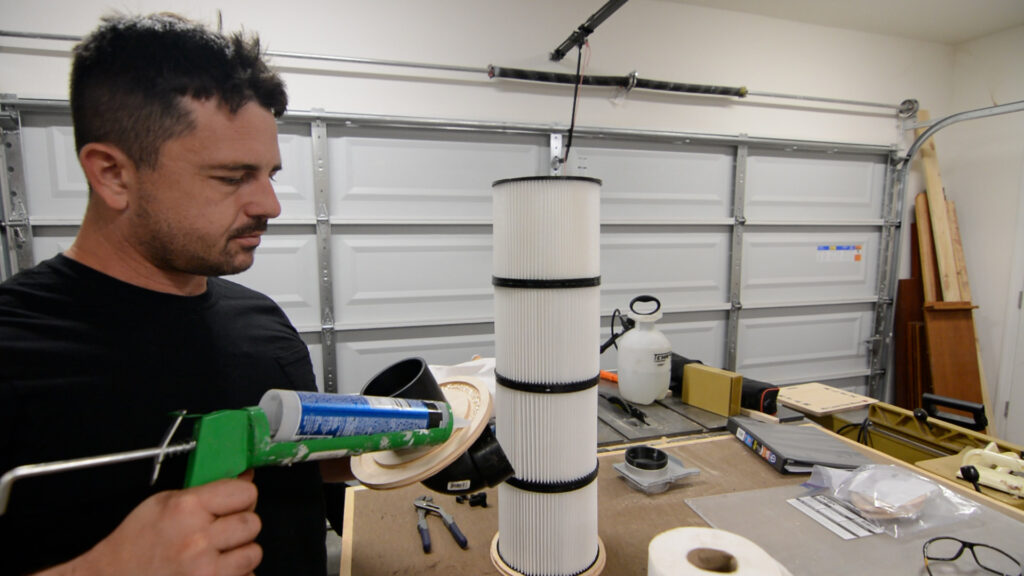
With that completed I moved on to the fine dust filter. I used my CNC to cut the top and bottom pieces of the filter. They are designed to sandwich four separate shopvac filters. After cutting them out I used my router table, equipped with a flush trim bit, to remove the tabs created during the cutting process.
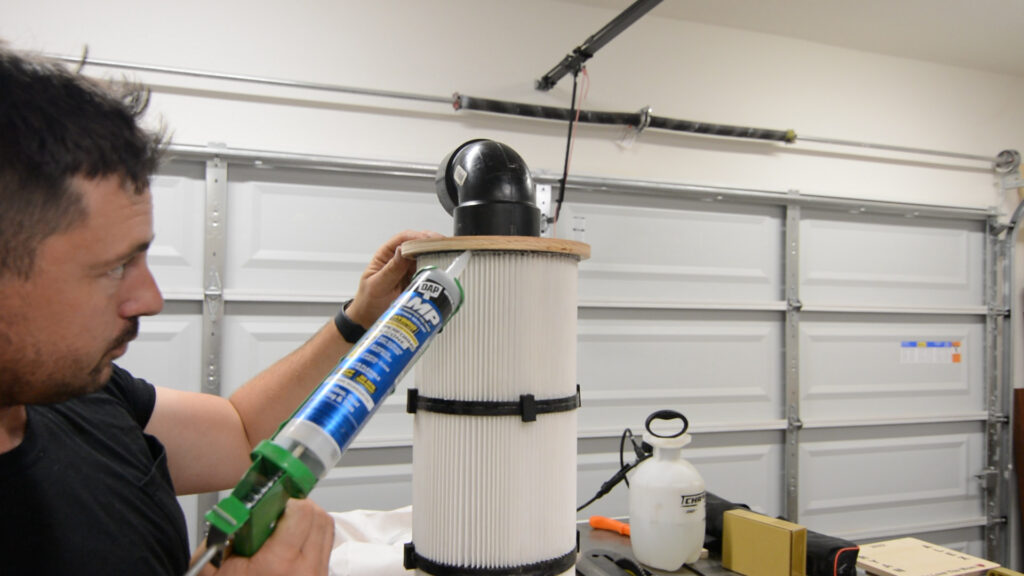
The top piece of the filter has a hole cut to accept a 3″ piece of ABS and the entire piece is sandwiched between a 3″ coupler and a 90° elbow, both ABS.
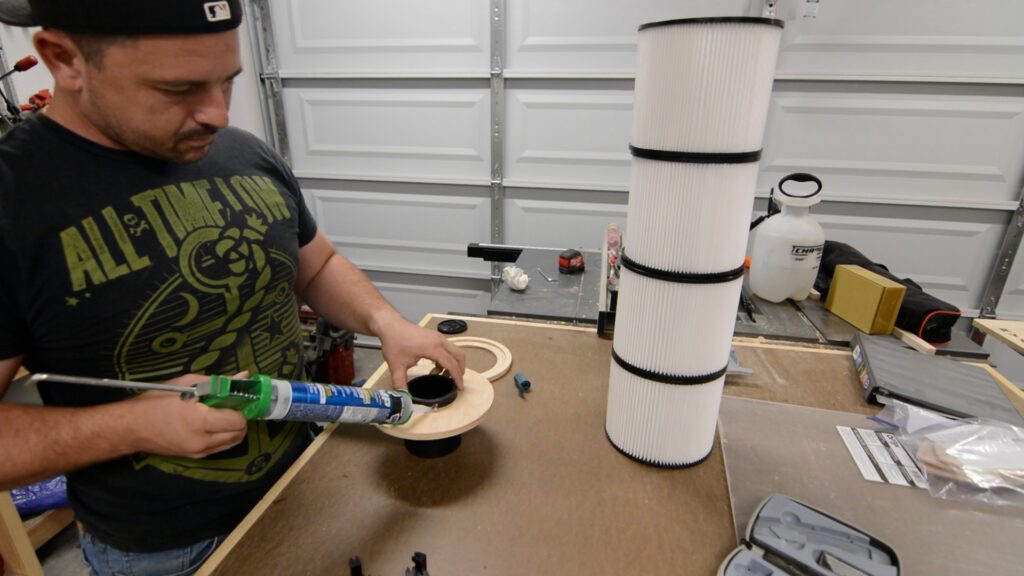
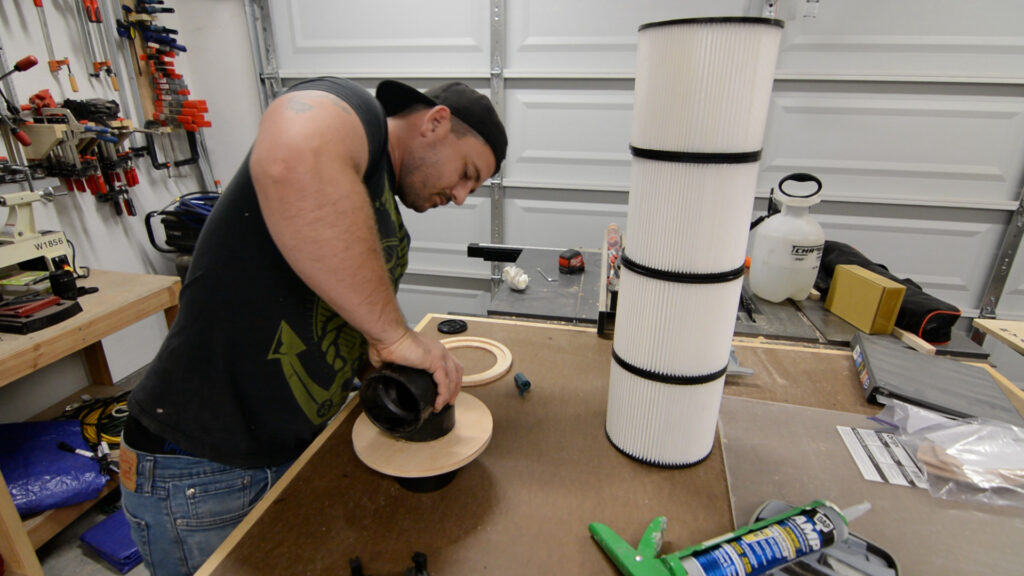
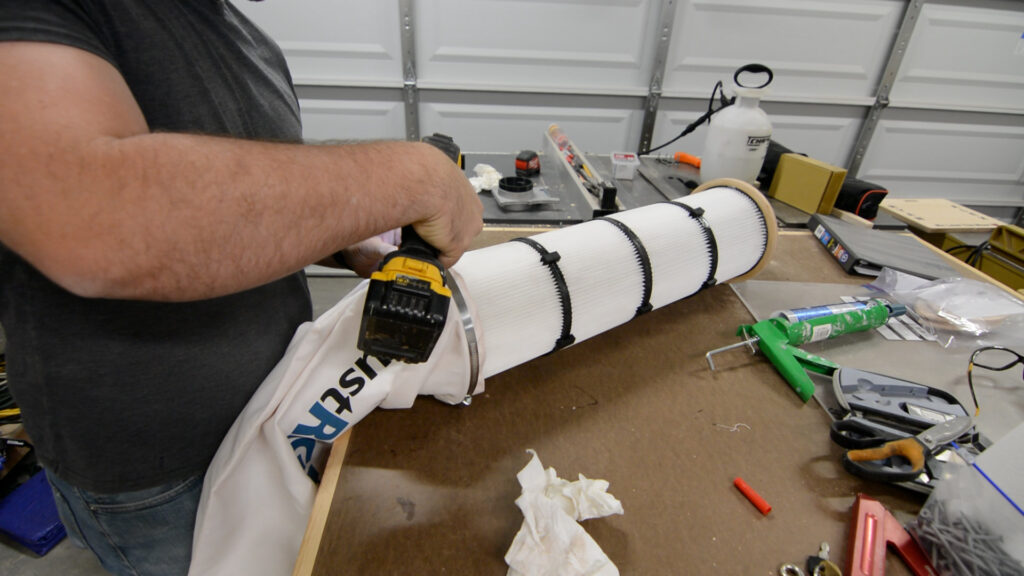
The bottom part of the filter assembly has a much larger hole cut that allows airflow through the filter stack in to an altered Rockler DustRIGHT bag. The DustRight bag is meant to filter and collect fine dust that the filter stack does not. The bottom piece is secured to the bottom of the filter stack with silicone adhesive.
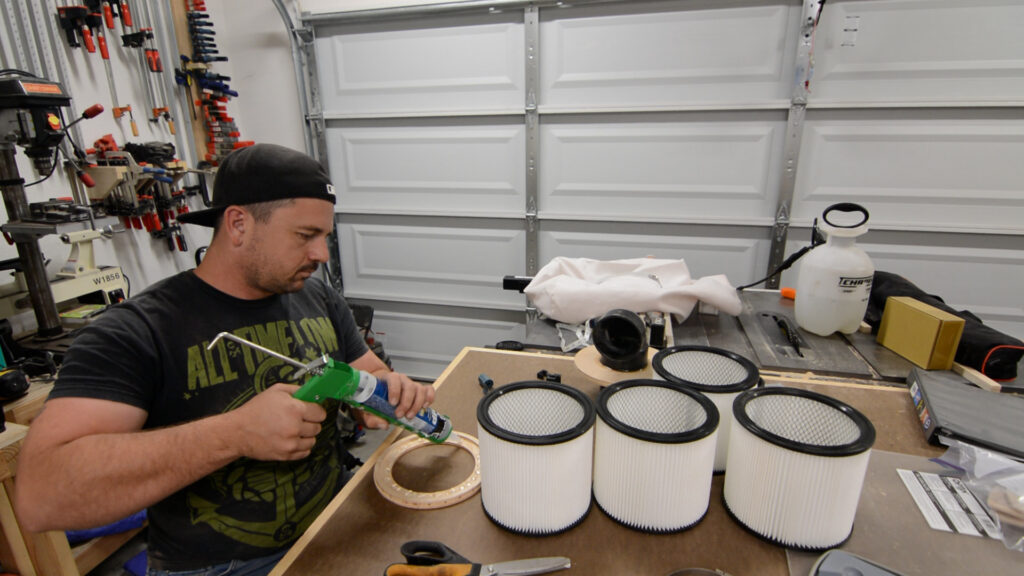
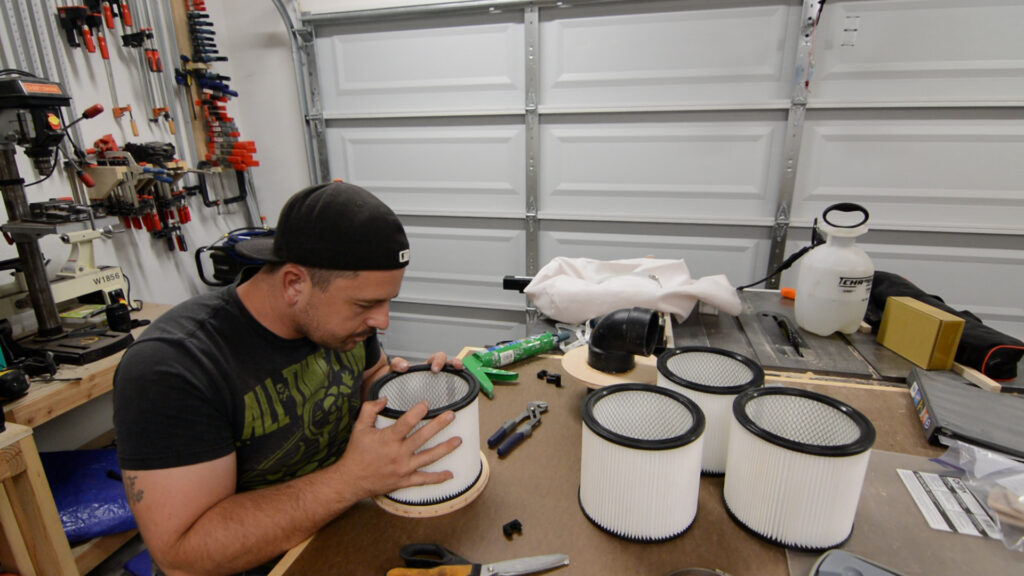
Each layer of filter stack is secured the one below and above using silicone adhesive.
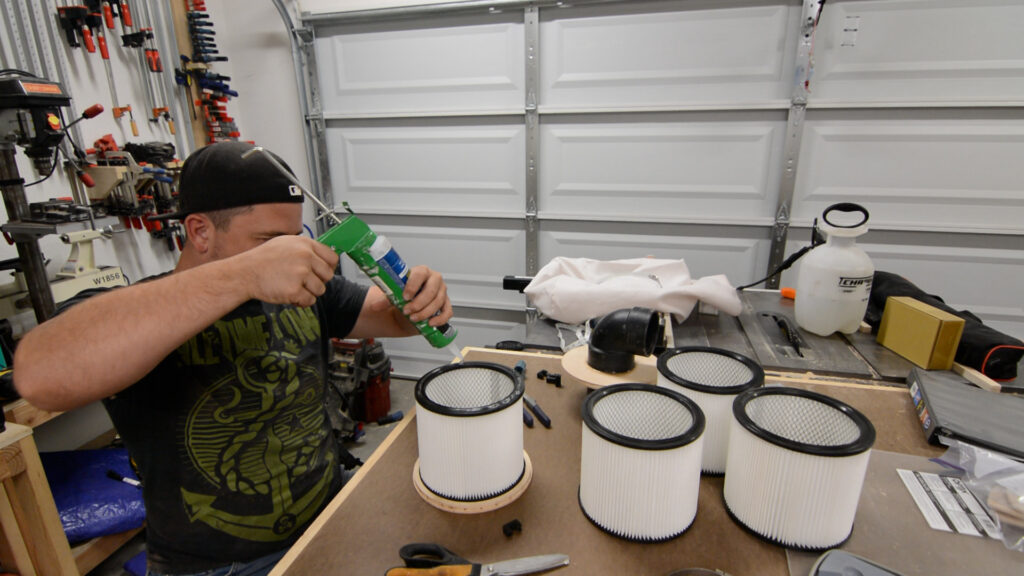
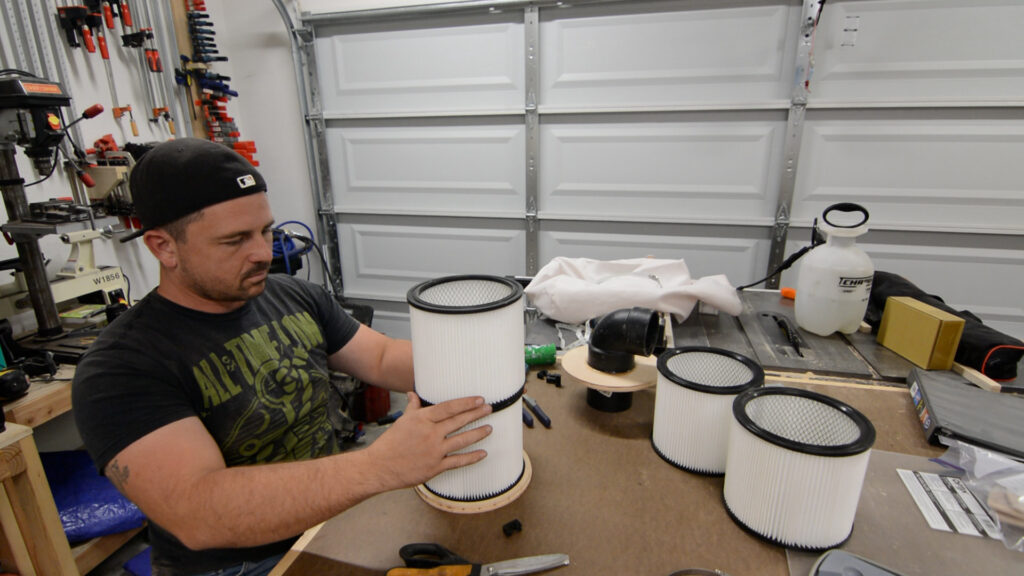
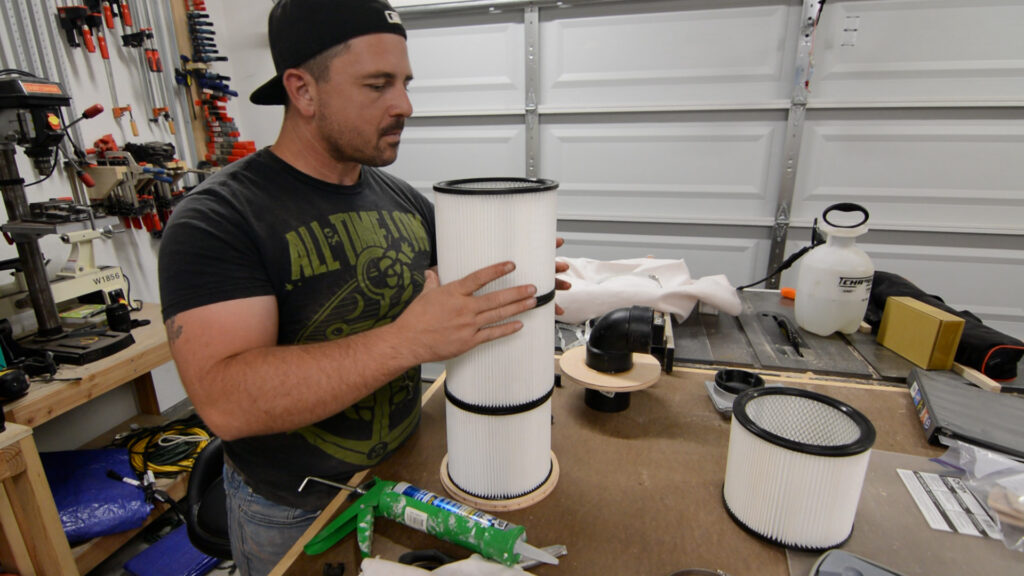
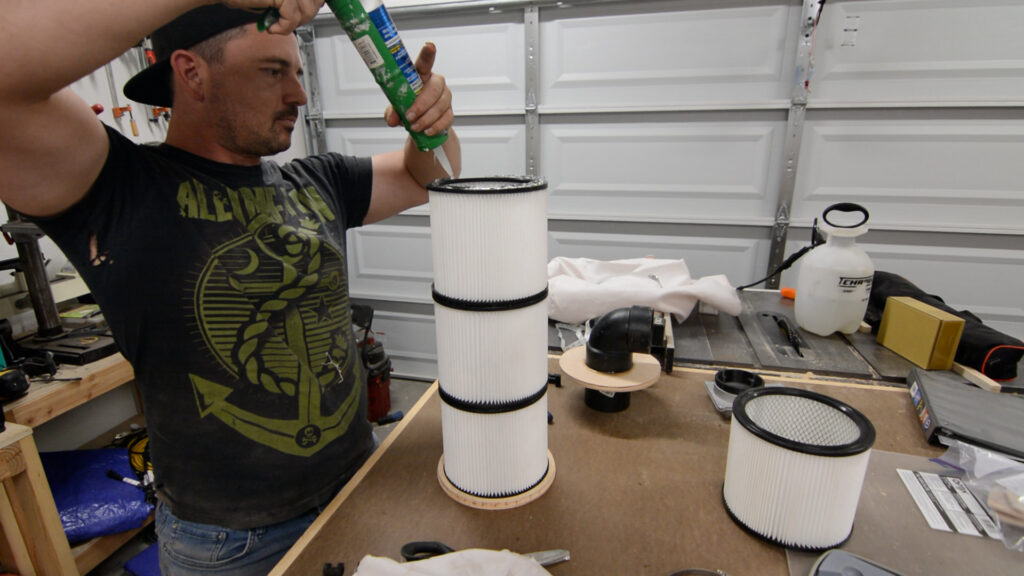
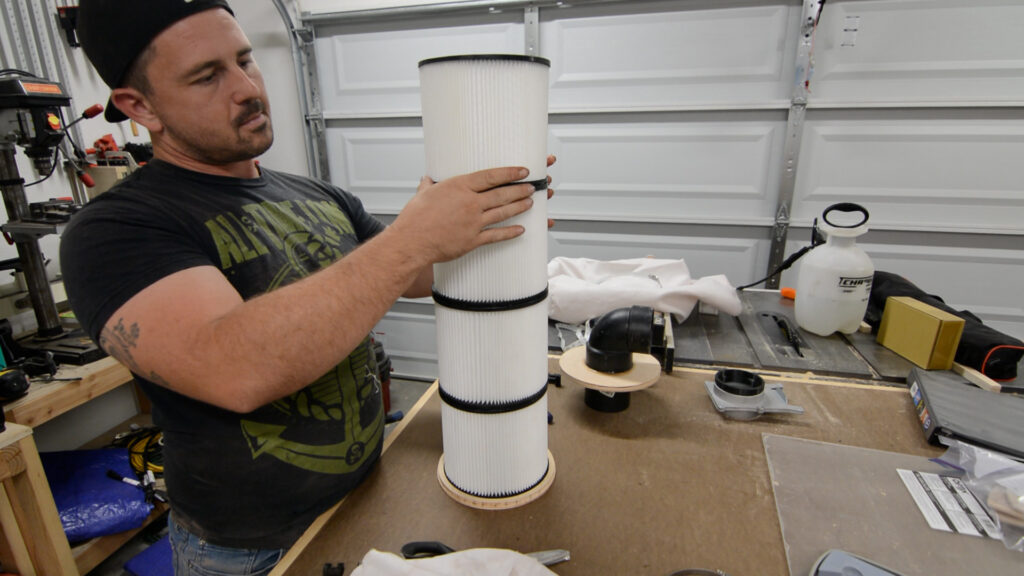
After allowing the silicone on the filter stack to dry I attached the top piece of the filter stack with silicone adhesive as well. After that dried I reinforce the connection between each layer of the stack with the 3d printed clips shown earlier.
For added strength I put a bead of silicone adhesive around the edge of the top piece of the filter and the top most filter in the filter stack. The same is done on the bottom of the filter stack.
I altered a Rocker DustRIGHT bag to fit around the bottom piece of the filter and secured it to the filter stack with a large hose clamp.
The filter stack is attached to the impeller housing using a friction fit. I wanted the ability to remove it in the future if needed. If additional support is needed I will add that in the future as well.
After adding the filter stack to the impeller housing I noticed it sag a little and decided to reinforce the housing by adding an additional piece of 2×4 behind it.
That’s all my friends. I’ve been testing the new filter stack for a while and haven’t noticed any measurable difference in how it operated with the stock filter setup. If you have any questions how the filter was built or assembled please add a comment down below or on the associated YouTube video.
Conclusion
Thanks for reading! At the top of this article you can find affiliate links to the tools and products I used in this project. If you are interested in supporting my efforts, clicking my affiliate links goes a long way and I greatly appreciate any support that I receive. Also, you can find a downloadable plan for this project down below if you’re looking to modify one of these for yourself.