
Introduction
In part three I build a fine dust filter to catch all of the really small dust particles that make it through the chip separator. I chose to use a shopvac dust filter sandwiched between 3/4″ MDF. I also perform some final assembly steps for the (Chip Separator) thein baffle.
How to Build It
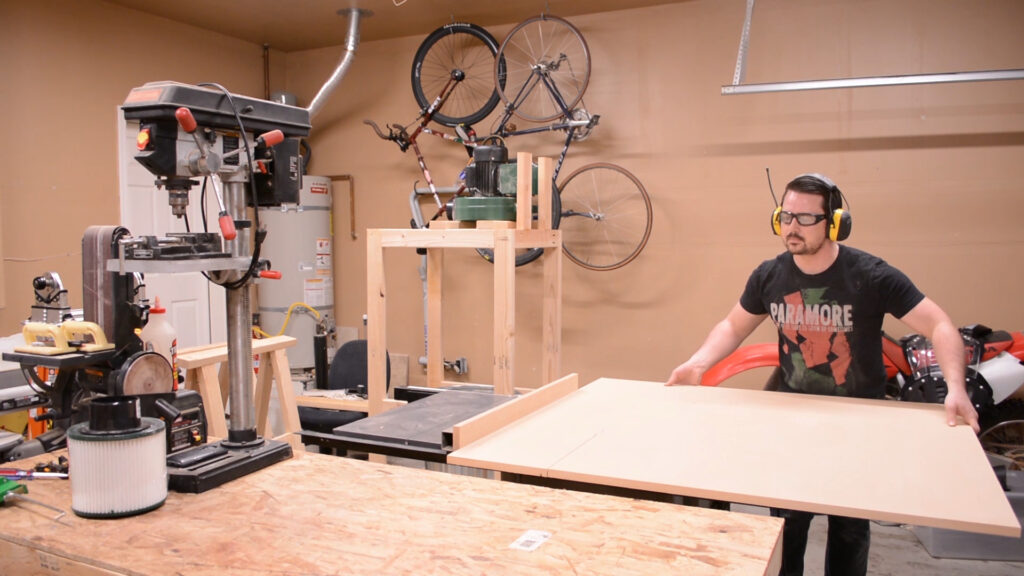
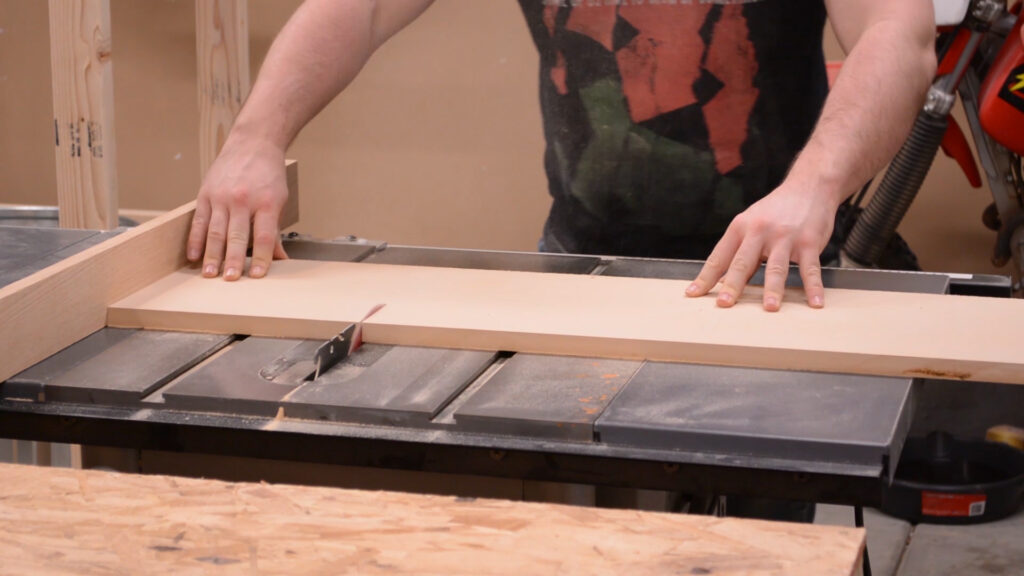
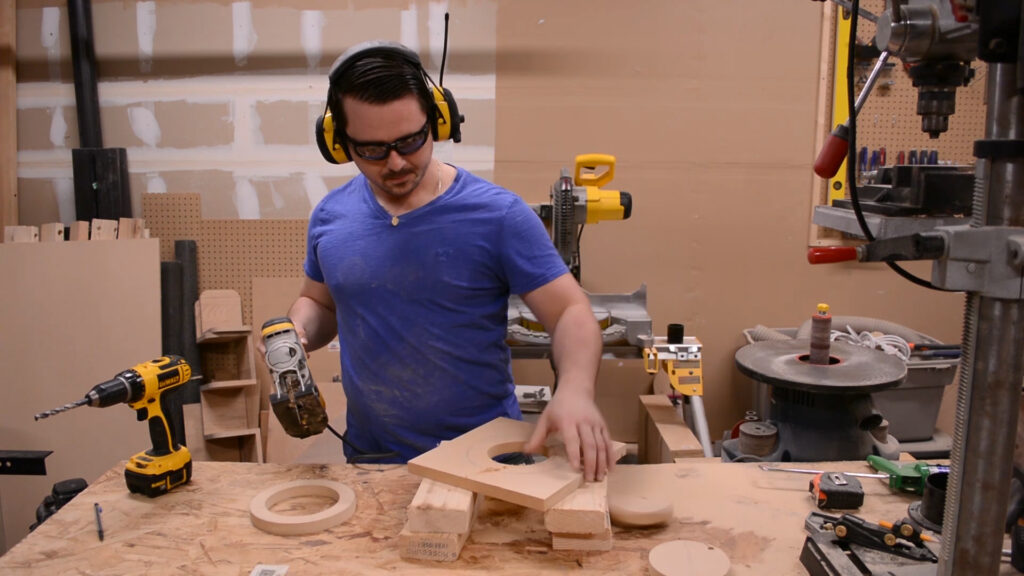
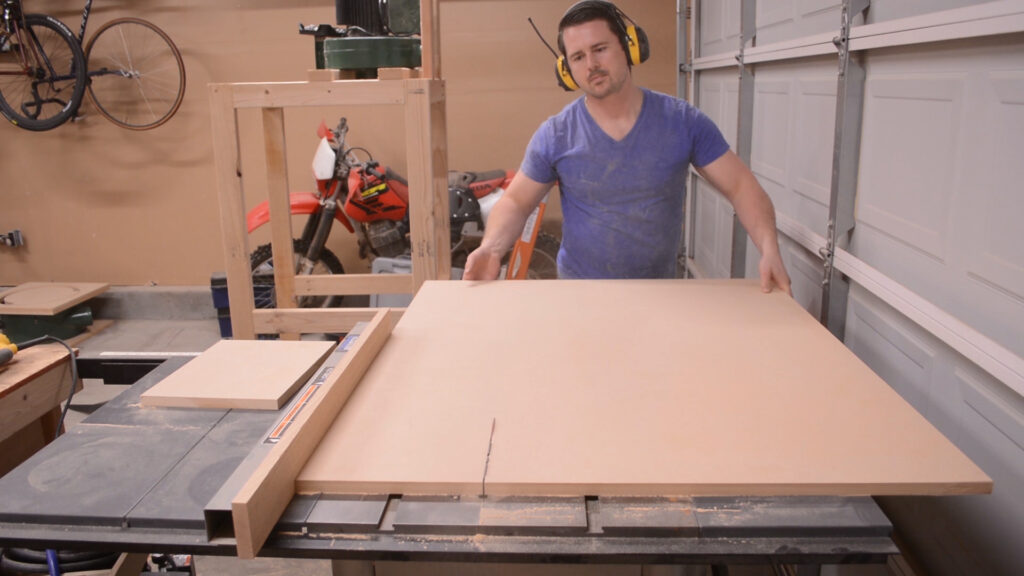
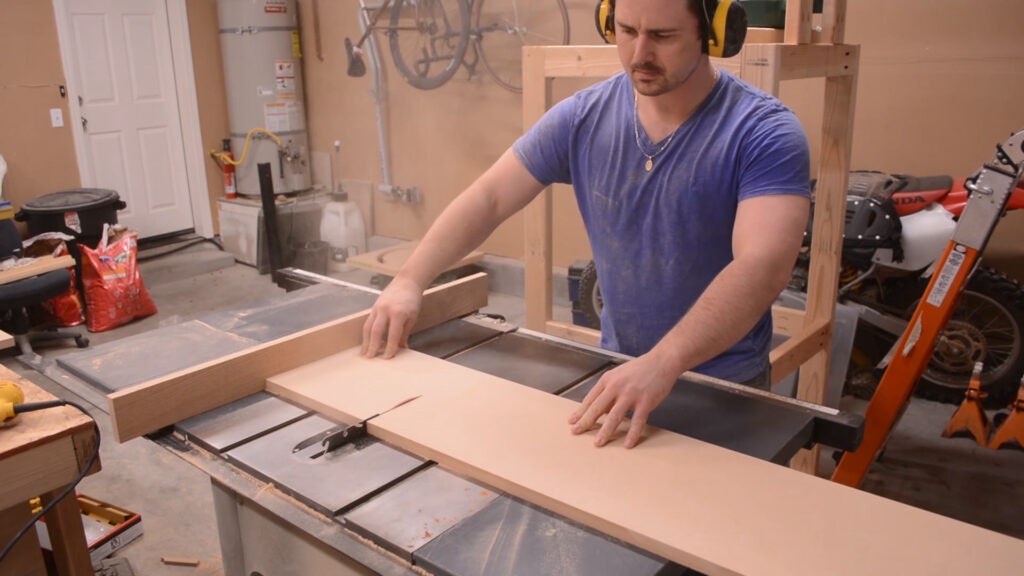
I get started by cutting strips of MDF then ripping those strips into small square panels.
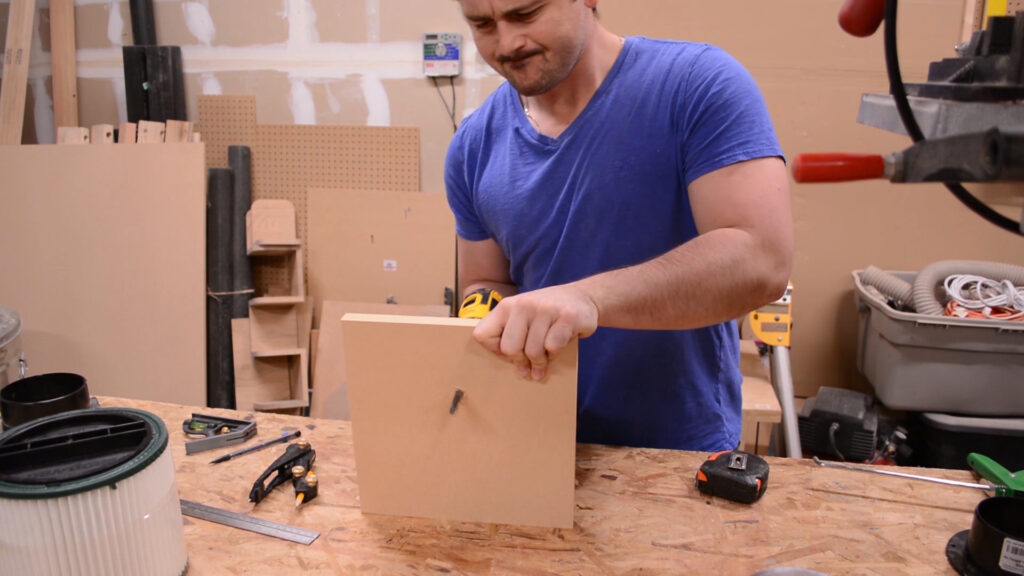
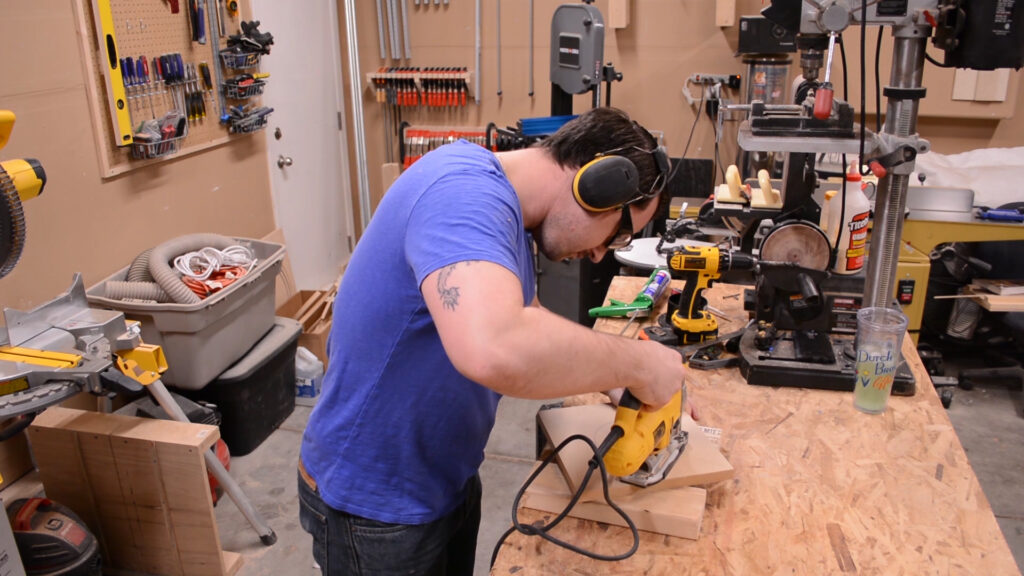
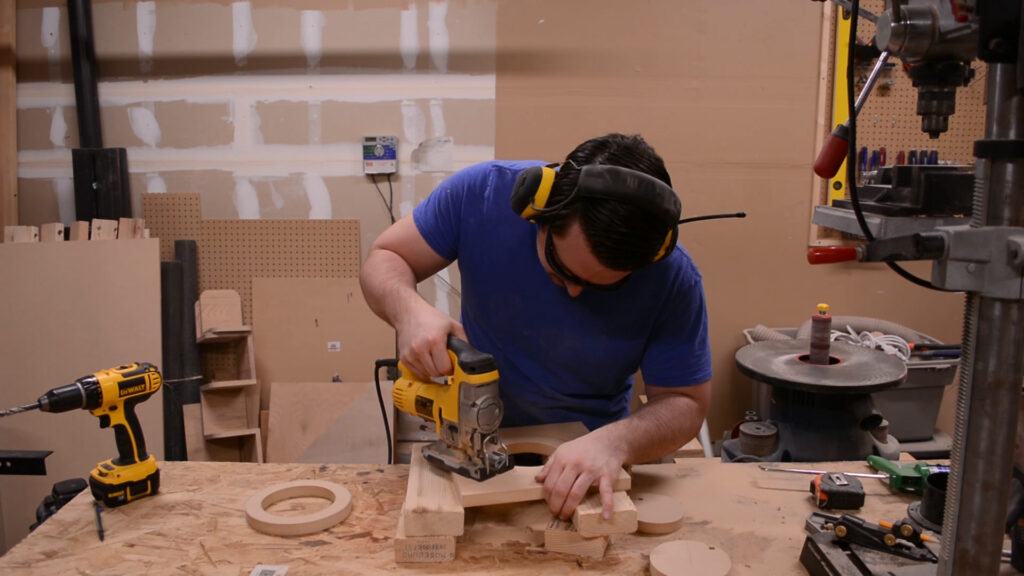
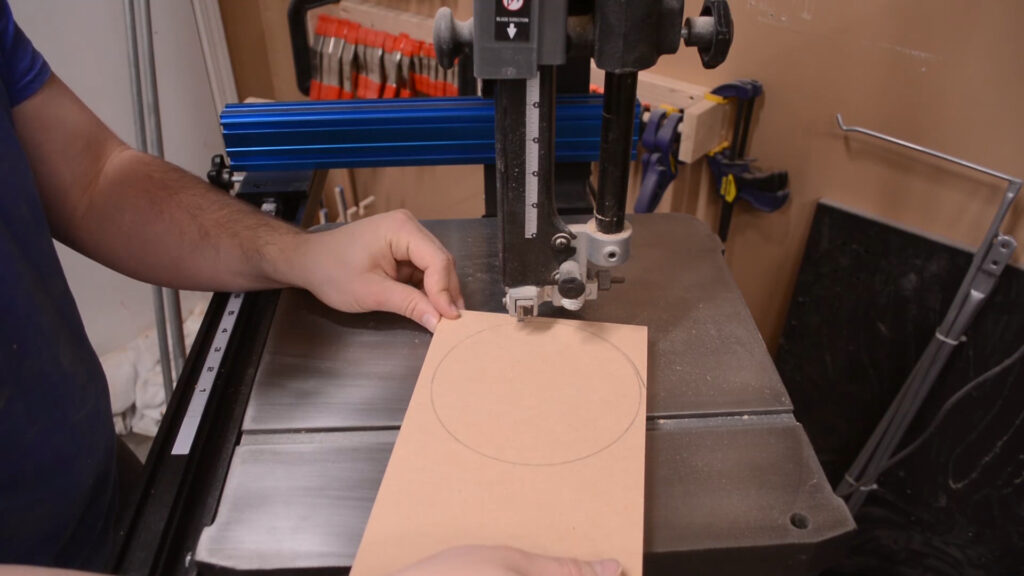
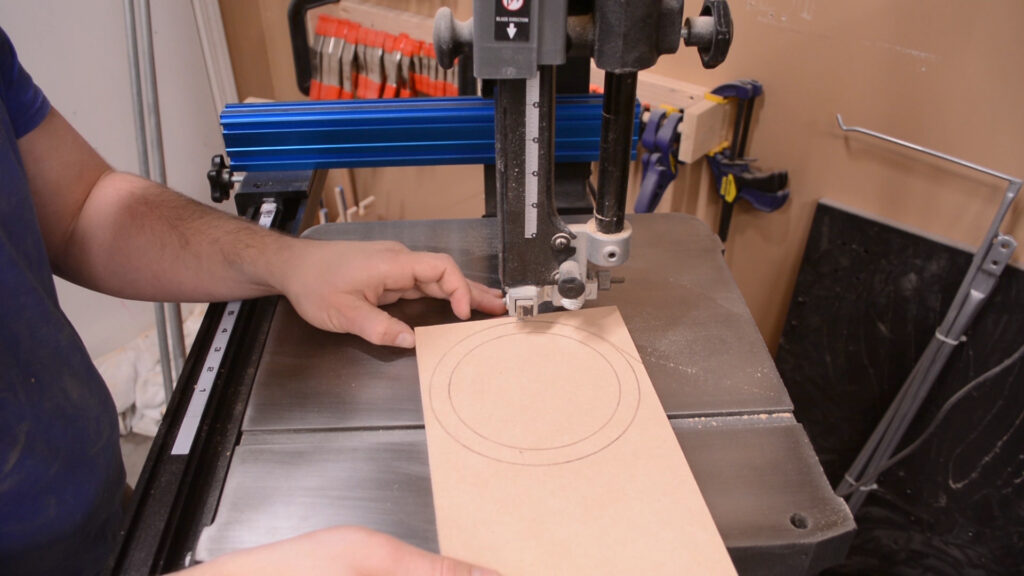
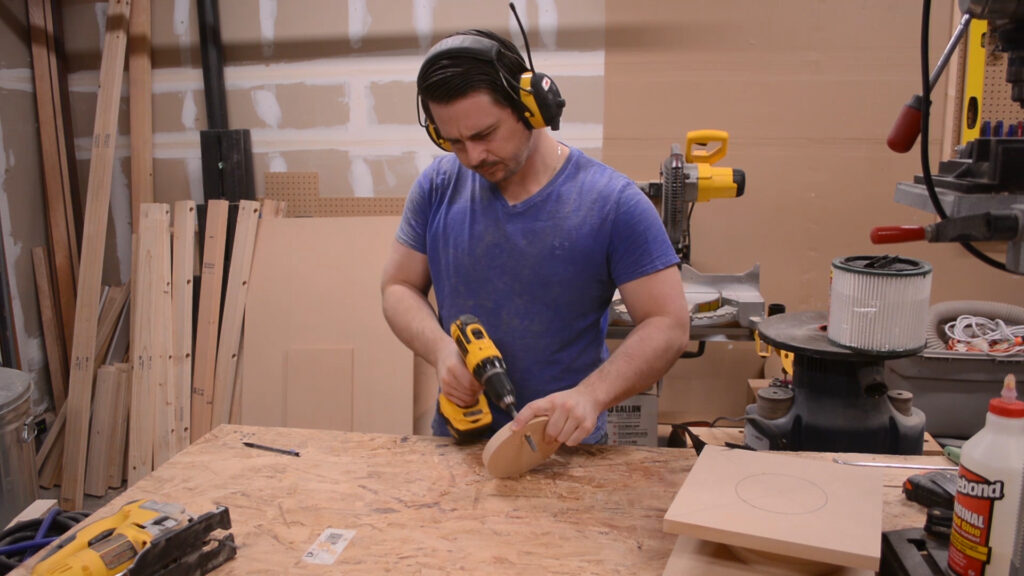
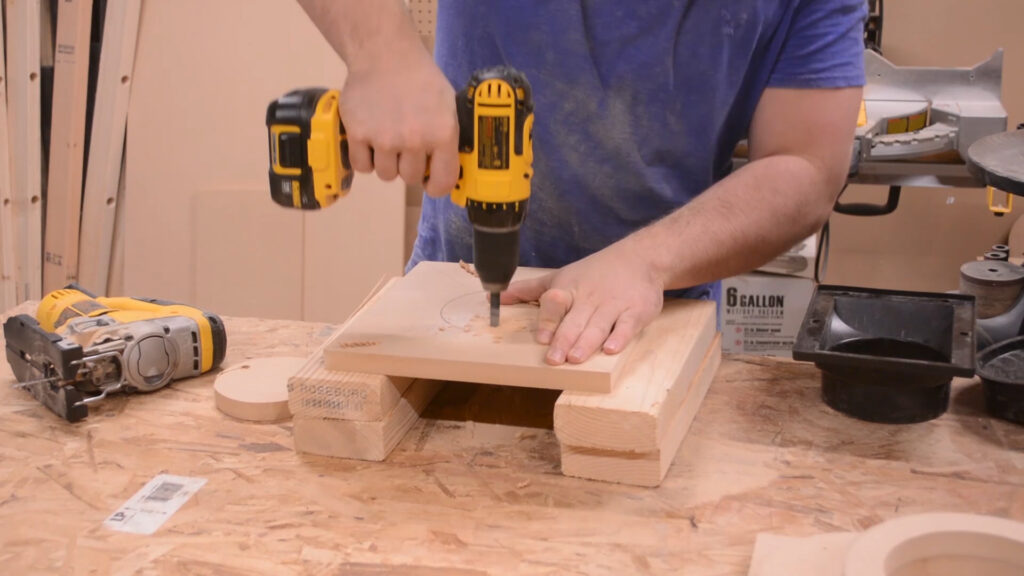
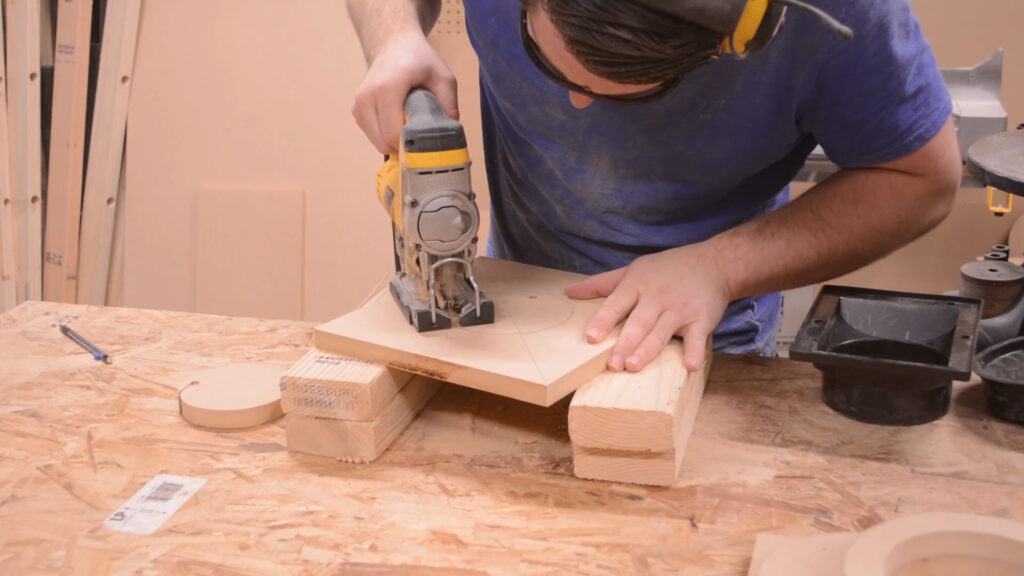
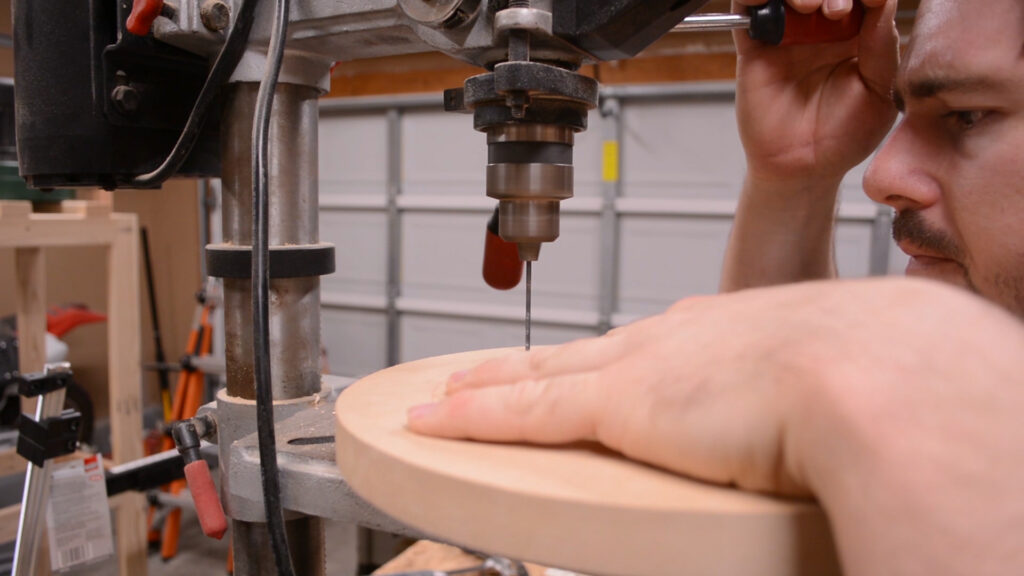
Most of the pieces of this dust filter are rings that get glued or secured together in some way. All of the inner sections of the rings are cut out with my jig saw after first drilling a pilot hole.
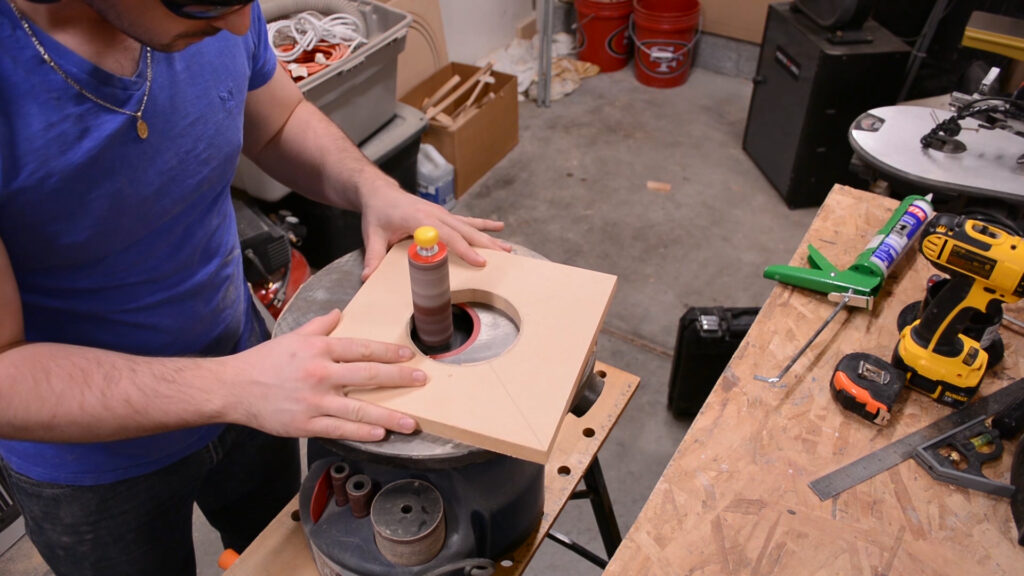
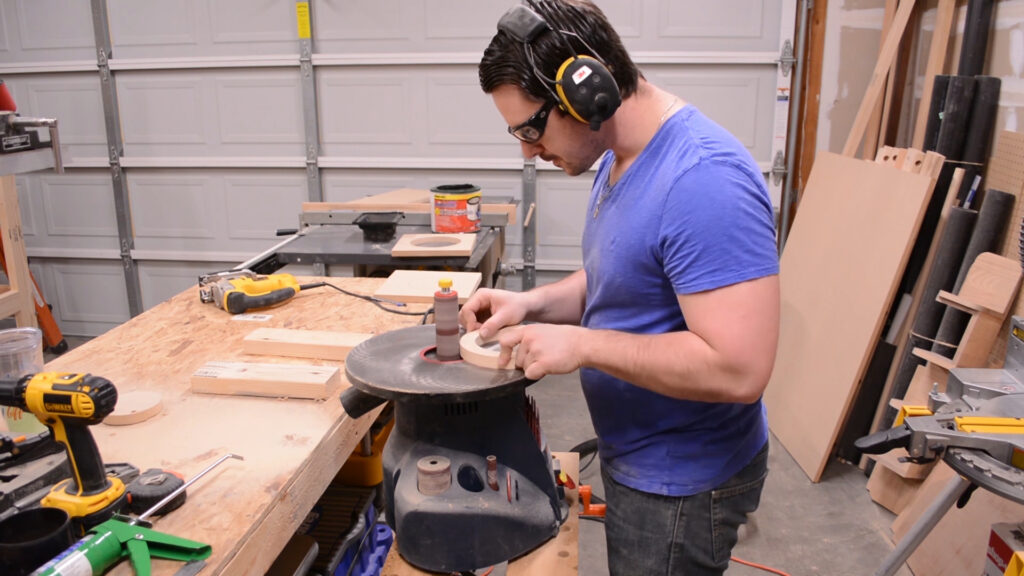
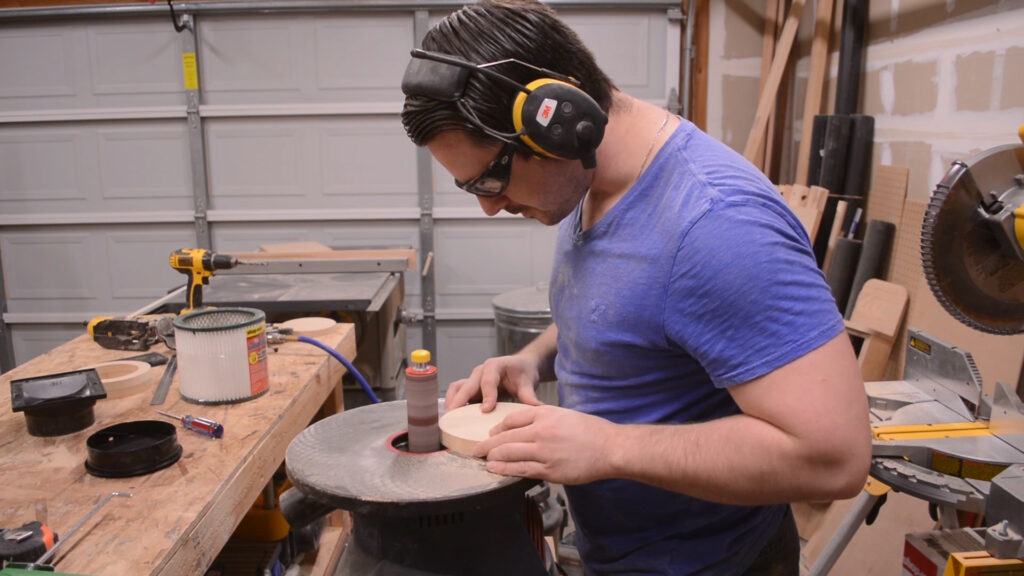
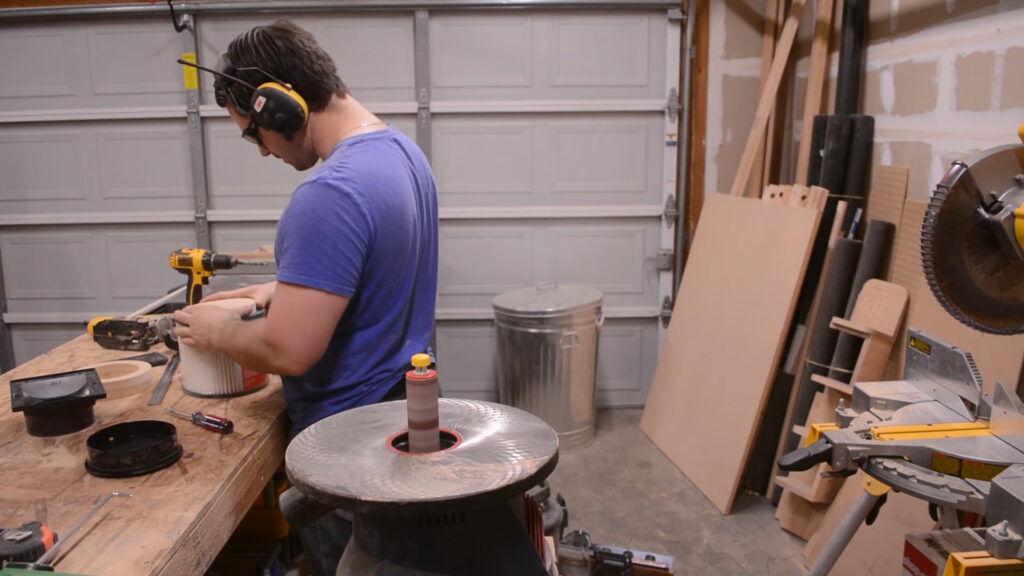
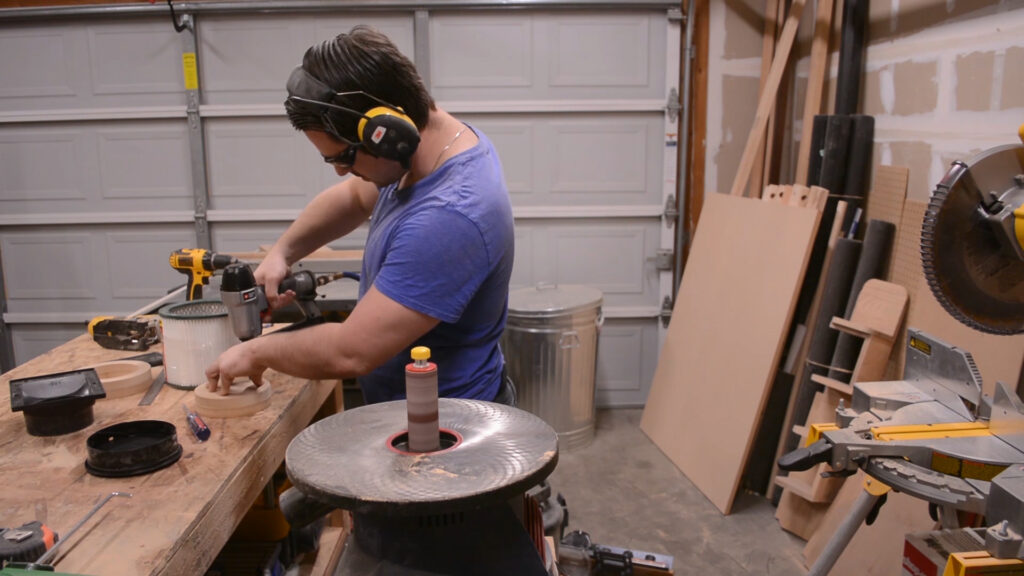
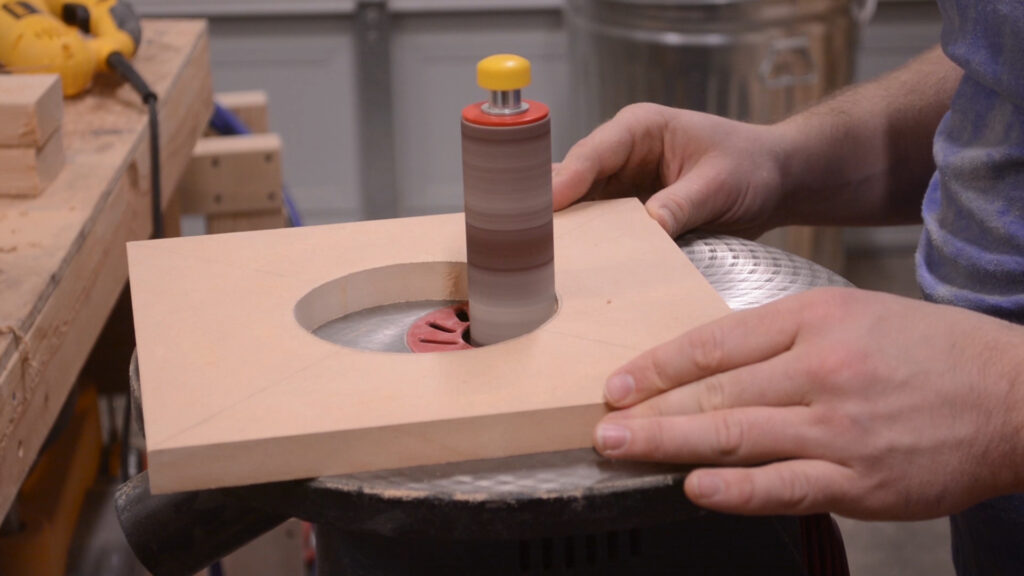
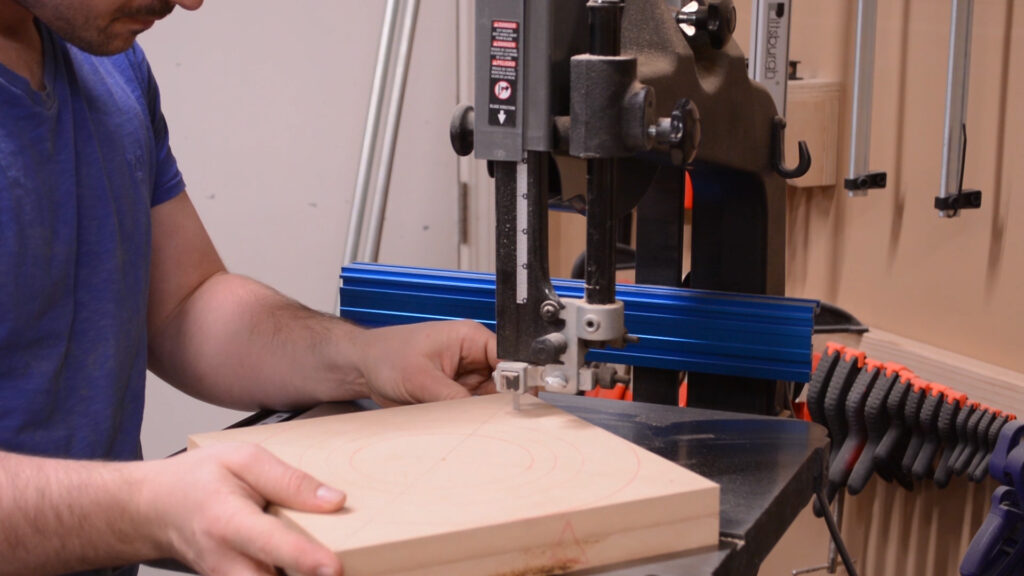
The rings inner section is refined with my spindle sander then the outside is cut to shape with my bandsaw. The outside radius is also refined with the spindle sander.

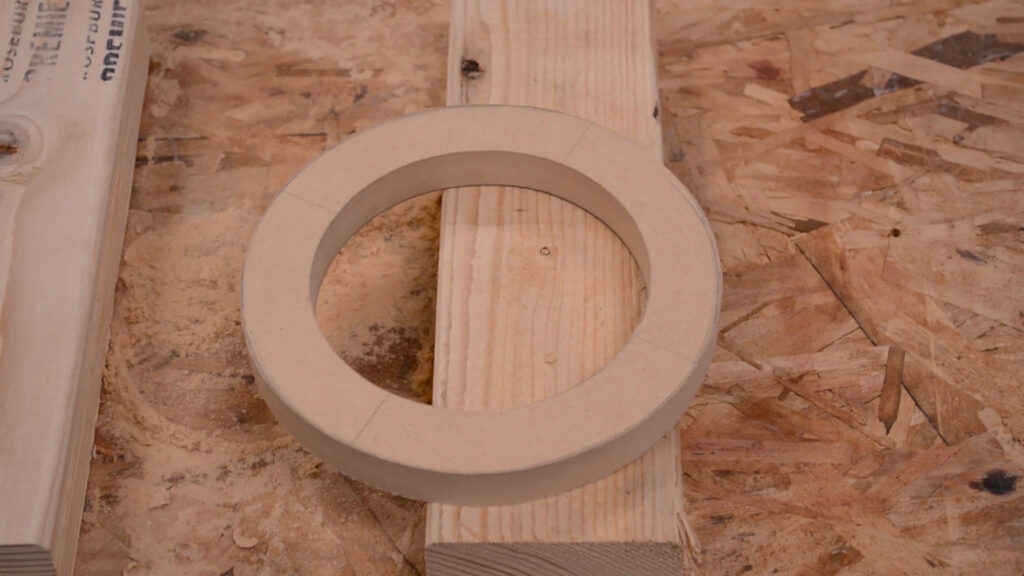
The aforementioned process is repeated for all of the ring shaped components. I don’t go into detail about which parts are which because the associated plan for this project lays out which parts are which and provides detailed dimensions.
I chose to cut this outer ring with my jig saw for some reason.
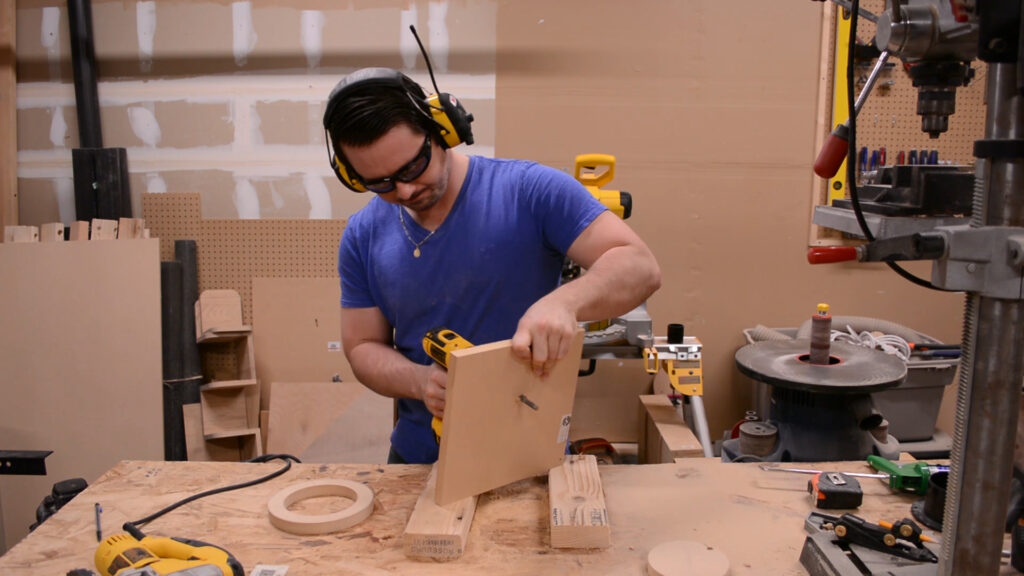
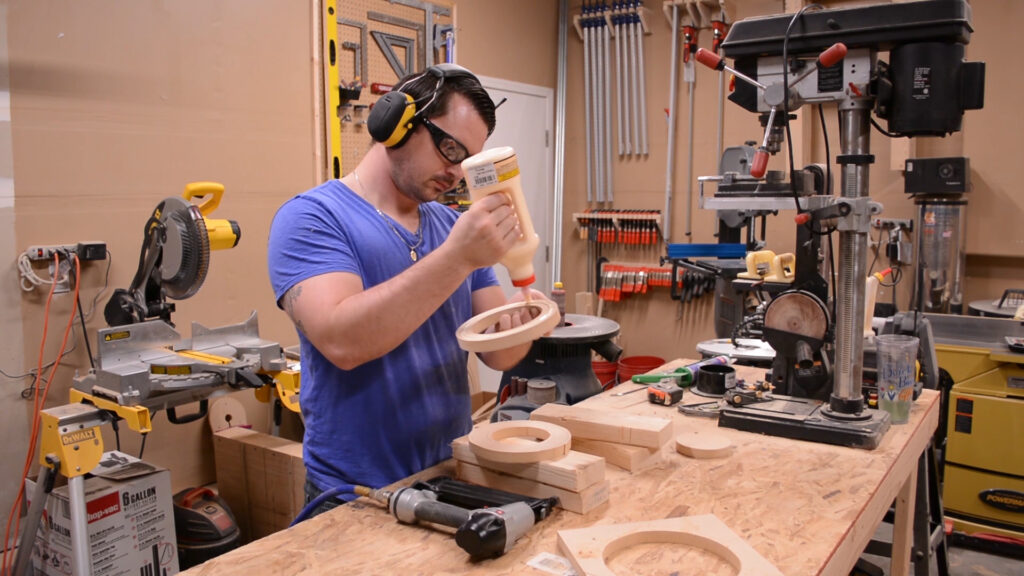
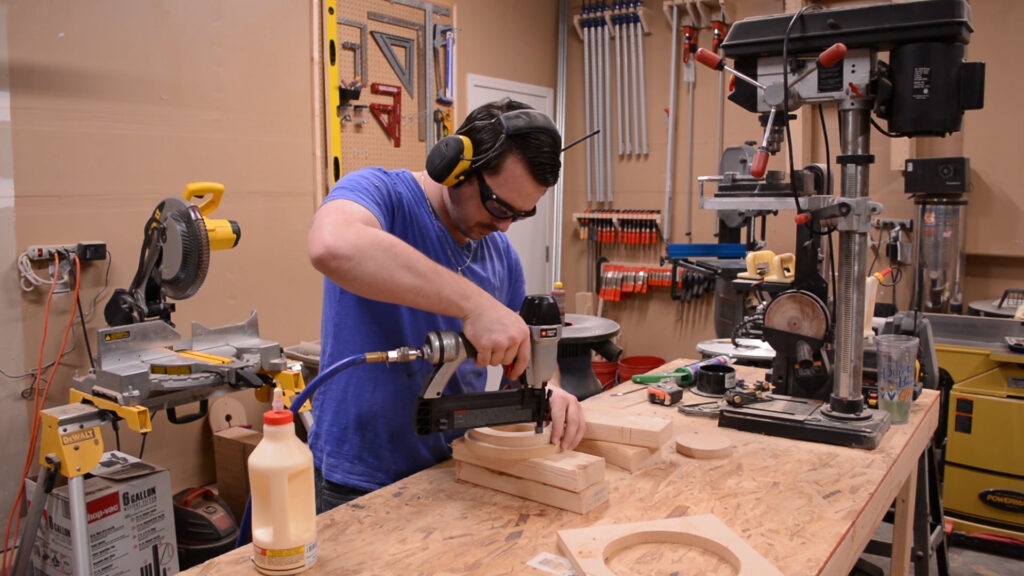
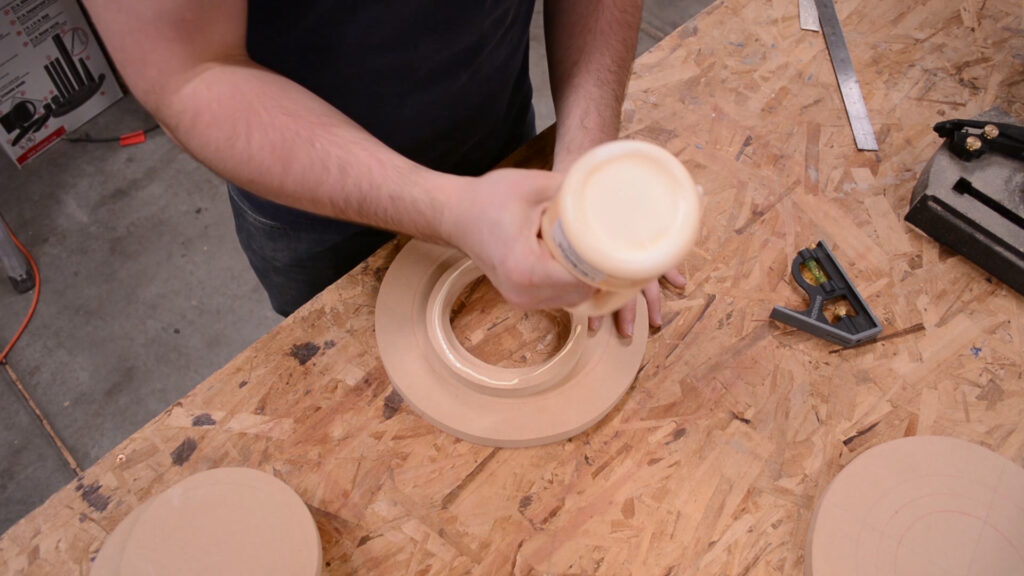
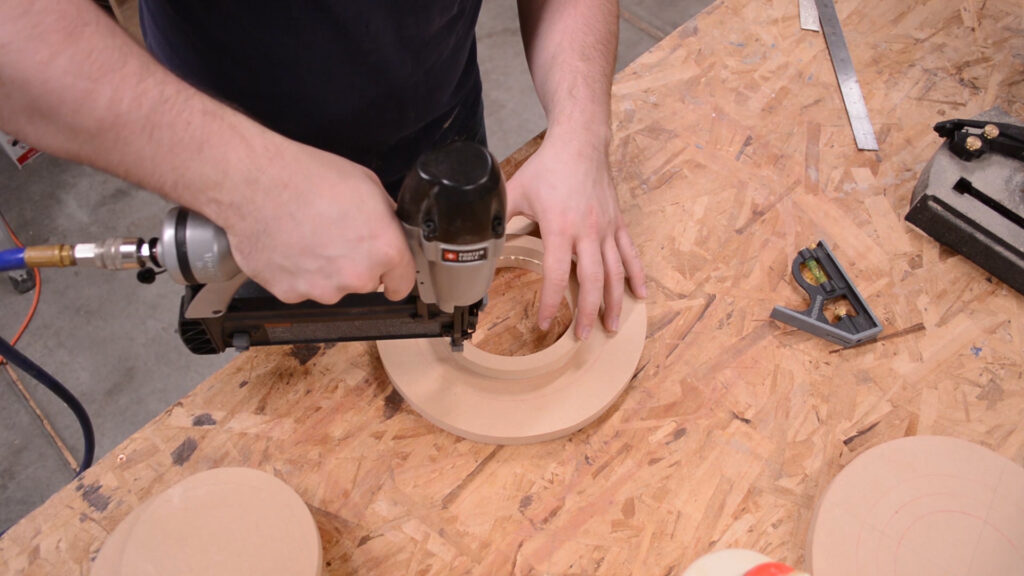
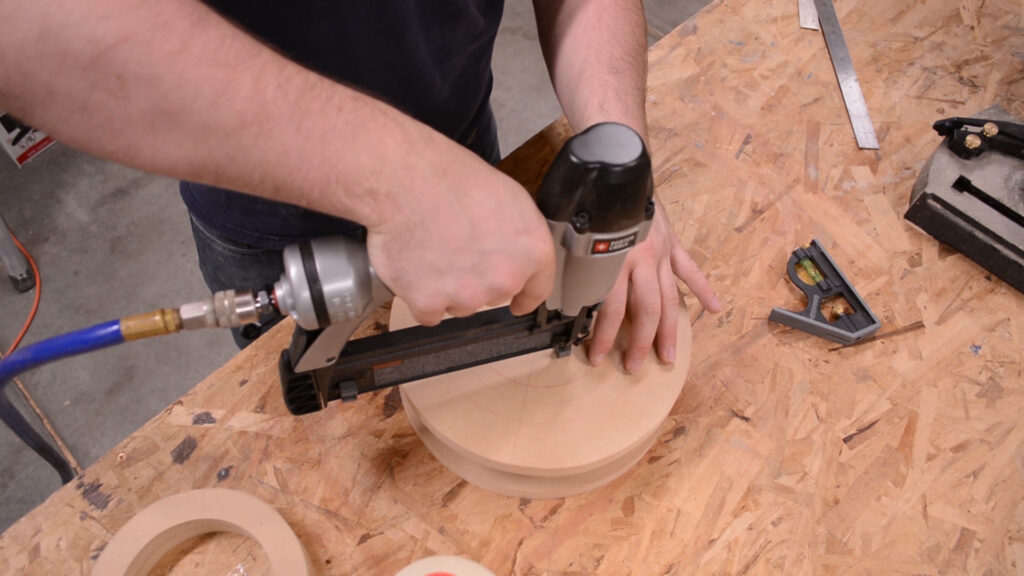
Several of the rings get joined together with glue and brad nails.
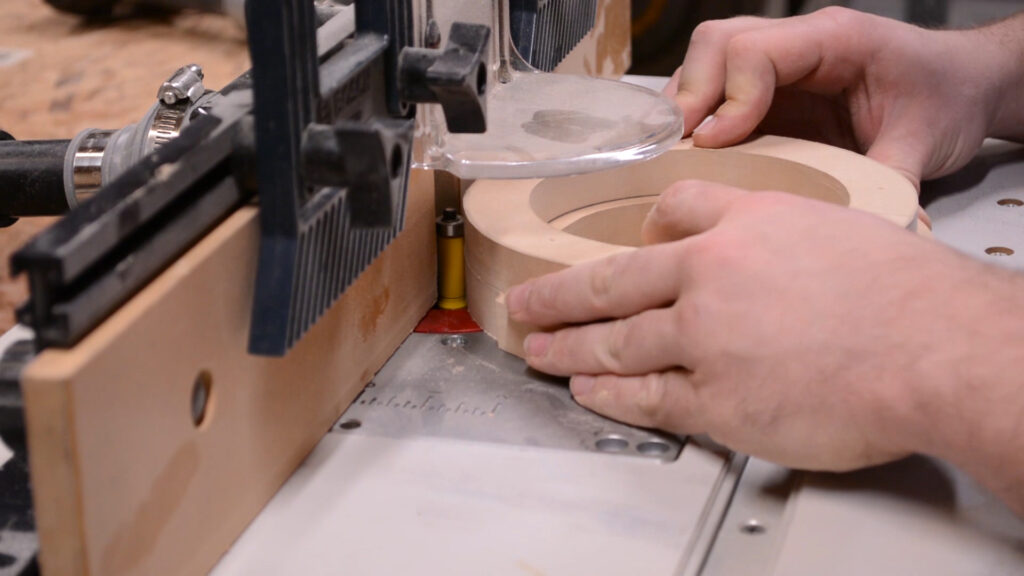
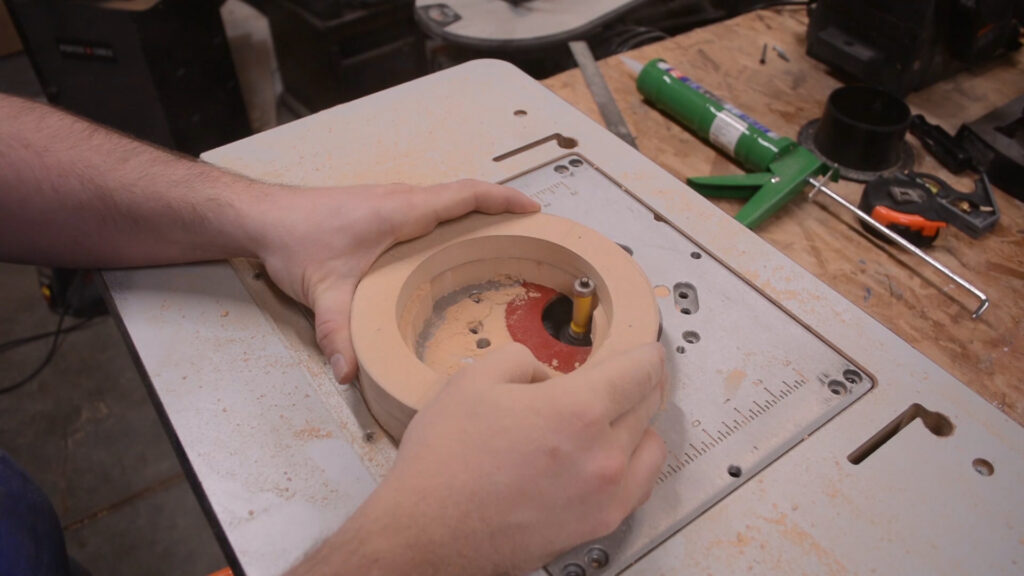
This set of rings makes up the section of the dust filter that gets attached directly to the impeller housing. To make sure they were in exact alignment with each other I cut one of the rings and refined the shape then oversized the second one. Once they were secured together I used a flush trim bit at my router to make them exact copies of each other.
More ring shapes need to be created and the same processes as before are followed to make those as well. A lot of rinse and repeat in this project.

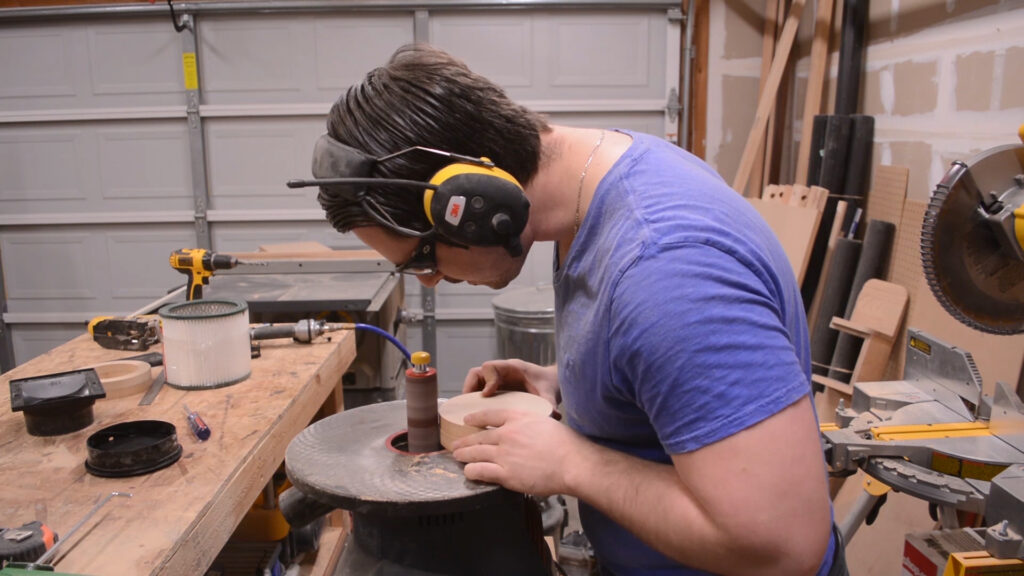
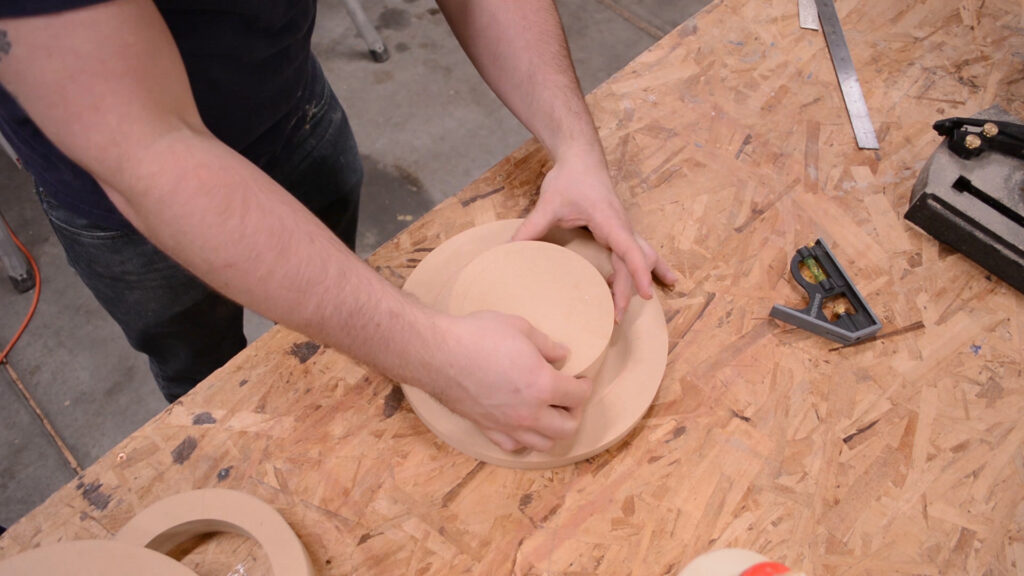
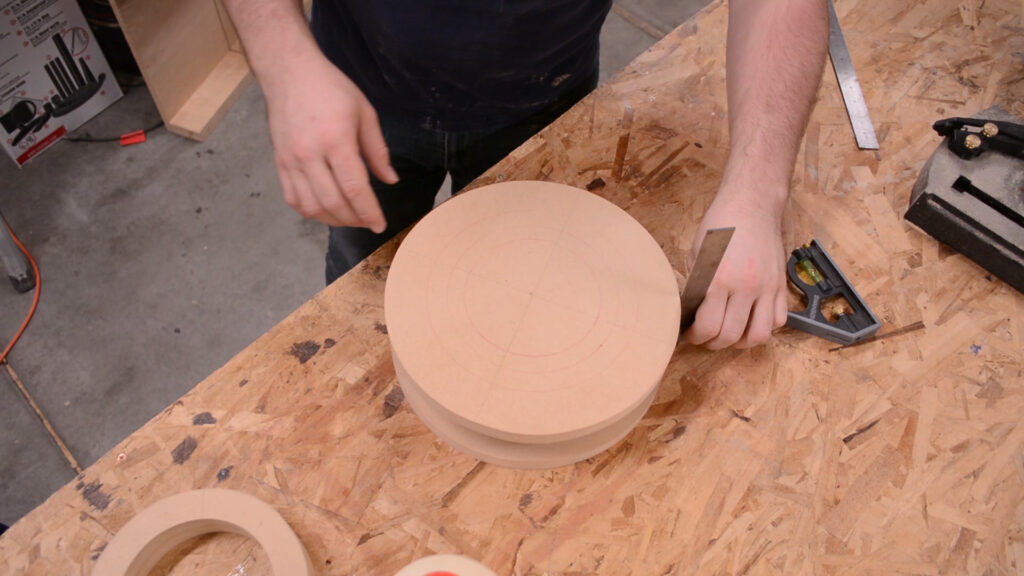
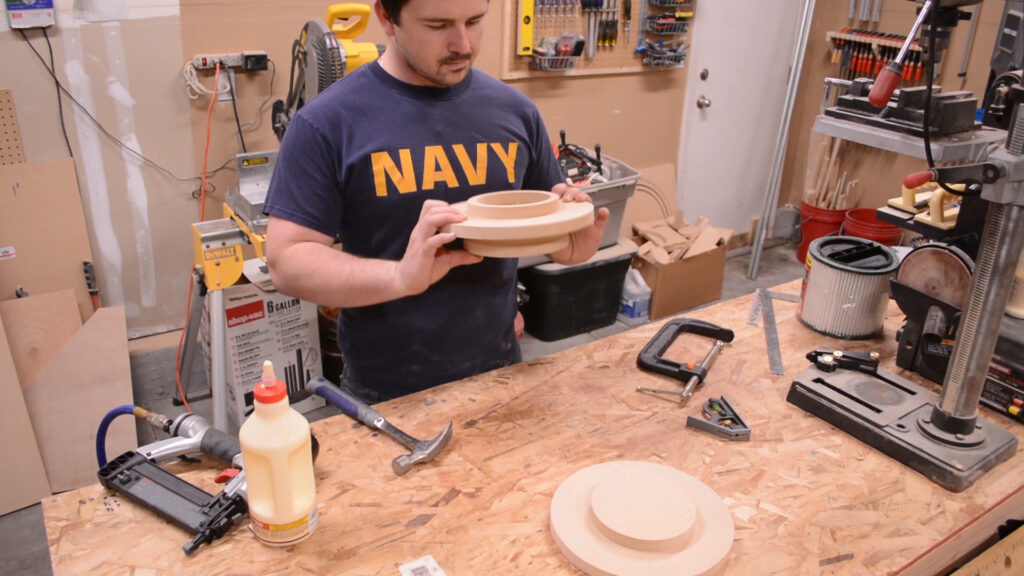
Here I am testing the shape of one of the rings, the one that plugs the end of the filter, then continuing to refine the shape with the spindle sander.


At this point all of the rings are completed and assembly can begin. Everything is secured together with glue and brad nails.


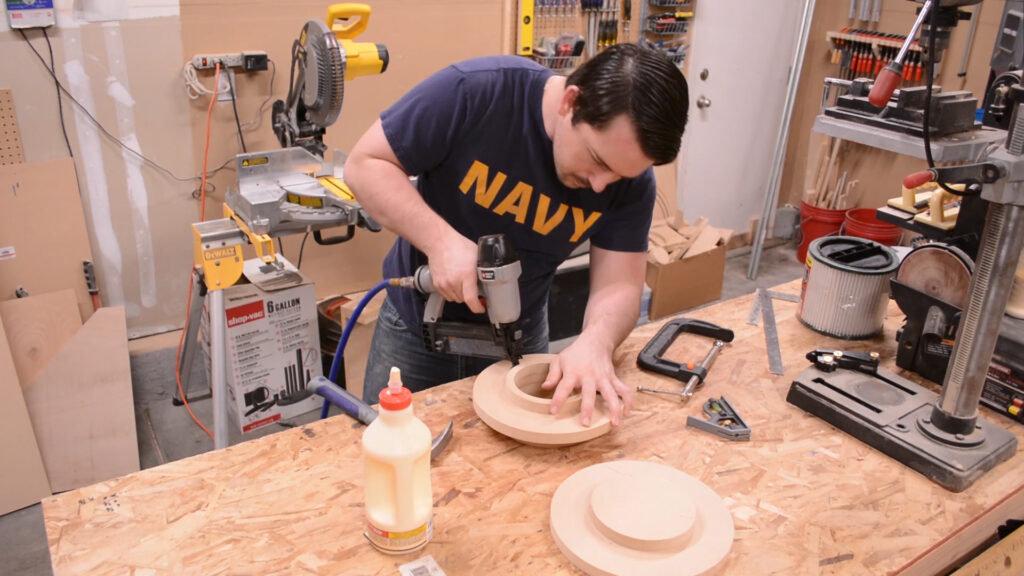
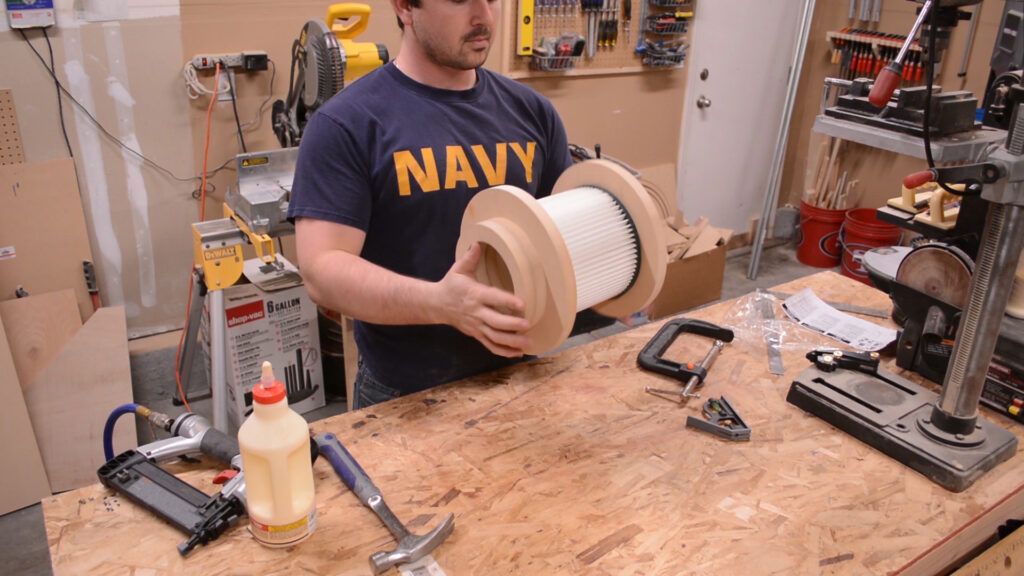
You can see in the picture below how the to ring assemblies sandwich the shopvac filter.
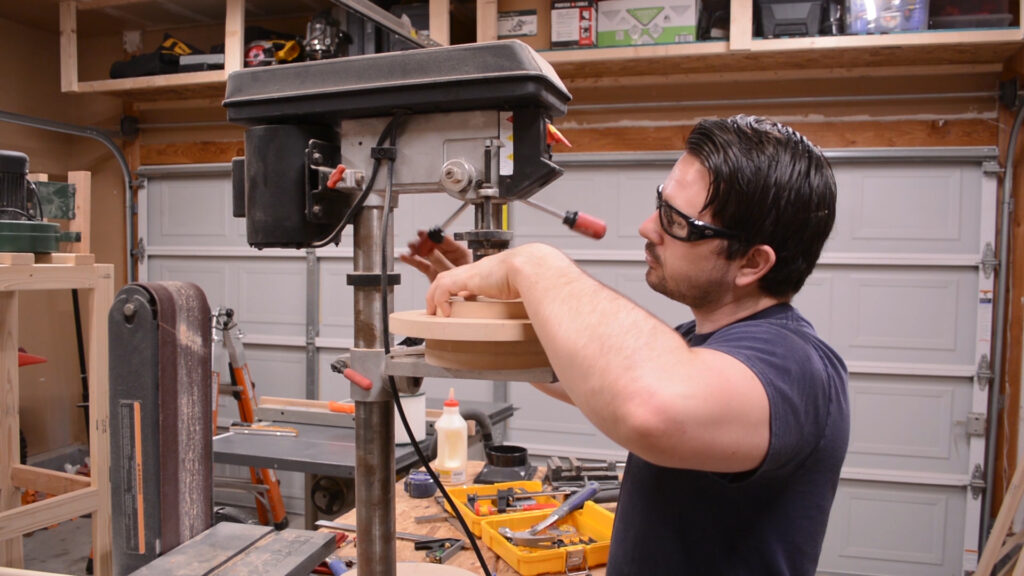
To hold the ring sandwich together I need to drill a series of holes through the outer edge of each of the ring assemblies. This is done with my drill press.
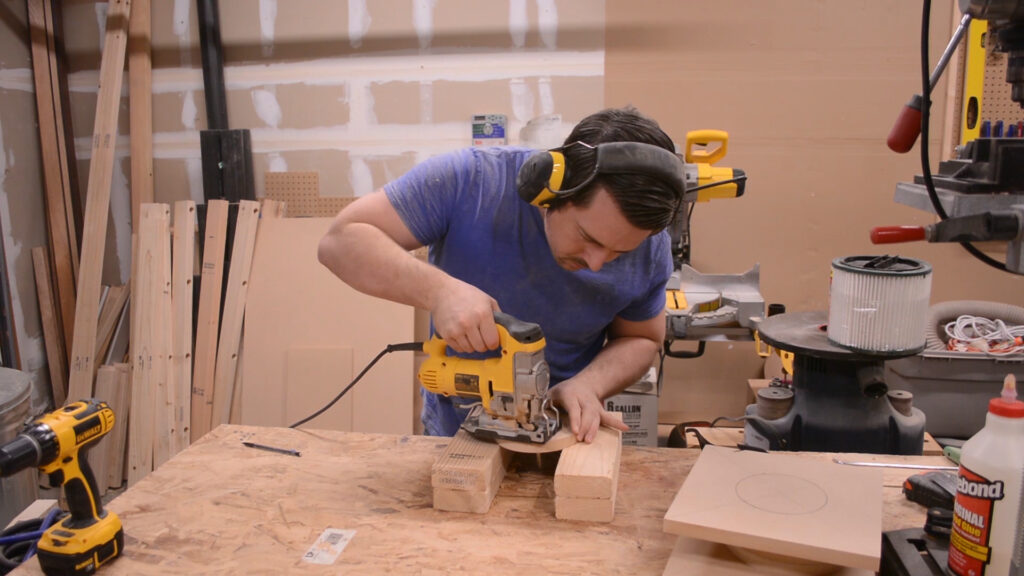
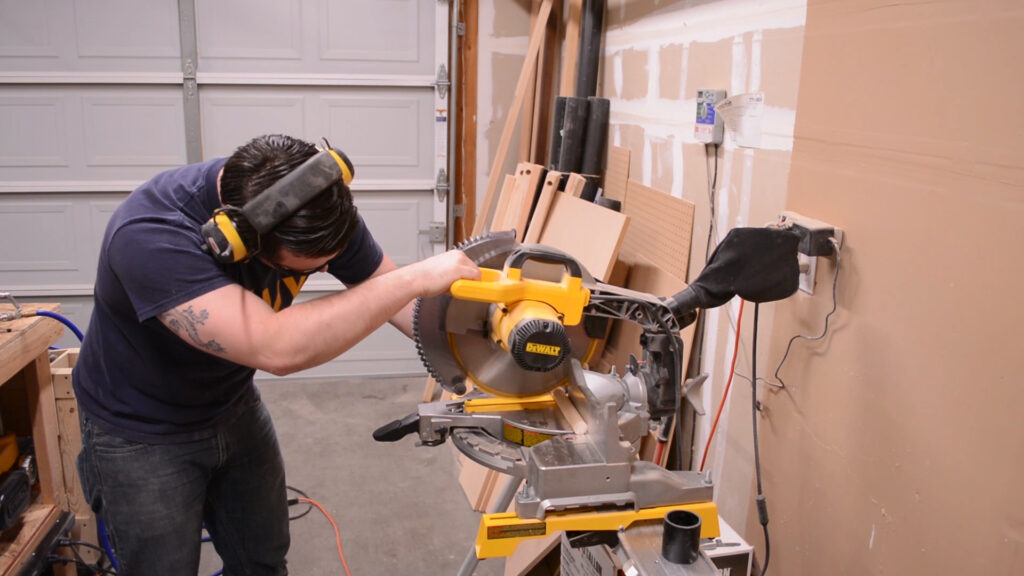
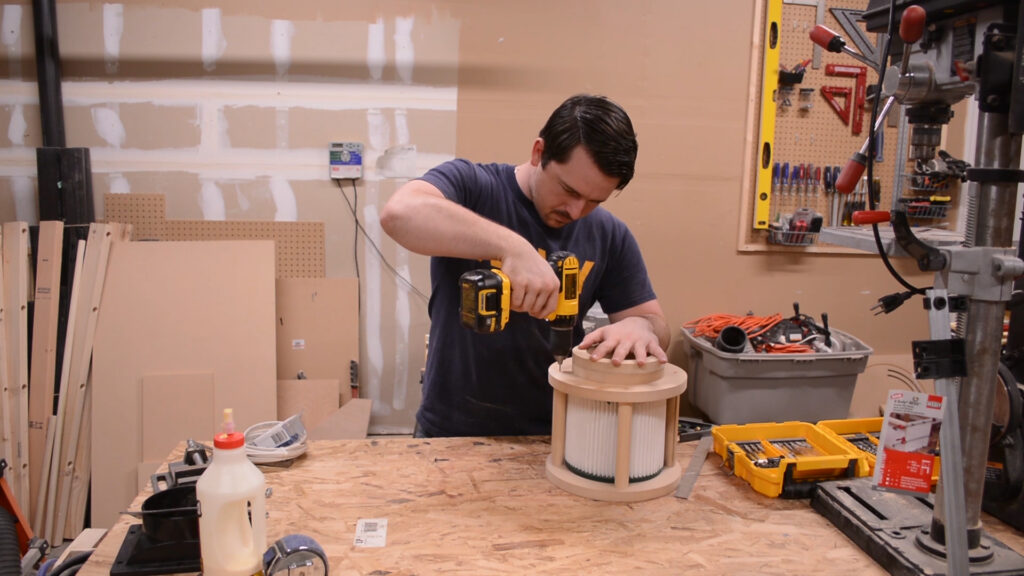
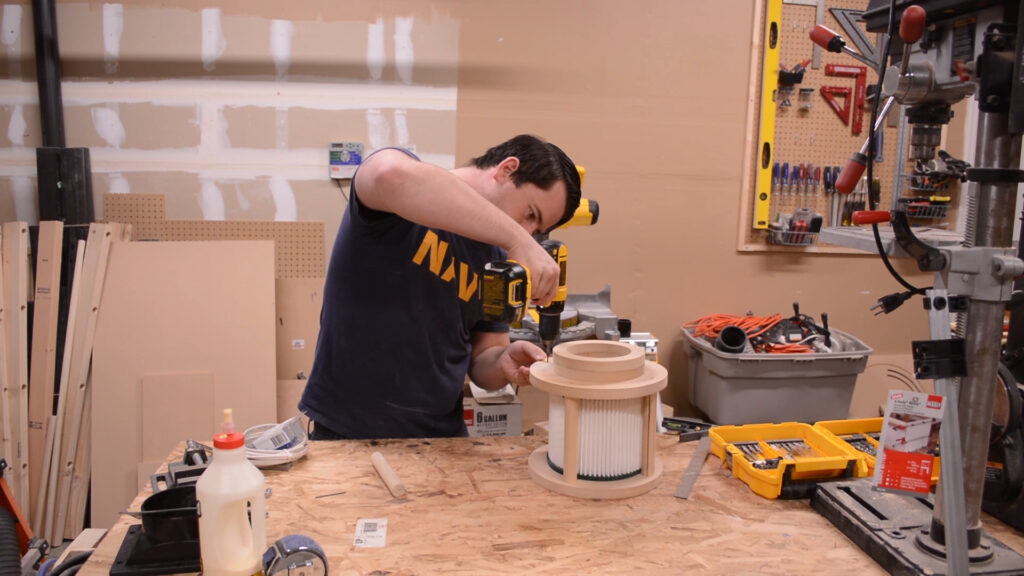
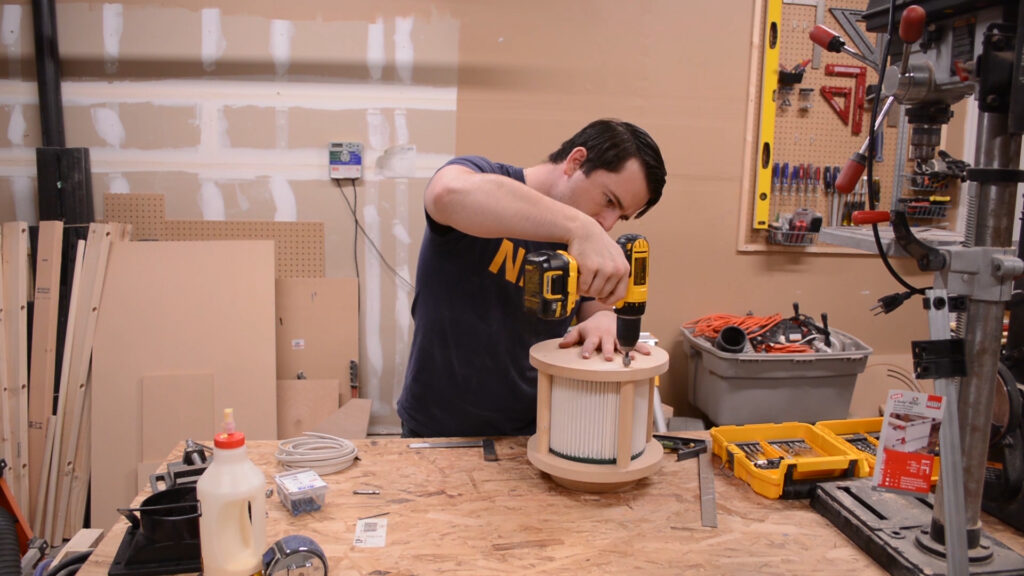
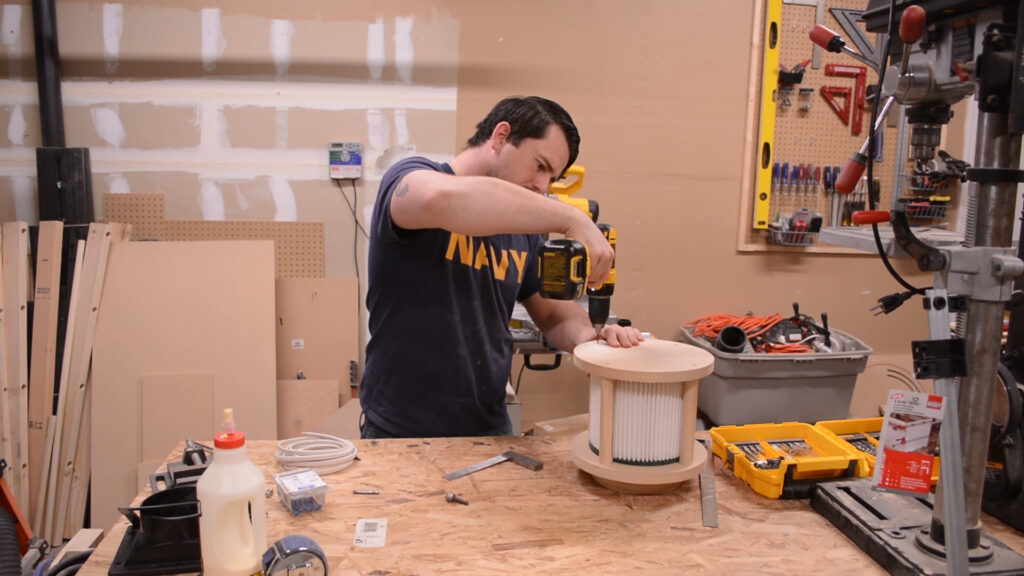
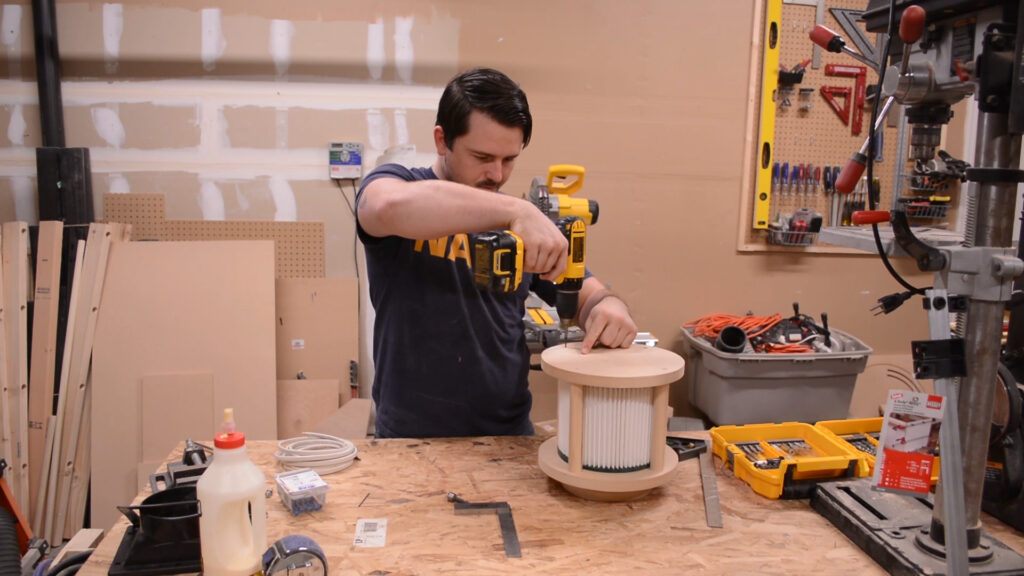
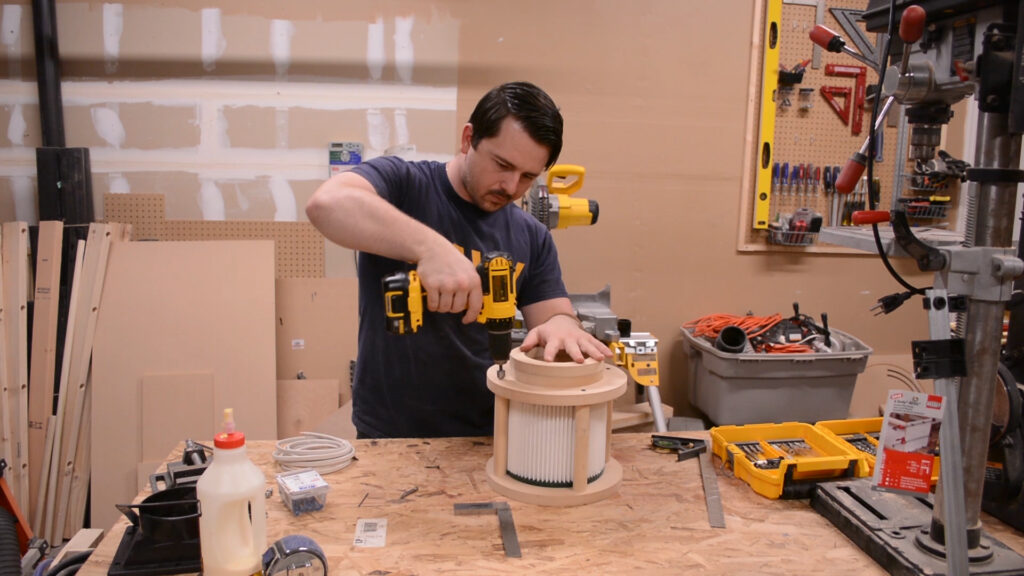
The two ring assemblies are held tight to the filter using dowels as posts. I cut all of the dowels at the miter saw.
The dowels are held in place with screws through the holes drilled in the ring assemblies earlier.

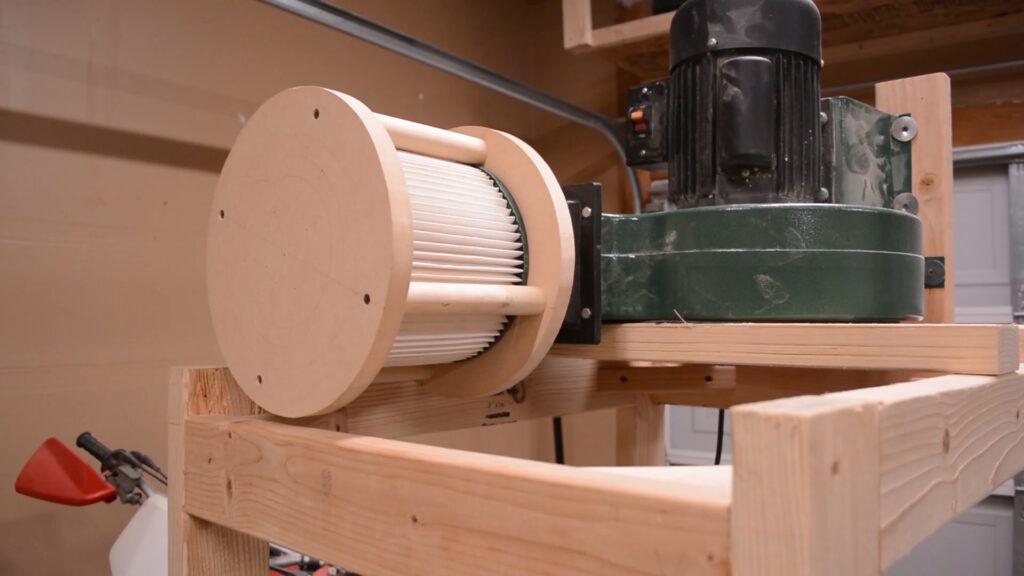
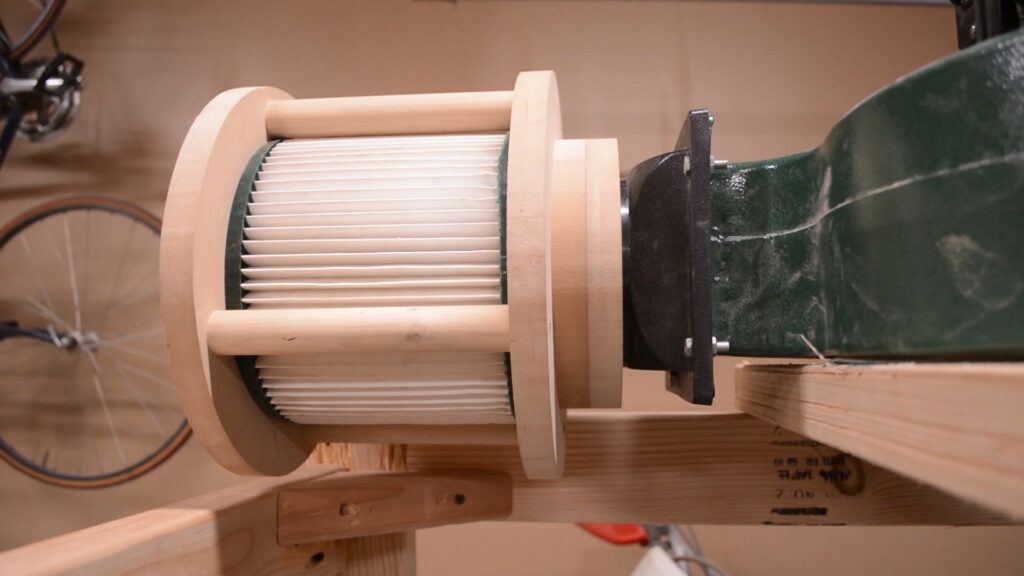
That’s it for the fine dust filter build. Below are a few pictures of the filter installed on the impeller housing.
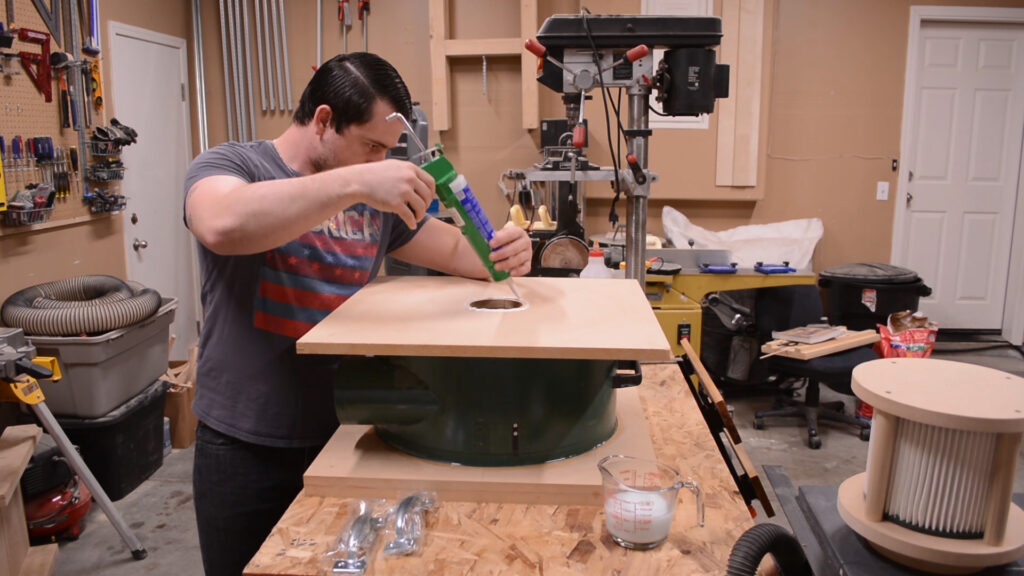
With the fine dust filter complete I can move onto some final assembly steps for the thein baffle. The slots that accept the edge of the thein baffle get a bead of silicone to both secure the baffle in place and also make it air tight.
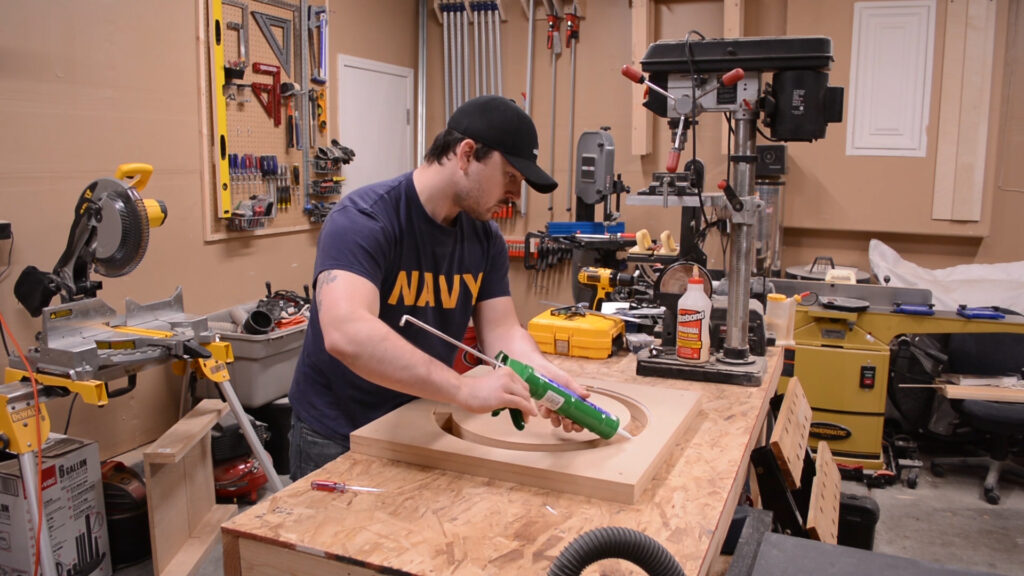
I also silicone the outside edge to aid in preventing any CFM loss.

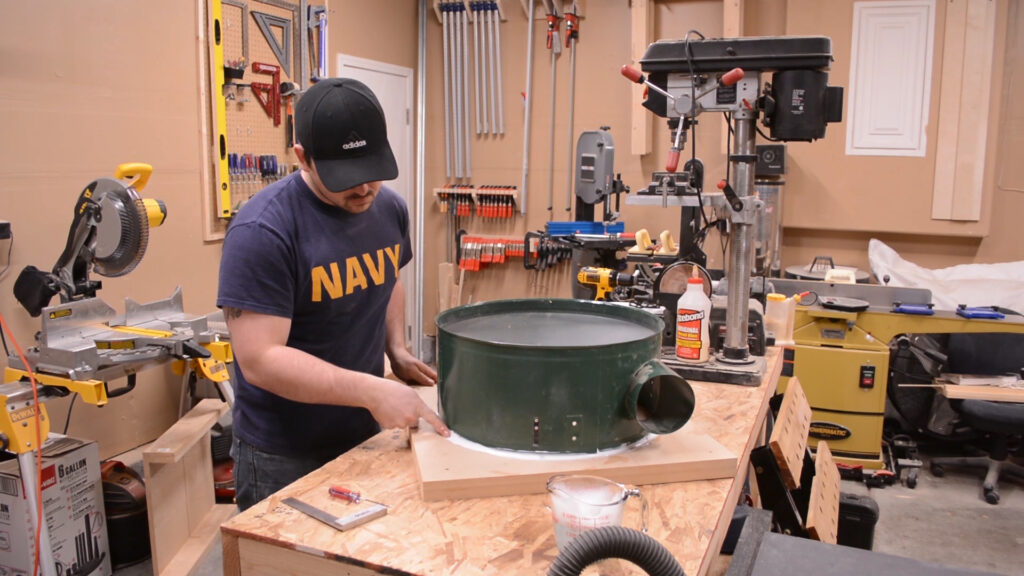
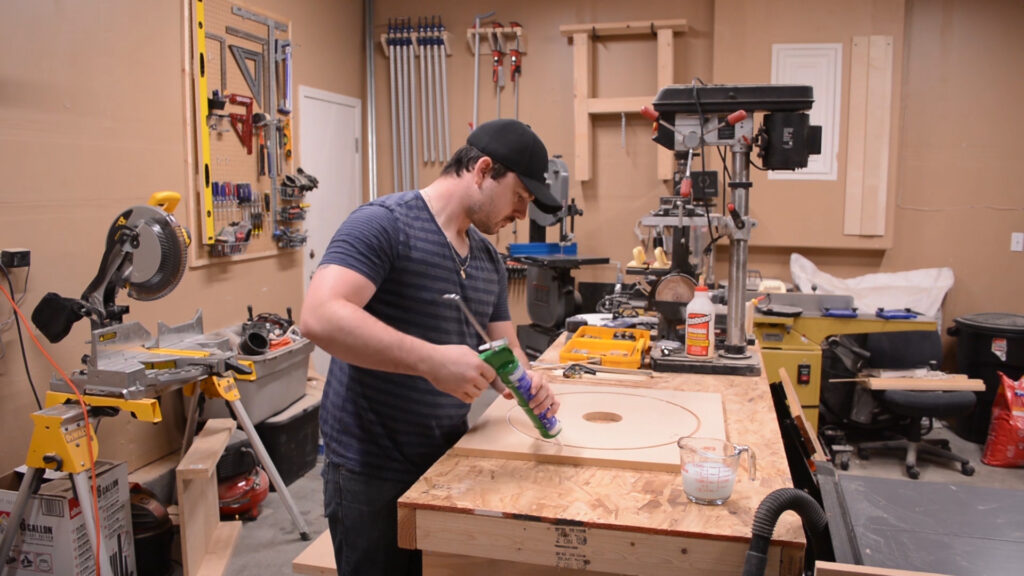
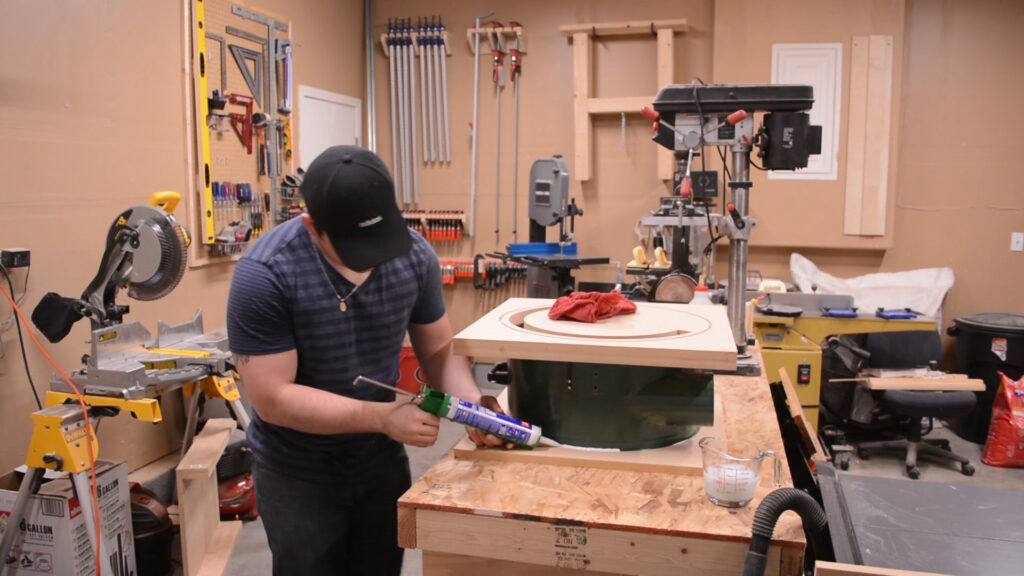
All areas of the thein baffle where chips and air might escape are sealed off.
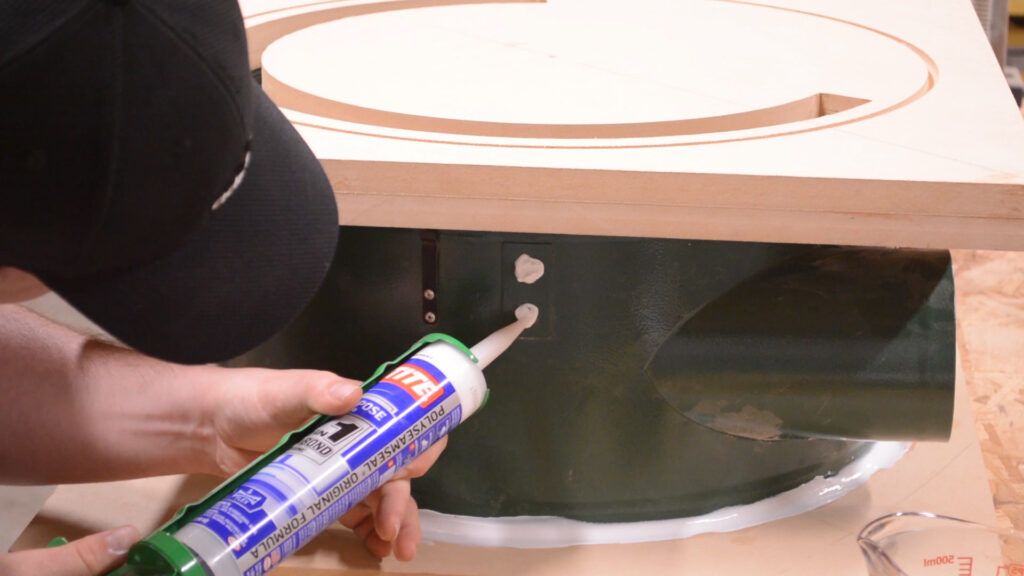
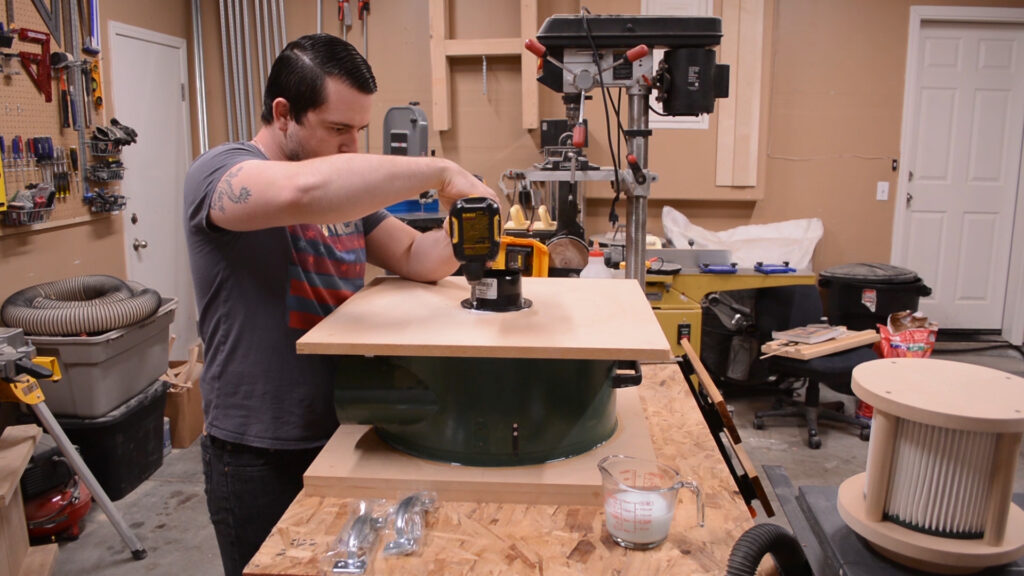
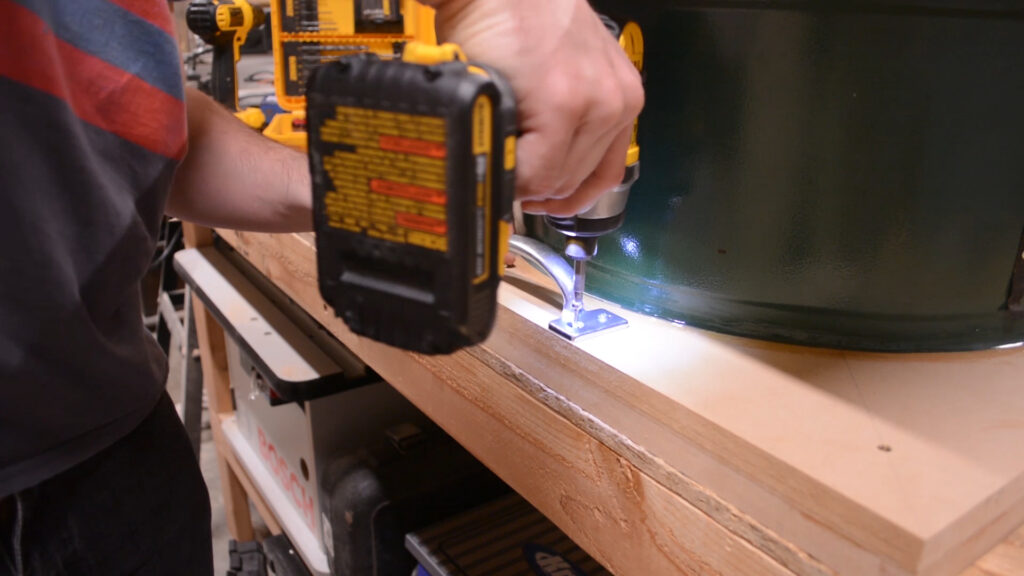
A bead of silicone is added to the edge of where the PVC fitting is attached. Then it is secured in place with screws.
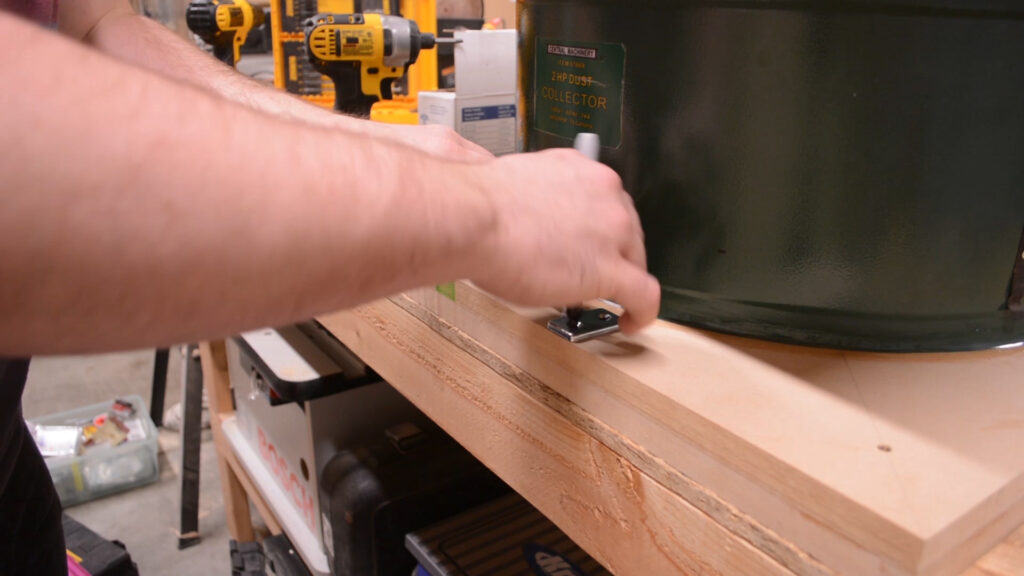
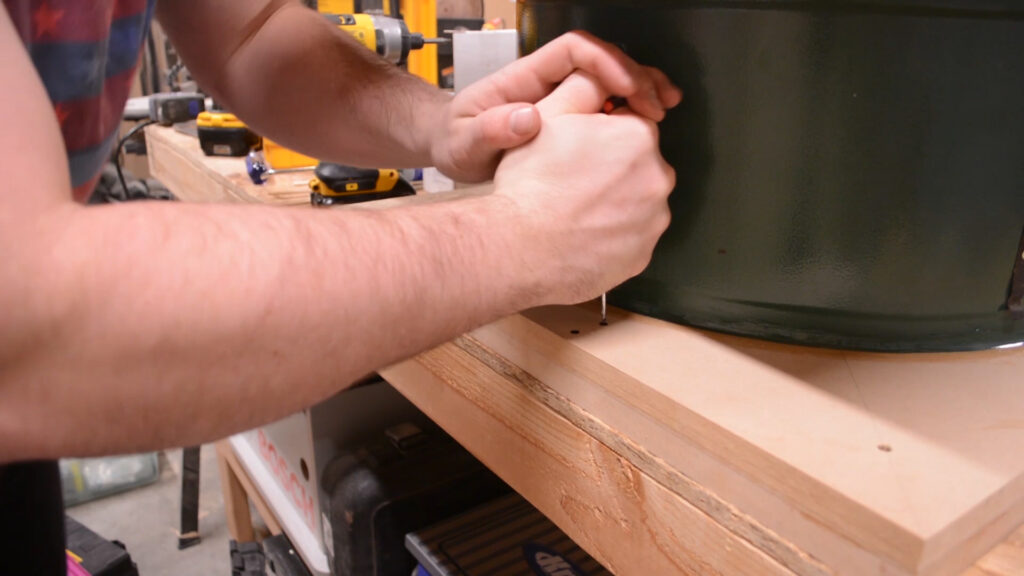
To provide a way to remove the chip separator (thein baffle) from the dust bin, I added a couple of drawer pulls. They are just screwed in place.
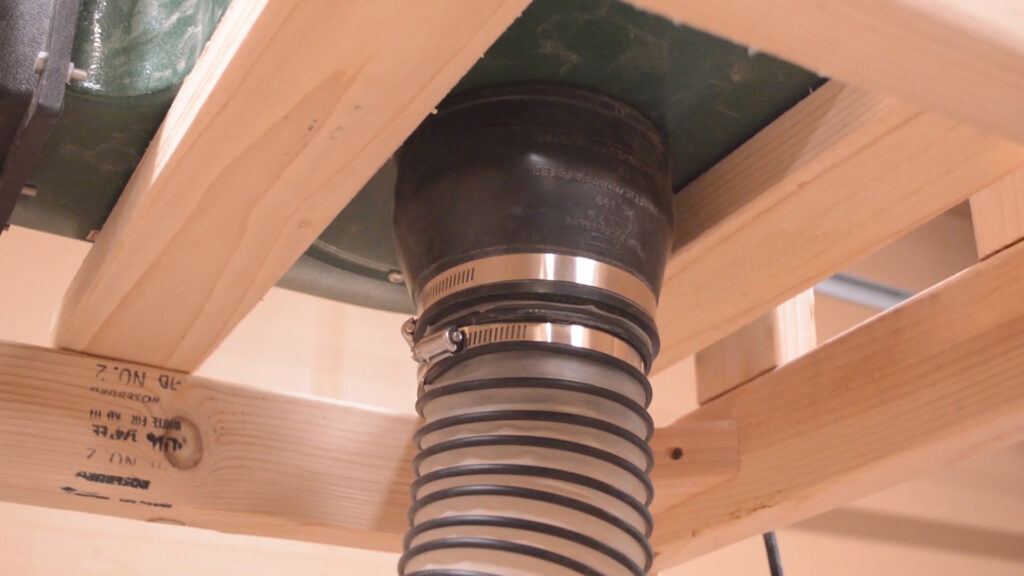
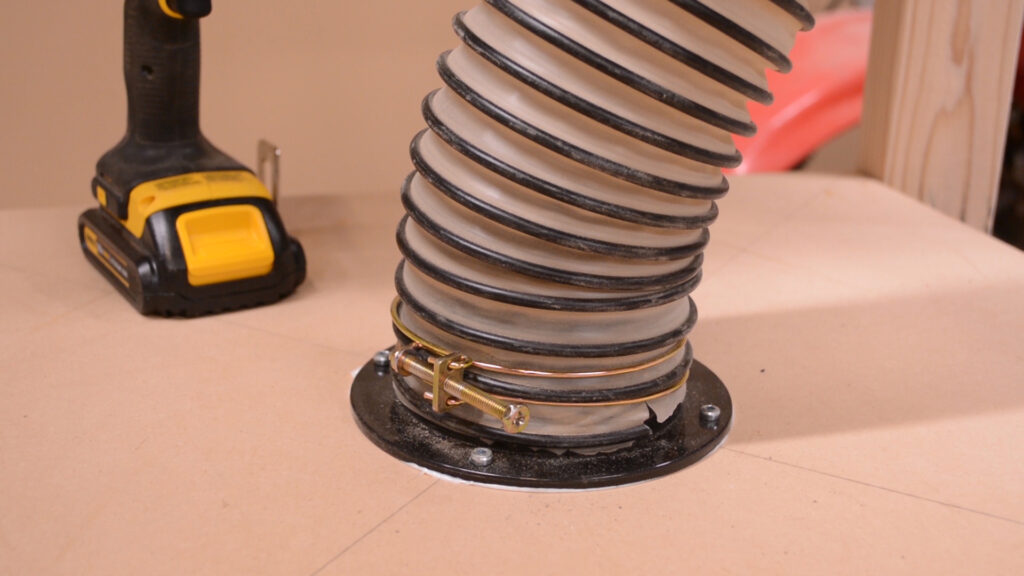
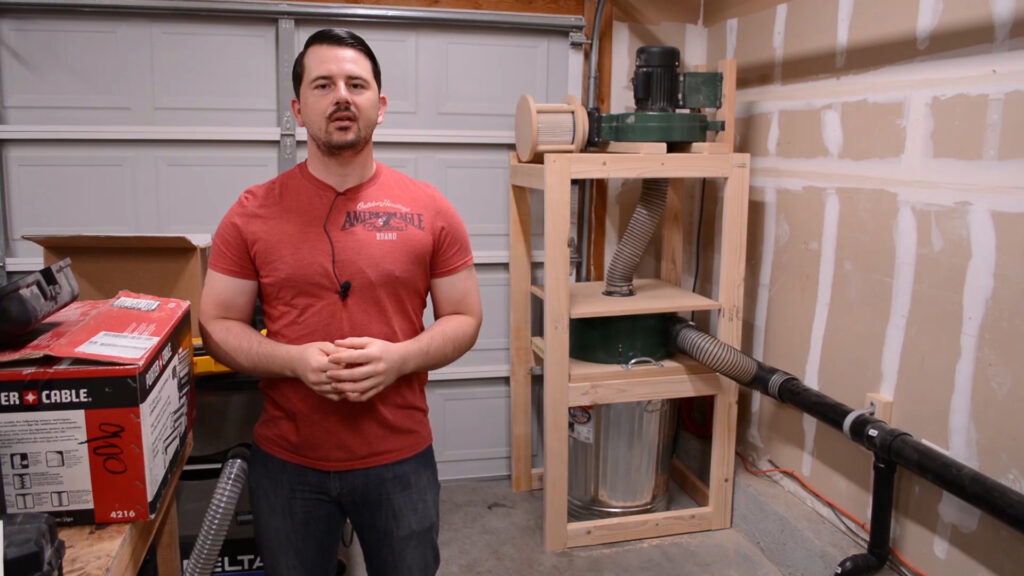
The chip separator gets attached to the impeller motor housing with a rubber gasket fitting and a piece of 4″ dust collection hose. A piece of 3″ PVC is use to attach the gasket fitting to the dust collection hose.
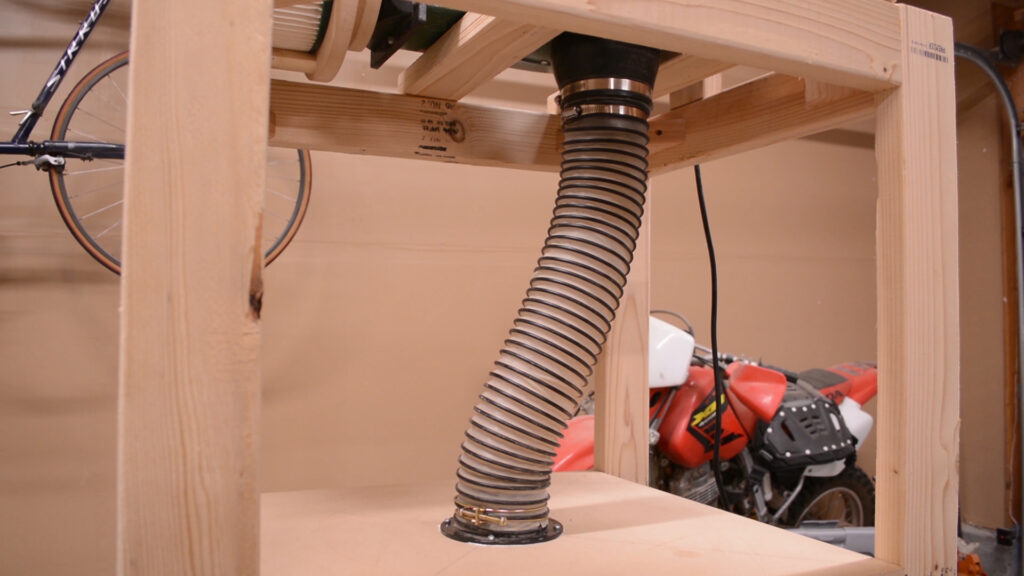
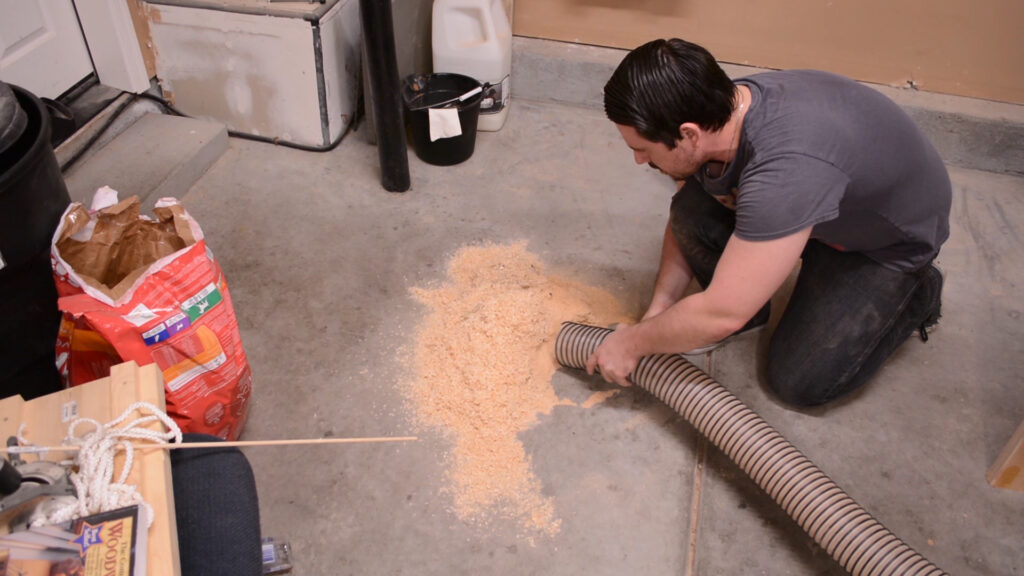
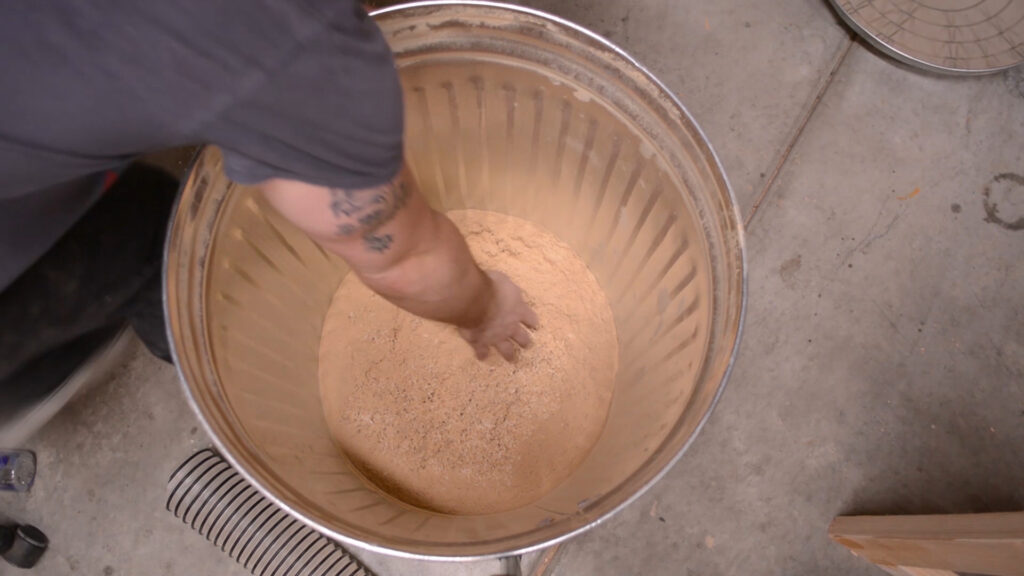
All that’s left to do now is test it. As you can see from the images below it worked pretty well.
Conclusion
Thanks for reading! Below you can find affiliate links to the tools and products I used in this project. If you are interested in supporting my efforts, clicking my affiliate links goes a long way and I greatly appreciate any support that I receive. Also, you can find a downloadable plan for this project if you’re looking to modify one of these for yourself.
Tools/Products


